


Paper Plate Clock Craft: Build a Clock That Really Moves
A 25-minute parent-and-child craft that builds a working clock with movable hands — then turns it into the set-and-read time games five- and six-year-olds actually ask for.
A paper plate clock is a handmade teaching clock: the numbers 1–12 around a paper plate, with a short hour hand and long minute hand pinned through the center so both spin. A parent and a five- or six-year-old build it in 25 minutes, then play set-and-read games that teach o'clock times.

The short version
- One plate, two card hands, one fastener — nearly free, 25 minutes.
- Numbers go 1–12 clockwise with 12 on top; short hand is hours, long hand is minutes.
- The adult handles the brad's sharp point; the child does everything else.
- Build first, play after: "set the time" games turn the clock into an o'clock teacher.
- Fridge it for two-minute daily spot checks — that locks the skill in.
- Age
- Ages 5–6
- Prep
- 5 min
- Play time
- 28 min
- Mess
- Low
- Difficulty
- Easy
- Where
- Indoor
Why kids love this
The hands move — that is the whole magic. Not a worksheet, but a real dial they spin with a fingertip and set to any hour they name. Building it feels like making a toy, not doing a lesson.
What you'll need
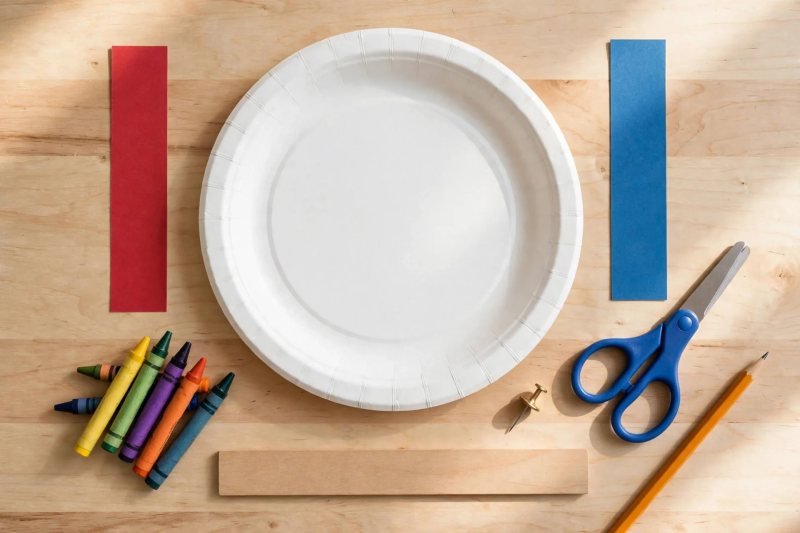
- One sturdy paper plate
- Thick paper or card in two colors
- Markers or crayons
- Child-safe scissors
- A ruler
- A pencil
- One brass paper fastener
- Optional: stickers, a loop of tape or a magnet for the fridge
Before you start
1. Clear a table and lay out everything except the fastener — that stays in the adult's pocket. 2. Five minutes, no printing.
How to do it
-
Lay out the supplies together. Spread everything out and let your child arrange it — small ownership now means big pride later. Steps 1–7 build the clock; 8–9 are the first games; 10 gives it a home.
-
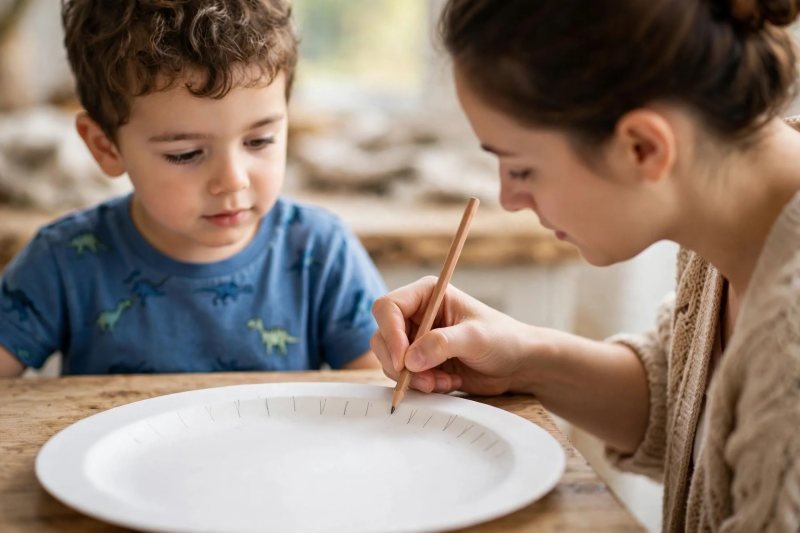
Pencil the hour guides (grown-up's job). Lightly mark twelve evenly spaced ticks inside the rim: 12 on top, 3 right, 6 bottom, 9 left first, then three ticks between each pair. Count the ticks aloud together — our counting worksheets for kindergarten give the counting extra reps.
-
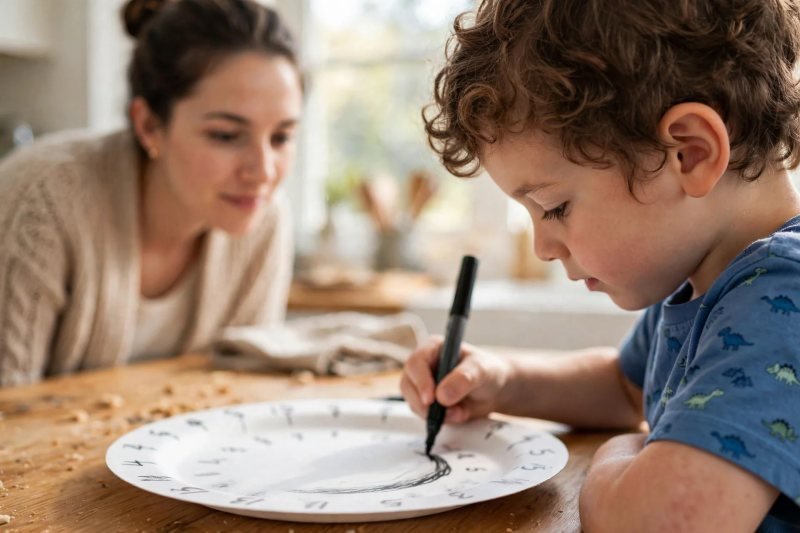
Write the numbers 1–12, clockwise. Anchors first — 12 top, 3 right, 6 bottom, 9 left — then fill in the rest. Numbers sit inside the circle, upright, near the rim.
-
Decorate the rim. The band between numbers and edge is all your child's: zigzags, dots, stickers.

-
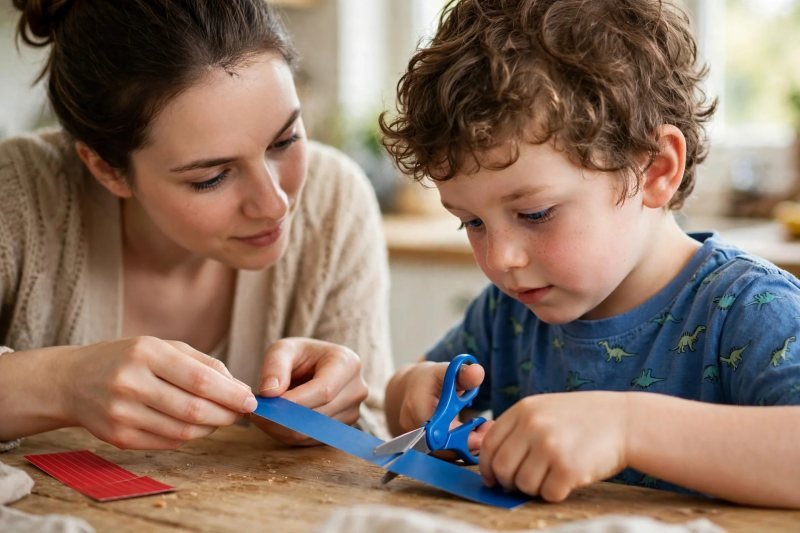
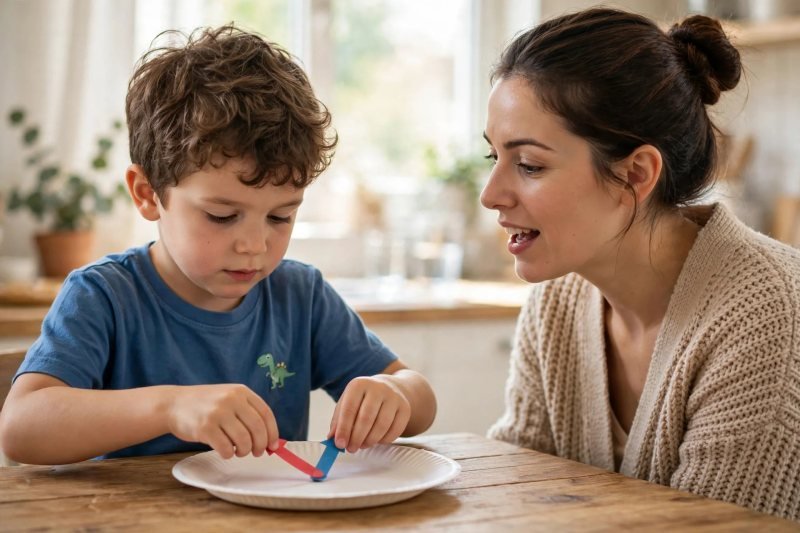
Cut the two hands from card. One short and chunky (hour hand), one long and skinny (minute hand) — pointed tips, different colors — short hand for hours, long hand for minutes, the analogue clock rule.
-
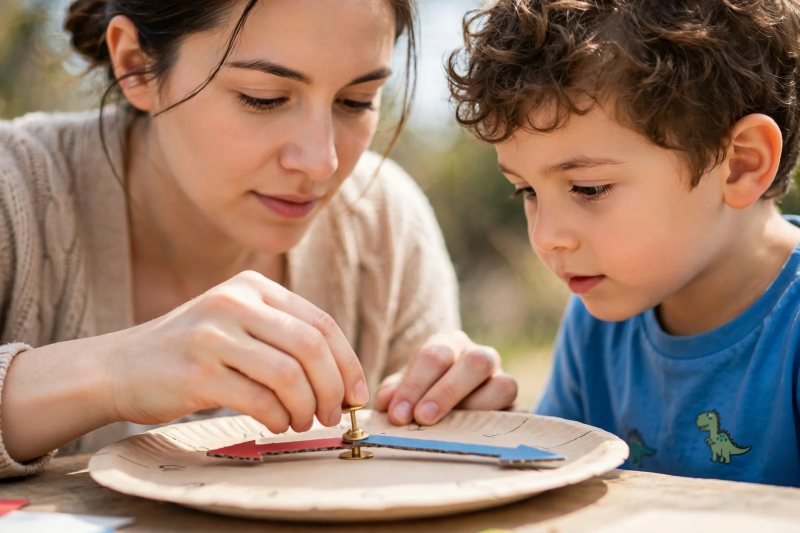
Attach the hands with the brad — adult only. Your child watches; you do it. Push the sharp point through both hands and the plate's center, spread the prongs flat, and tape over them.
-
Do the spin test. Let your child swing both hands. Too stiff? Wiggle to loosen. Spinning freely? Press the brad tighter. A hand that will not turn is a clock that will not teach.

-
Play "set the time." Call out an o'clock — "three o'clock!" — and your child points the long hand straight up to 12 and the short hand at 3. Once o'clock is instant, the minute hand's next stops are 5, 10, 15 — skip counting by 5s teaches the jumps.
-
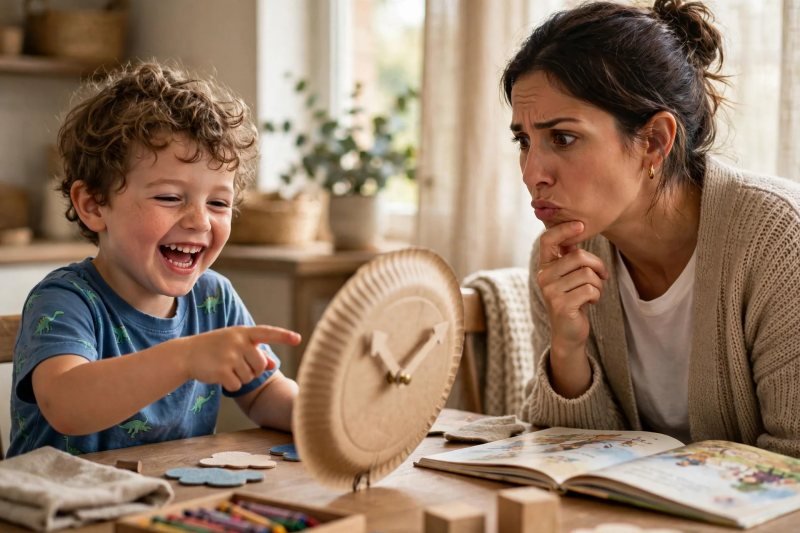
Swap roles — and get one wrong on purpose. Your child sets an o'clock; you read it back. Misread one deliberately and let them catch you. Our how to teach a child to tell time guide maps what comes next once o'clock clicks.
-
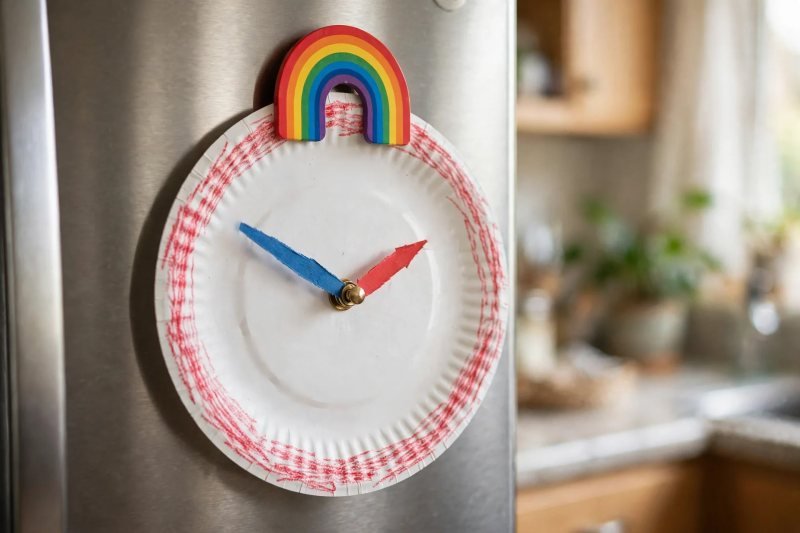
Give the clock a home on the fridge. A loop of tape or a magnet holds it at eye level: "Lunch is at twelve o'clock — go check!" Between check-ins, our counting games for preschoolers keep the numbers fresh.


Make it easier
You pencil the numbers; your child traces in marker. Or build an "anchor clock" first — just 12, 3, 6, 9.
Make it harder
Once o'clocks are instant, point the minute hand straight down for half past. Or build a second clock from memory — no guide ticks — and compare.
Other ways to play it
- Bedtime clock: set it to bedtime and hang it on the bedroom door.
- Snack o'clock: announce the day's schedule as o'clocks all day long.
- Giant chalk clock: draw a two-foot dial on the driveway; your child IS the minute hand.
How it changes by age
- Five and six is the sweet spot: they can write numerals, cut the hands, and grasp that the shorter hand means hours.
- Four-year-olds decorate and trace while the grown-up writes.
What they're learning
Number sequencing in a circle. The idea that size carries meaning — short hand is hours, long hand is minutes. Fine-motor control from cutting and writing. Basic time vocabulary.
Clearing up
Cap the markers, recycle the offcuts, done. Keep the clock — store it flat or on the fridge.
Questions parents ask
What supplies do I need to make a paper plate clock?
Is the paper fastener safe for kids to use?
My child's numbers are crooked — does that matter?
Can a paper plate clock teach half past too?
How do I stop the hands from spinning too loosely?
Do not rush to half past — let o'clock have its week. If the hands loosen, press the brad snug again. Our parent guide to teaching time (linked in step 9) maps out what follows.

save it for later
Pin this for the next rainy afternoon
Keep it on a board so it is there when you need it, rather than when you happened to find it.
Save to Pinterest


