


Pattern Block Activities: Build, Copy and Design
A step-by-step how-to for parents on pattern block activities with the classic wooden or magnetic blocks. Ages 4–5 copy design cards, build mirror pictures, solve homemade block puzzles, and invent their own designs — learning shapes, symmetry, and planning as they play.
Hand your 4- or 5-year-old pattern blocks and a simple design card, and let them cover each outline with the matching block — yellow hexagon, red trapezoid, blue rhombus, green triangle, orange square. Once they can copy a card, have them rebuild beside it, mirror a half-picture, then free-design their own animals and pictures. Twenty minutes of play builds shape sense, symmetry, and planning.

The short version
- Pattern blocks are chunky wooden or magnetic shapes: hexagons, trapezoids, triangles, rhombuses, and squares.
- Start by sorting and naming the five shapes, then copy design cards by covering the outlines with matching blocks.
- Progress step by step: cover the card, rebuild beside it, copy from a picture, mirror a half-picture, solve a homemade puzzle, free-design.
- Mirror pictures teach symmetry hands-on — one half built by you, the other mirrored by your child.
- Free-design challenges ("build a fish," "use every shape") turn block users into inventors and build planning skills.
- Keep sessions to 20–30 minutes; drop back a step whenever a challenge frustrates.
- Age
- Ages 4–5
- Prep
- 5 min
- Play time
- 25 min
- Mess
- None
- Difficulty
- Easy
- Where
- Indoor
Why kids love this
Pattern block activities feel like building, not schoolwork. The blocks fit together with a satisfying click, and every challenge ends with a picture — a boat, a butterfly, a fish — made by hand. There is no timer and no score; if the blocks fit, the picture works. Kids return to them again and again, each round quietly stretching shape sense and patience.
What you'll need
- Wooden or magnetic pattern blocks — the classic set: yellow hexagons, red trapezoids, blue rhombuses, green triangles, orange squares
- Pattern-block design cards with plain block outlines (no reading required)
- Plain paper and a crayon or marker (for making puzzle cards)
- A tray, cookie sheet, or magnetic board to build on
- Optional: a picture book or printed page with pattern-block designs
Before you start
1. Dump the blocks onto the tray — sorting them by shape is the first activity, not a chore to do ahead. 2. Pick out one simple design card: a house, a boat, or a flower. 3. Keep the remaining cards out of sight so the first sessions stay short. 4. Clear a table or rug where a long mirror picture can spread out.
How to do it
-
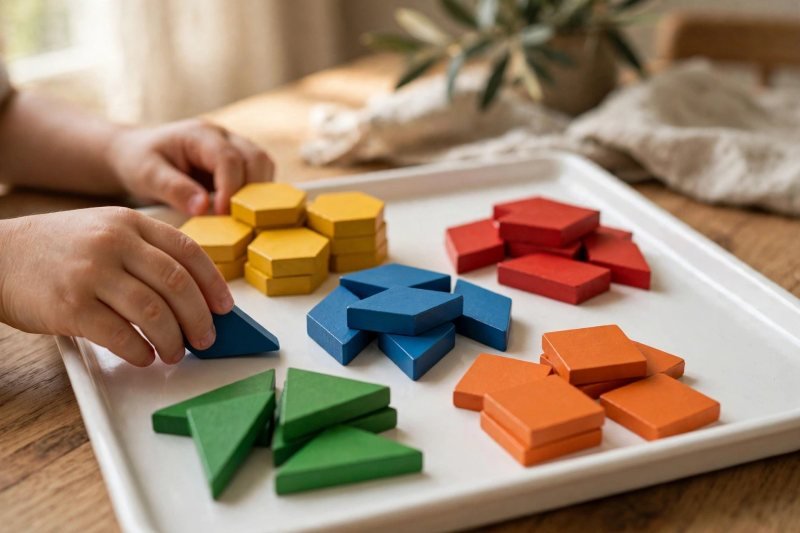
Sort and name the five shapes. Dump the whole set on the tray and let your child handle the pieces. Pick up one of each and name it out loud: "This big yellow one is a hexagon. This red one is a trapezoid. This blue diamond is a rhombus. These green ones are triangles. These little orange ones are squares." Then sort the blocks into five piles together — every later challenge depends on knowing which block is which.
-
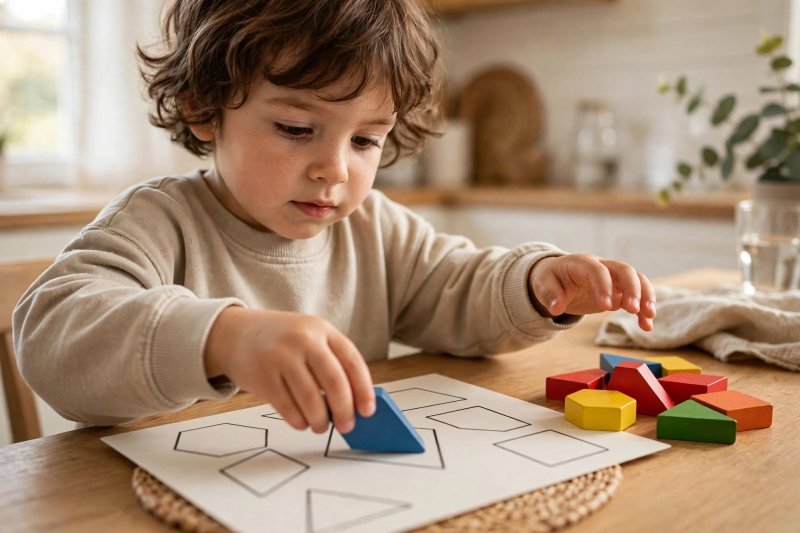
Copy a design card by covering it. Lay one simple design card flat and place the blocks directly on top of the outlines. Do the first two or three together, saying each shape as it lands: "The house roof needs two trapezoids." Then hand them the next block and let them place it. Copying by covering is the gentlest start — the card shows exactly where everything goes, so the first picture looks great and success comes fast.
-
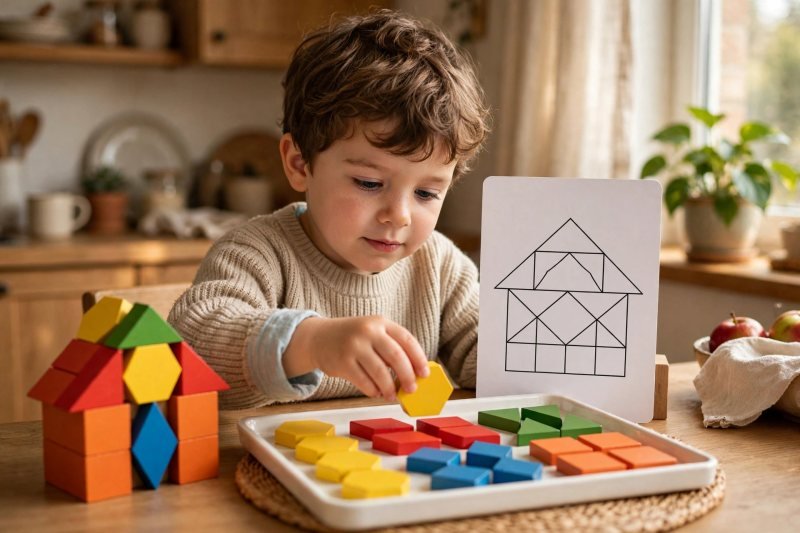
Rebuild the picture beside the card. Stand the design card upright as a reference only — not under the blocks. Your child rebuilds the same picture on the tray, glancing back at the card like copying a recipe. Now they must hold the picture in their head, choose the right shapes, and decide where each sits. If a piece lands wrong, don't correct it — ask, "Does that part match the card?" Let them compare and adjust.
-
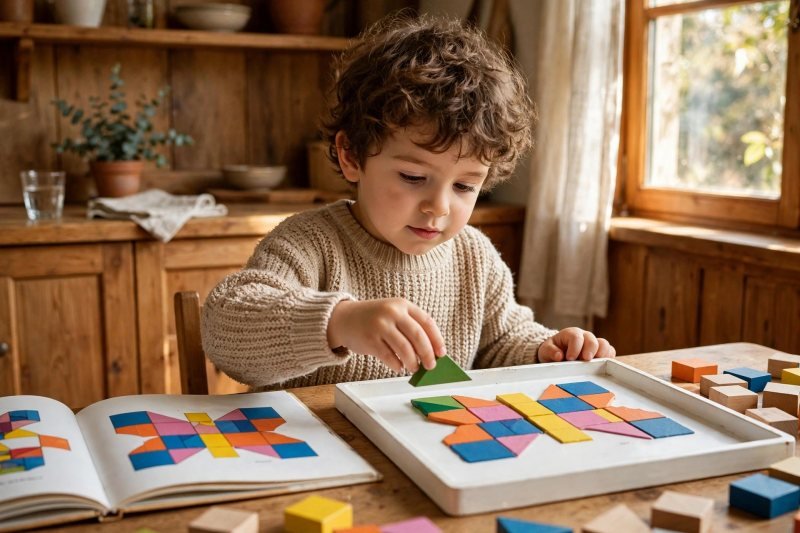
Copy a design from a picture. Copy a finished design from a book or printed page, where no outlines guide the placement. Your child must see the individual blocks inside the picture — the hexagons in the wings, the triangles in the sails — and choose them one by one. Start with small pictures of 5–8 blocks. This is pattern-vision practice: breaking a whole into its parts, the same skill used years later reading maps, diagrams, and geometry figures.
-
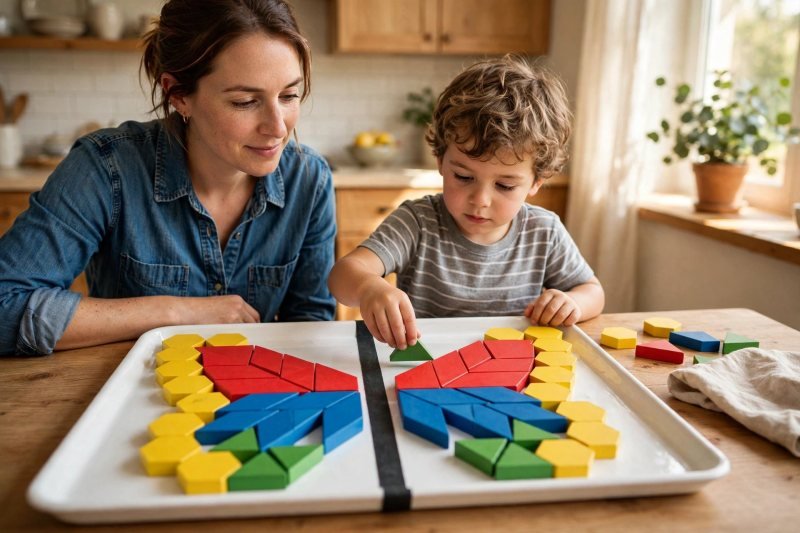
Build a mirror picture. Tape a line down the middle of the tray — the mirror line. Build half a butterfly or flower on one side yourself, then invite your child to mirror it on the other side with the same blocks, like the line is a mirror showing the missing half. Start with 3–4 blocks so the mirror stays easy to read: "Your side has to look like the mirror of my side." When the halves match, your child has built their first symmetrical design piece by piece.
-
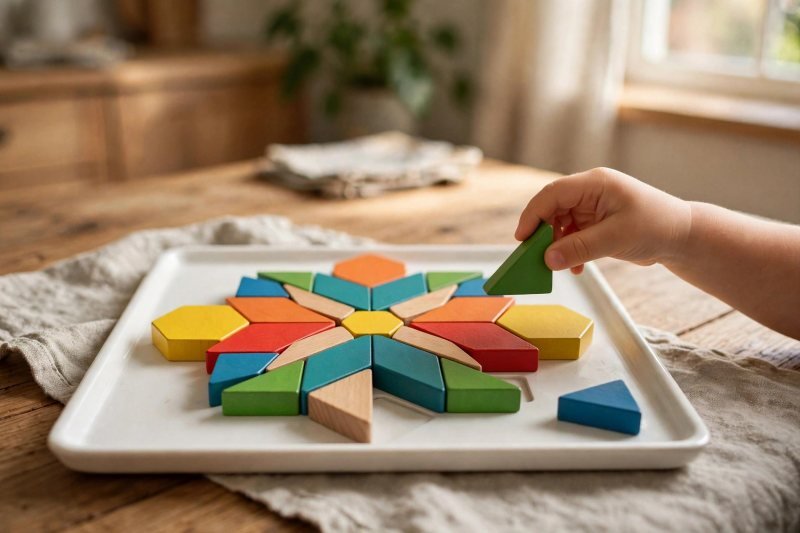
Find the block that breaks the mirror. Build the mirror half again, but plant one wrong block — a rhombus where a triangle should be. "Hmm, my side looks funny. Can you find the block that breaks the mirror?" Let your child hunt the mismatch and swap in the right block. Then switch roles: let them build a half with a mistake and make YOU find it. Many four-year-olds love being the teacher.
-
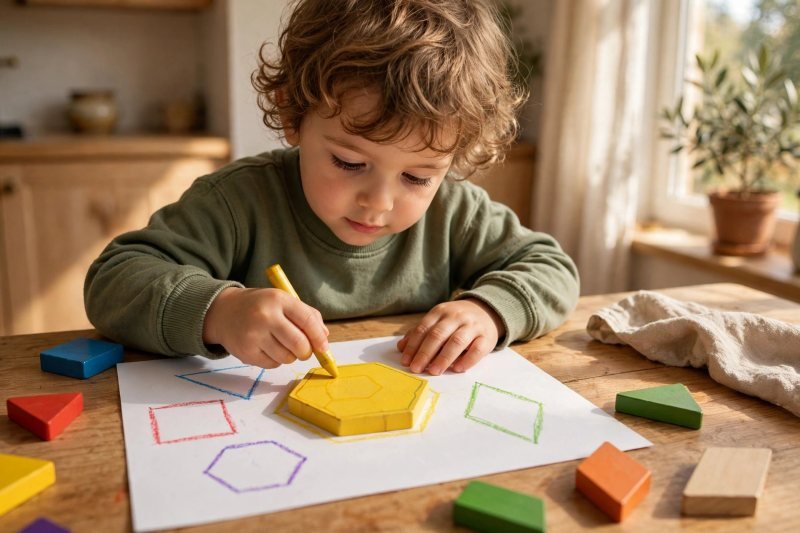
Make a homemade pattern-block puzzle. Trace blocks onto paper to make your own puzzle card: press a block flat, trace around it, and keep going until you've outlined a whole picture — a simple house or fish. Hand the page to your child and let them fill every outline with the right block. Homemade puzzles sit between copying a printed card and inventing freely, and kids are often extra proud solving a puzzle their own parent made.
-
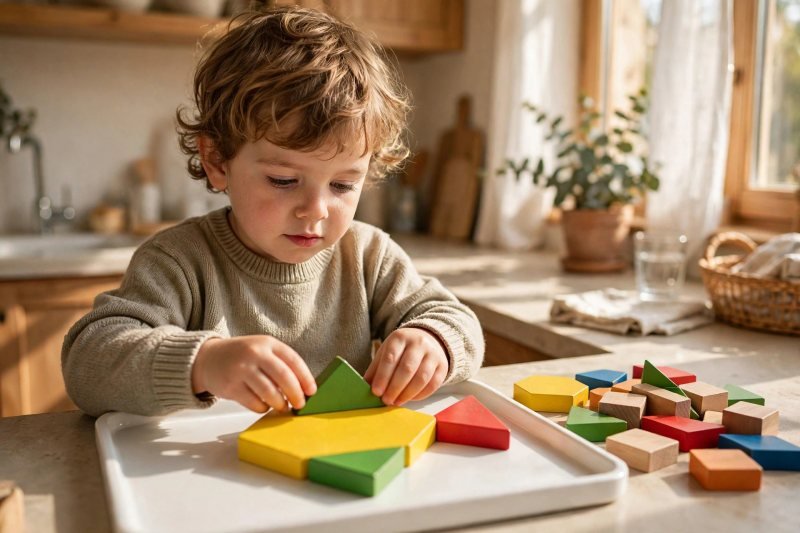
Try a first free-design challenge. Give one clear mission and no card: "Can you build a fish using only pattern blocks?" The fish might be a big hexagon body, triangle fins, and a trapezoid tail, or something only your child recognizes. Both count. If they stall, offer one hint — "Which block would make good fins?" — then step back. Free-design challenges turn block users into block inventors, and the pictures get gloriously weird, which is exactly the point.
-
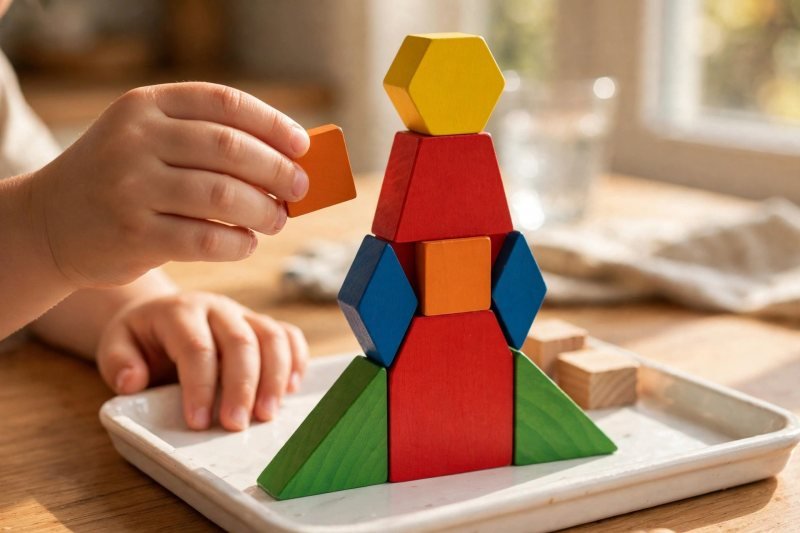
Make free design harder with one rule. Add one rule to the next free build: "This time your picture must use every shape — at least one hexagon, one trapezoid, one rhombus, one triangle, and one square." Watch the planning kick in: your child starts with the tricky shape first, or builds the whole picture and hunts for a spot for the last square. Constraint challenges practice planning without a worksheet. Rockets, robots, and castles are classic one-of-each pictures — but let their idea win over yours.
-
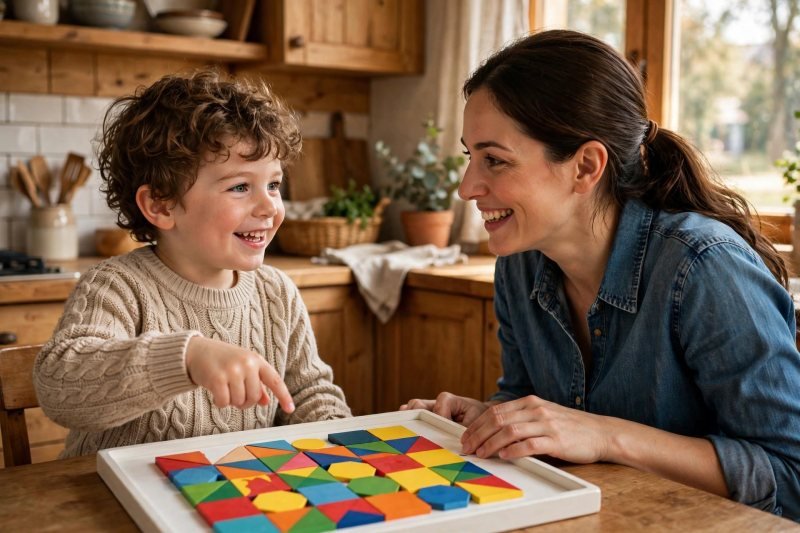
Celebrate with a design show-and-tell. Hold a design show-and-tell. Ask your child to walk you through their finished picture, naming every shape: "Point to each block and tell me its name." Cheer the names, photograph the picture, and let them decide whether it stays up or gets rebuilt. This locks in the shape vocabulary from Step 1 and makes your child feel like a designer — because they are one. Save the best photo for the fridge gallery.


Make it easier
Start with 3 shapes — triangles, squares, hexagons — and add the others later. Choose the simplest design cards: 5–8 blocks with big outlines. Keep the tray small so only a few blocks are in play at once. Sit beside them, not across — building in the same direction makes copying natural. If a card frustrates them, drop back to shape-sorting and return tomorrow. Still sorting? Shape sorting activities firm up the names first.
Make it harder
Copy pictures with no outlines at all, from photos of finished designs. Build bigger mirror pictures with 8–10 blocks per half. Race the puzzle-card round — "Can you fill the card before my tea cools?" Invent new challenges: "Use exactly 12 blocks" or "Build the tallest thing that still stands up." Older siblings can try real mirror art with an acrylic mirror. (Do NOT link "symmetry activities for kids" — that article is not live yet.)
Other ways to play it
- Magnetic board version: magnetic blocks on a cookie sheet go anywhere — perfect for waiting rooms.
- Sticker version: trace a design, then fill the outlines with shape stickers.
- Partner build: take turns placing one block at a time into a shared picture.
- Block rubbings: lay paper over a finished picture and rub with a crayon to "print" it as a keepsake.
- Sorting race: scatter the blocks and race to sort them into shape piles — usually ends in giggles.
- Take it outside with a shape hunt game.
How it changes by age
- Ages 4–5. Younger fours do best with Steps 1–3 — sorting, covering a card, rebuilding beside it — with chunky blocks and short sessions. Older fours and fives fly through the copying rounds and live for Steps 5–9: mirror pictures, puzzles, and free-design challenges. Follow their ease, not their birthday: if mirror-building stalls, drop back to card copying with zero fuss. Ready for solid shapes? 3D shapes activities build on the flat ones here.
What they're learning
Shape recognition: naming hexagons, trapezoids, triangles, rhombuses, and squares inside real pictures — the core of early geometry. Our 2D shapes activities has more shape-naming play. Symmetry sense: mirroring one half of a picture across a line — the first taste of the line of symmetry. Planning and problem solving: choosing which block goes where, and fitting five shapes into one design. Part-to-whole thinking: seeing the blocks inside a finished picture — the skill used in maps and diagrams. Fine motor control comes free with every pick-up and place — more hand-strength play in our fine motor activities for preschoolers.
Clearing up
Two minutes: sort the blocks back into their five shape piles — one last round of shape practice, and many kids enjoy the sorting. Slide the cards back into their box and put the tray on a low shelf your child can reach, because tomorrow they'll want to play again.
Questions parents ask
What are pattern blocks for kids?
At what age can kids use pattern blocks?
What do pattern blocks teach preschoolers?
How do I teach my 4-year-old to copy a design card?
What is the difference between pattern blocks and tangrams?
Keep the cards put away after the copying rounds — free design (Steps 8–9) works best when no "right answer" picture is sitting nearby. Rotate the block box with other toys every week or two: pattern blocks feel brand new after a short break. If your child would rather build towers than pictures some days, let them — the shape names stick anyway. For paper practice, shapes worksheets for kindergarten extend the same shapes.

save it for later
Pin this for the next rainy afternoon
Keep it on a board so it is there when you need it, rather than when you happened to find it.
Save to Pinterest

