


Fall Crafts for Toddlers
Fall crafts for toddlers start with real treasures — leaves you collect together, a pumpkin shape, and an apple half. This guide walks through leaf rubbings, leaf stamps, fork-painted pumpkins, and apple prints in ten easy steps made for ages 2–3.
Fall crafts for toddlers work best with real fall treasures: collect leaves together, sort them, then make crayon leaf rubbings, leaf stamps, fork-painted pumpkins, and apple prints on sturdy paper. Keep paint washable, pieces large, and sessions short, and finish with a collage your toddler can proudly display.

The short version
- Start with a leaf hunt — collected treasures hold toddler attention far better than store supplies.
- Leaf rubbings are the most forgiving first craft: the picture appears even with scribble pressure.
- Thin paint is the secret to clear leaf and apple prints; gloopy stamps slide and blur.
- A plastic fork pressed in rows makes perfect pumpkin ridges with zero skill required.
- Paint-covered apple halves are tools, never snacks — keep fresh food separate and wash hands.
- End with a collage and a display line; pride in the gallery is what brings toddlers back.
- Age
- Ages 2–3
- Prep
- 10 min
- Play time
- 35 min
- Mess
- Some
- Difficulty
- Easy
- Where
- Indoor
Why kids love this
Fall crafts for toddlers work because the materials are real. A leaf your toddler found and carried home is not a supply — it is treasure. Rubbing a crayon until a leaf appears, pressing a fork to grow a pumpkin's ridges, and stamping a sweet-smelling apple all give big results from simple moves. A proud display at the end makes the session feel like an achievement.
What you'll need
- A basket of collected fall leaves — a mix of sizes and shapes, dry and fairly flat
- Sturdy white or light paper — thicker paper survives toddler pressure best
- Large peeled crayons in fall colors, with the paper wrappers removed for rubbings
- Washable tempera paint in orange, red, yellow, and brown, in shallow dishes
- Plastic forks for fork painting, plus chunky brushes or sponges for leaf printing
- One apple, cut in half by an adult, and orange paper pumpkin shapes cut by an adult
- A glue stick, a washable table cover, smocks or play clothes, and a damp cloth for hands
- A piece of string and clothespins or tape for the display line
Before you start
Collect leaves on a short walk or yard hunt the same day if you can — fresh leaves are flexible; very dry, curled leaves crumble under toddler hands. Cut the apple in half and cut out simple pumpkin shapes from orange paper before your toddler sits down; all cutting is an adult job, done in advance. Pour paint into shallow dishes — a tablespoon per color is plenty — and peel crayon wrappers so the sides are bare for rubbing. Cover the table, lay out only the current step's materials, and keep the rest within your reach but out of sight; toddlers focus better with less on the table.
How to do it
-
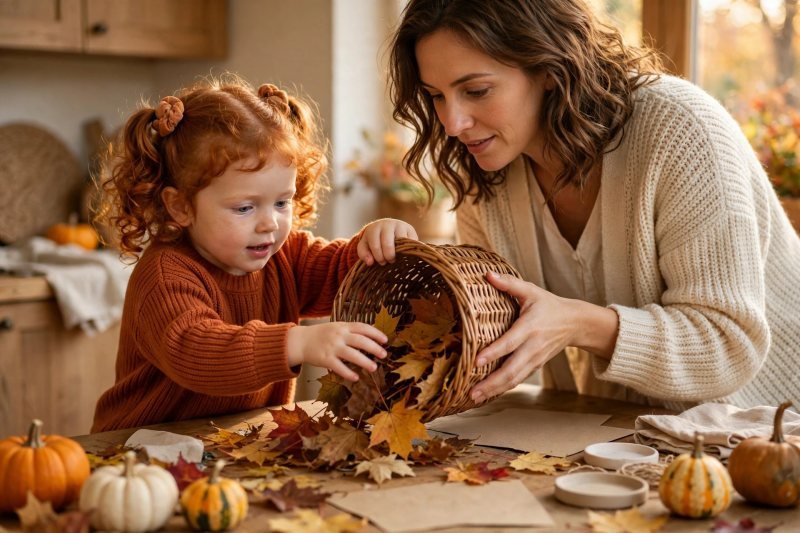
Hunt for leaves together. Take a basket outside for a short hunt — the yard, a sidewalk tree, or a park corner — and collect fallen leaves only, never pulling from trees. Say: "We need treasure leaves: some big, some little, some red, some gold." Let your toddler choose most of them and carry the basket home; the hunt is the warm-up act for these fall crafts for toddlers, and it works just as well as a standalone autumn leaf collection and sorting game on a day when you skip the paint. Back at the table, tip the basket out together. Treasure gathered — now sort it.
-
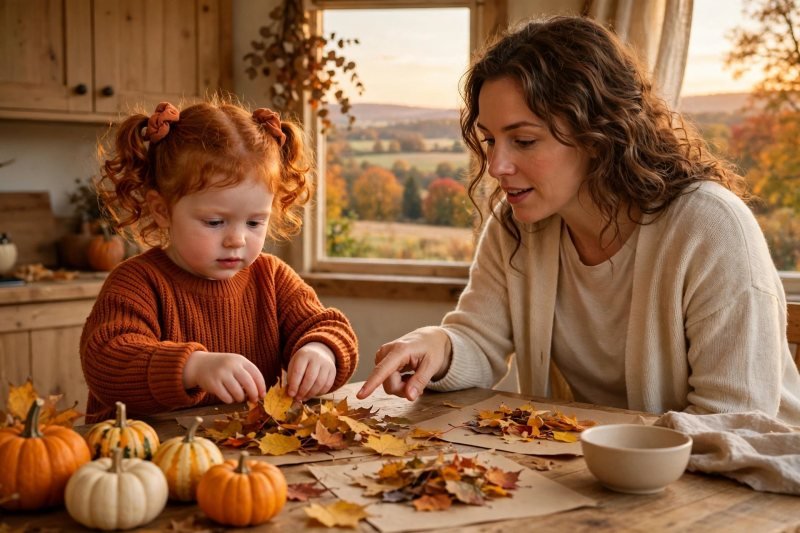
Sort the leaf treasure. Spread the leaves out and sort together by simple, touchable rules: big leaves here, little leaves there; red and gold in one pile, brown in another. Say: "Big ones for rubbing, little ones for our collage later — where does this one belong?" Press the best rubbing leaves flat under a heavy book for a few minutes while you finish setting up, and set broken or crumbly leaves aside for sensory crumbling into the collage at the end. Sorting is real early math and gentle fine-motor practice for preschoolers in disguise. Leaves sorted and pressing — set the stage for making.
-
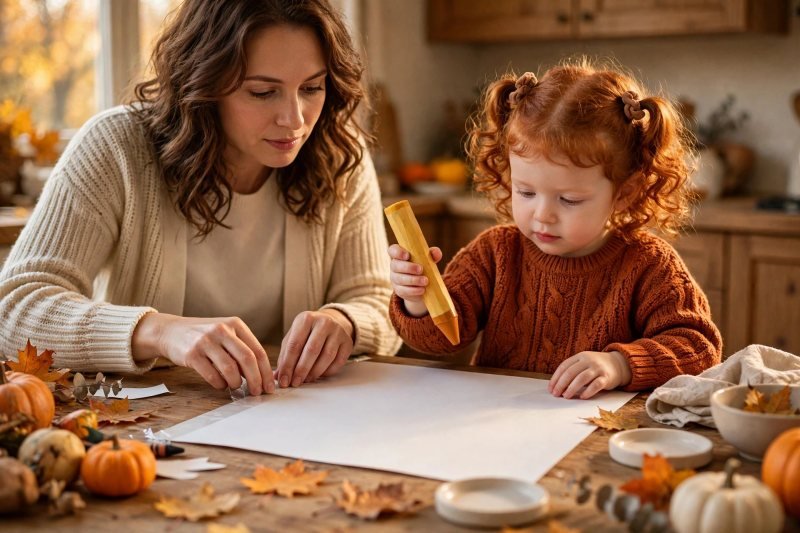
Set up the craft table. Cover the table, tape one large sheet of sturdy paper down at your toddler's spot so it cannot slide, and lay out only the rubbing supplies: a pressed leaf and two peeled crayons. Put smocks on, sleeves up, and the damp cloth within reach. Say: "Our table is a workshop now — paper stays here, paint comes later, one job at a time." Keeping later materials hidden is the unglamorous secret of calm toddler crafts; each new tool arrives like a surprise instead of a distraction. Table ready and first leaf chosen — make the hidden leaf appear.
-
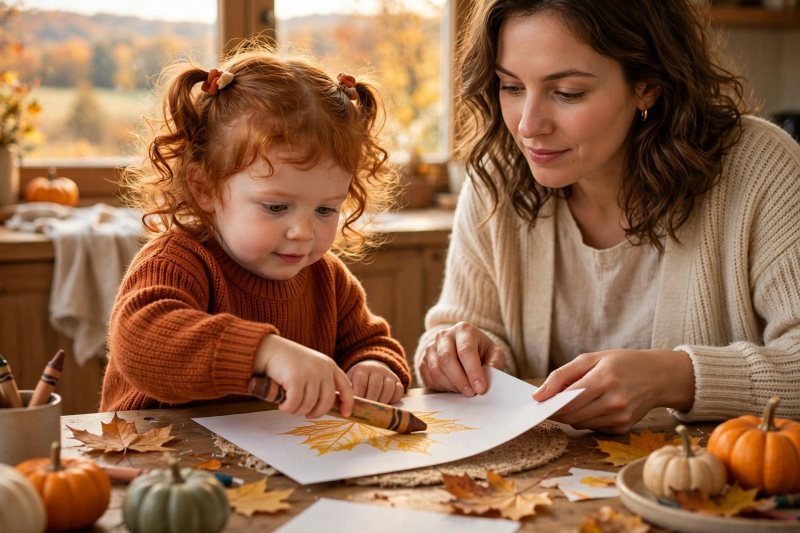
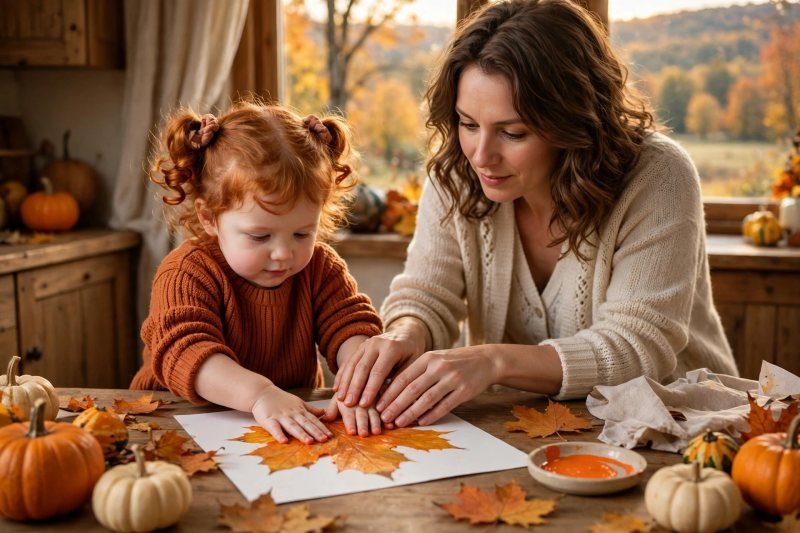
Make leaf rubbings. Slide a pressed leaf under the paper, vein side up, hold the paper steady with your hand, and show your toddler how to rub the side of a peeled crayon back and forth over the bump. Say: "Rub, rub, rub — peek! The leaf is hiding under the paper and the crayon finds it." Let your toddler rub in any direction with any fall color; the leaf shape emerges even with scribble pressure, which makes this the most forgiving first craft of the day. Try two or three leaves on the same sheet, naming colors as you go. Rubbings glowing — turn real leaves into stamps next.
-
Print with leaf stamps. Brush a thin layer of paint onto the veiny back of a fresh leaf — thin is the whole trick, since a gloopy leaf slides and blurs — then press it paint-side down onto a fresh sheet and pat all over. Say: "Paint the leaf's back, press, pat pat pat — now peel and see!" A pale print just means less paint next time. Prints drying at the table's edge — time to grow a pumpkin patch with a fork.
-
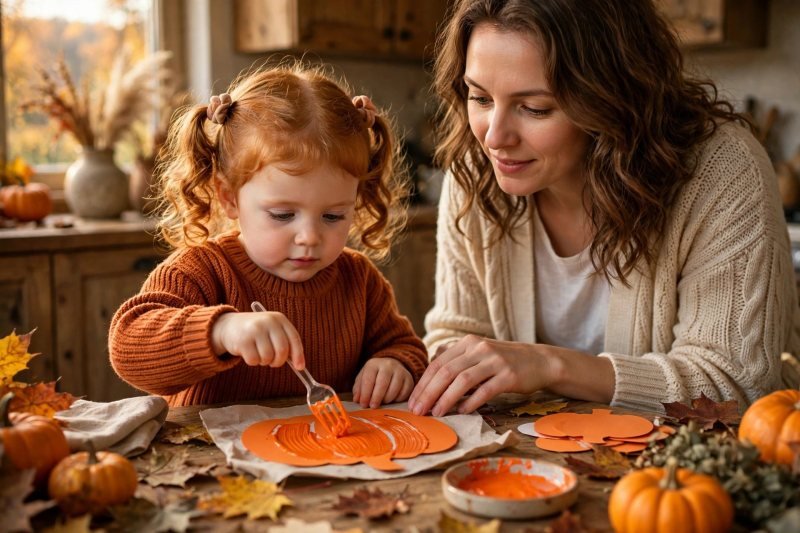
Fork-paint a pumpkin patch. Set out an orange paper pumpkin shape for each person, brown paint for stems later, and a plastic fork dipped in orange or yellow paint. Show the move: press the fork flat, lift straight up, and repeat in rows to make the pumpkin's ridges. Say: "Fork down, fork up — stripes for our pumpkin, just like the lines on a real one." Toddlers who love repetition can fill the whole pumpkin; toddlers who do not can add a few stripes and call it done, because the painted ridges read as a pumpkin either way. If your toddler wants to meet a real pumpkin first, pumpkin scooping and seed sorting makes a messy, memorable warm-up before the paper version. This kind of playful mixing and stamping pairs beautifully with color-mixing activities for preschoolers on another day. Pumpkins ridged — bring in the sweetest stamp of all.
-
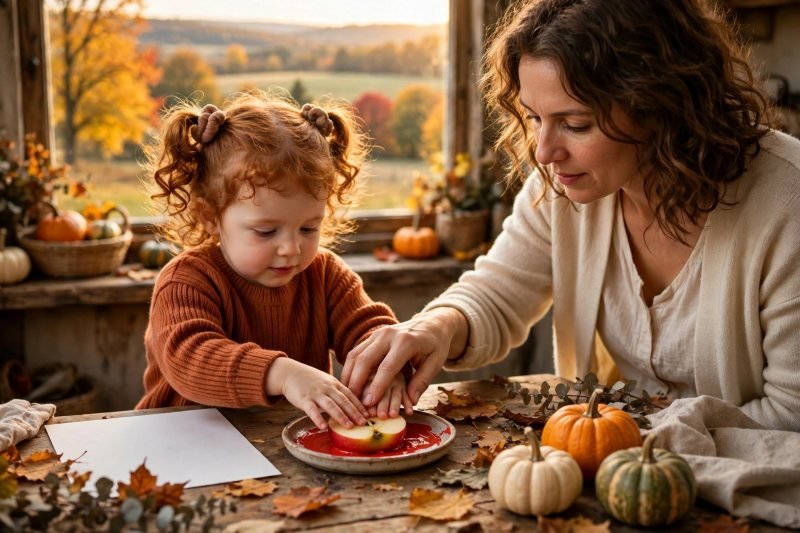
Stamp with apple halves. Press an apple half firmly into red or green paint, then stamp it onto fresh paper with a two-handed press and a little rock. Say: "Press, rock gently, lift — an apple picture with seeds hiding inside!" Point out the little seed pockets in the middle of a good print. Once your toddler has the stamping move, the same press-and-lift works for potato printing on another day. Keep stamped apples strictly for crafting — paint-covered fruit never goes back to snacking. Apples stamped — add the small details next.
-
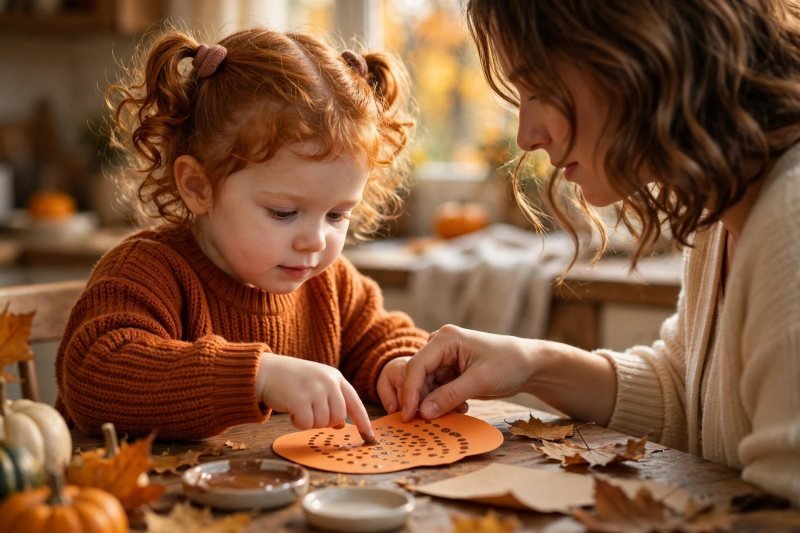
Add details with fingers and dots. Bring back the pumpkin shapes and leaf prints, now dry enough to handle, and offer brown paint for fingerprint stems, dots for falling leaves, and short strokes for grass. Say: "Your finger is a tiny brush — one dot for a stem, dots for leaves falling down." Finger painting gives toddlers precise control without a tool to manage, and dots are achievable at any skill level, so every child finishes with details that are truly theirs. If attention is fading, skip ahead — details are decoration, not a requirement. Details dotted — gather the day's best pieces for one big finish.
-
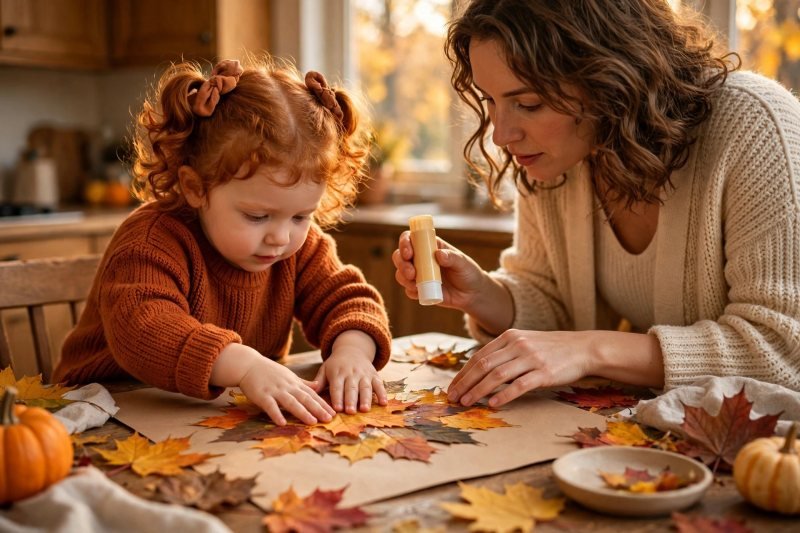
Build a fall collage. Lay a fresh large sheet down, set out the glue stick, the set-aside crumbly leaves, spare small leaves, and one or two of today's prints to cut or tear (adults cut; toddlers tear). Show how to swipe glue, press a leaf down, and smooth it flat. Say: "Everything we found and made can live on one page — your whole fall day, right here." Let your toddler place pieces freely; overlapping, crooked, and glue-heavy are all correct at age 2 and 3. Collage complete — finish the way real artists do, with a display and a clean workshop.
-
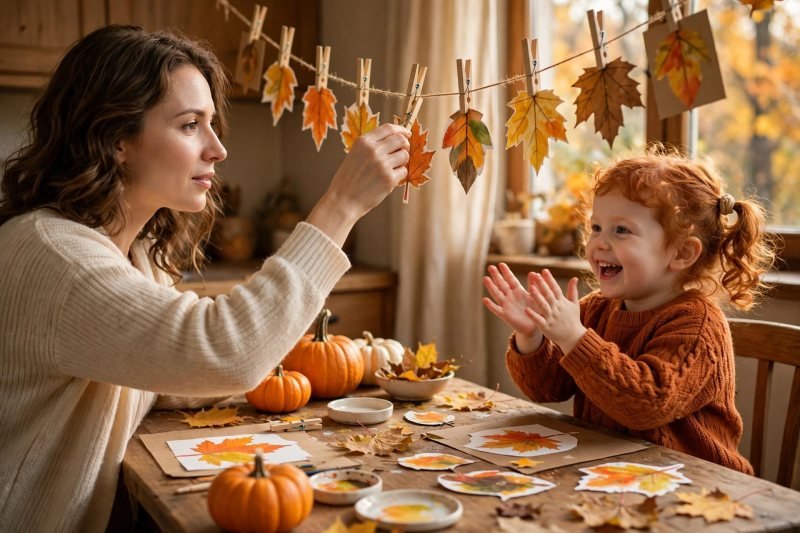
Dry, display, and tidy up together. Move finished pieces to a flat drying spot, then string up the display line and clip each craft up with ceremony. Say: "Artists hang their work — which one goes first in our fall gallery?" Admire each piece, then tidy together: lids on paint, tools in a water cup, scraps in the trash, hands washed. Short sessions like this belong with the best toddler learning activities at home — real skills, real pride. Gallery hung — fall crafting, complete.


Make it easier
Do one craft per sitting — rubbings today, fork pumpkins tomorrow — and keep the display line growing all week. Pre-paint leaves for very young 2-year-olds so their only job is pressing and peeling. Use bigger paper than you think you need; toddlers aim wide, and paper edges end more sessions than attention does.
Make it harder
Let your 3-year-old lead the leaf sort with their own rule — bumpy versus smooth, or leaves with points versus round ones. Add a simple pattern challenge to the fork pumpkin: alternate orange and yellow rows, counting rows together. Invite your toddler to "sign" their collage with a full handprint in the corner, the artist's mark.
Other ways to play it
- Nature-table version: skip paint entirely — rubbings, leaf sorting, and a glue-only collage make a calm, low-mess fall session.
- Pumpkin-focus version: fork-paint three sizes of pumpkin, add fingerprint stems, and turn them into a paper pumpkin patch along a hallway wall.
- Gift version: do leaf rubbings and apple stamps on blank cards or thick paper to make fall greetings for grandparents.
How it changes by age
- Ages 2–3: the target band. Expect short bursts, whole-hand pressing, and strong opinions about colors. You prep, pour, cut, and steady; they rub, press, stamp, and glue. End while it is still fun — ten good minutes beat thirty forced ones at this age.
- Ages 4–5: most can paint their own leaves thinly, manage a glue stick precisely, and plan a collage layout before gluing. Add naming and counting — how many prints, which leaf is biggest — to stretch the same session.
- When to adjust: if your toddler mouths everything, lean on rubbings and large-leaf work, watch small items closely, and keep paint sessions hand-over-hand until the mouthing stage passes.
What they're learning
Fine motor control: rubbing, pressing, fork lifting, and glue swiping build the hand strength and control that writing will need. Cause and effect: a hidden leaf appears, a painted leaf leaves a print, an apple hides a star — actions visibly change the world. Early math: sorting by size and color, counting dots and rows, and comparing biggest and smallest are real math in craft clothes. Nature knowledge: leaf shapes, veins, stems, and seeds become familiar through touch, not just pictures in a book.
Clearing up
Myth one: toddler crafts need a kit. This session runs on found leaves, one apple, washable paint, paper, and a fork. Myth two: pale or blurry prints are failures — they teach "less paint" and "press, don't slide," and every sheet still displays proudly. Myth three: fall crafts must look like a catalog. At 2 and 3, orange fork stripes and red apple blobs ARE fall art — process over product, always.
Questions parents ask
What are the easiest fall crafts for a 2-year-old?
How do you make leaf rubbings with toddlers?
Is fork painting safe for toddlers?
Can toddlers eat the apple after apple stamping?
How long should a toddler craft session last?
Keep the display line up all week and add one new piece a day — rubbings today, fork pumpkins tomorrow — so the fall gallery keeps growing without a second big setup. Press any spare flat leaves between sheets of paper inside a heavy book and they will keep for a week or two, ready for another round of rubbings or a fresh collage. If a print comes out pale or blurry, treat it as a clue, not a failure: less paint on the leaf and a straight press instead of a slide usually fixes the next one.

save it for later
Pin this for the next rainy afternoon
Keep it on a board so it is there when you need it, rather than when you happened to find it.
Save to Pinterest
