


Halloween Crafts for Toddlers: 10 Easy Low-Mess Ideas
Ten gentle, low-mess Halloween crafts for toddlers — sticker pumpkins, handprint ghosts, and cotton-ball collages — planned as one happy craft session for ages 2–3.
These 10 Halloween crafts for toddlers suit ages 2–3: sticker pumpkins, handprint ghosts, cotton-ball ghost collages, fingerprint pumpkin lights, paper-plate jack-o-lanterns, tissue-paper ghost garlands, sponge-stamped bats, footprint Frankensteins, dot-marker candy corn, and washi-tape mummies. All use washable, non-toxic supplies and finish in minutes.

The short version
- 10 toddler-safe Halloween crafts, one per step, in a single 45–60 minute session
- washable, non-toxic supplies only — no glitter, no sharp tools, no real candles
- friendly, not scary: smiling ghosts, grinning pumpkins, silly Frankensteins
- each step names what to set up, what to say, and what your toddler does
- ends with a wall gallery of all ten crafts plus a tidy-up routine
- Age
- Ages 2–3
- Prep
- 10 min
- Mess
- Low
- Where
- Indoor
What are the easiest Halloween crafts for toddlers?
When your toddler is already costumed and the doorbell's about to ring, you need instant crafts. These six use stickers, paper, and handprints — no drying time, no sharp tools, most genuinely no-mess.
1. Sticker pumpkin: orange paper pumpkin + big black sticker face. 2. Handprint ghost: white handprint on black paper; two dot eyes. 3. Cotton-ball ghost: press cotton balls onto contact paper in a ghost shape. 4. Apple pumpkin stamps: halved apple dipped in orange paint; stamp. 5. Bat handprints: black handprints (fingers = wings); eyes on the palm. 6. Tape-resist pumpkin: tape stripes on paper; paint orange over; peel.
Prep: 0–3 min · Mess: none to medium · Ages: 1–3. Safety note: large stickers and pieces only — small stickers, googly eyes, and beads are choking hazards. More: no-prep activities.
Which not-scary crafts work for 1–2 year olds?
Under-2s explore with their mouths, so every material here is taste-safe or too big to swallow. Keep sessions under ten minutes and follow their lead — squishing the cotton balls IS the craft at this age.
1. Contact-paper ghost (ages 18 mo–2 · Prep: 3 min · Mess: none) - Materials: contact paper taped sticky-side-up; white tissue squares; two large black paper eyes. - Steps: 1. Tape the contact paper down. 2. Toddler presses tissue pieces on. 3. Add the big eyes. 4. Hang the finished ghost. - Safety note: contact paper eliminates glue — safest adhesive for mouthing toddlers.
2. Pumpkin sensory bag (ages 1–2 · Prep: 5 min · Mess: none) - Materials: zip-lock bag; orange hair gel or washable paint; black foam shapes; strong tape. - Steps: 1. Squirt gel in the bag; drop in foam shapes. 2. Seal, tape shut, tape to the table. 3. Toddler squishes shapes into a pumpkin face. - Safety note: tape the bag down and supervise — if the seal breaks, contents aren't taste-safe.
3. Monster footprints (ages 1–3 · Prep: 5 min · Mess: high) - Materials: washable paint; large paper; wipes; floor covering. - Steps: 1. Paint the sole of their foot. 2. Press onto paper. 3. Adult adds eyes when dry. 4. Straight to the bath after. - Safety note: washable non-toxic paint only; right-before-bath timing. Full how-to: monster footprint painting.
What Halloween crafts suit 2–3 year olds?
Two- and three-year-olds peel stickers, press handprints, and glue with glue sticks — real crafting. These two give genuine independence in friendly-Halloween territory.
1. Paper-plate spider web (ages 2–3 · Prep: 5 min · Mess: low) - Materials: paper plate (center cut out); white yarn; tape; large plastic spider. - Steps: 1. Adult cuts the plate center. 2. Toddler wraps yarn across the ring. 3. Tape ends at back. 4. Hang the friendly spider. - Safety note: adults cut; short yarn pieces, supervised — long strings are a strangulation risk. Full steps: paper plate spider web.
2. Pumpkin seed counting (ages 2–3 · Prep: 5 min · Mess: medium) - Materials: cleaned pumpkin seeds (or large orange pom-poms); bowls; scoops. - Steps: 1. Seeds in a tray. 2. Scoop and pour between bowls. 3. Count into groups of five. 4. Glue a few into pumpkin-seed art. - Safety note: one-to-one supervision — seeds are choking hazards; use pom-poms if they still mouth. Counting version: pumpkin seed counting game.
How do I keep toddler Halloween gentle and fun?
Follow your toddler's cues, not the calendar. If a decoration scares them, remove it — it's not funny to them. Keep costumes comfortable and optional; many toddlers prefer a pumpkin t-shirt over a full costume. Trick-or-treat early and briefly — three houses of delight beats thirty of tears. End with *Room on the Broom* by Julia Donaldson, the friendliest witch story ever. More gentle ideas: Halloween hub.
Why kids love this
Toddlers love Halloween crafts for toddlers because everything is soft, round, and friendly — squishy cotton balls, bumpy paint, and stickers that peel with a satisfying pop. There is nothing scary here: the ghosts smile, the pumpkins grin, and every project finishes in minutes, which is exactly the attention span a two-year-old brings to the table.
What you'll need
- Black, orange, white, and green construction paper; washable tempera paint: white, orange, black, and green; paper plates; cotton balls; black foam stickers or pre-cut paper shapes (pumpkin faces, eyes, mouths); dot markers in orange, yellow, and white; washi tape in black, orange, and purple; a kitchen sponge cut into a simple bat shape; paintbrushes; painter's tape; a smock or old t-shirt for your toddler; a washable tablecloth or old sheet; baby wipes for quick hand cleanups; a tray or cookie sheet for drying finished crafts.
Before you start
1. Spread the washable tablecloth over the kitchen table and tape down the corners with painter's tape. 2. Dress your toddler in a smock or old t-shirt, and roll their sleeves up. 3. Squeeze a small puddle of each paint color onto a paper plate — just a tablespoon each; you can refill later. 4. Set out the sticker pumpkins, cotton balls, paper plates, and dot markers in little piles around the table so everything is within reach.
How to do it
-
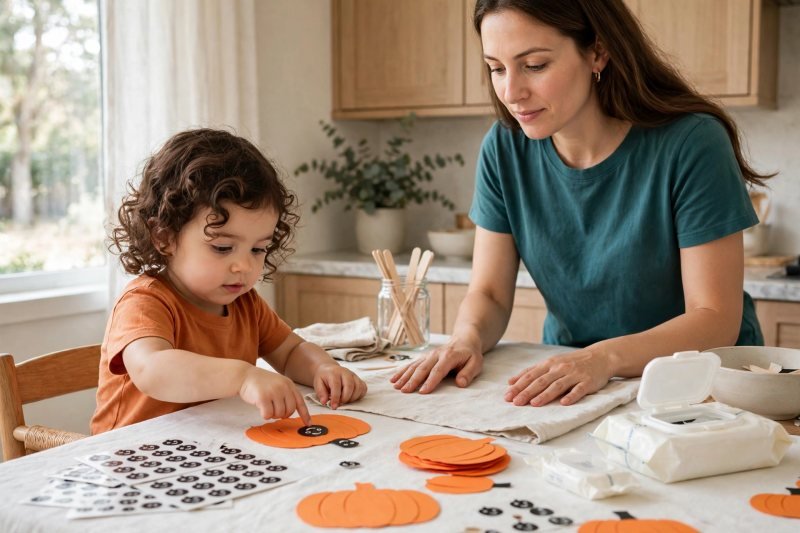
**Step 1: Cover the table and stick pumpkin faces.** Spread the washable tablecloth together and let your toddler smooth it flat — say, "We are getting our Halloween table ready!" Hand them an orange paper pumpkin and black face stickers. Say, "Peel a sticker and give your pumpkin a silly face!" They press eyes, noses, and mouths wherever they like; upside-down faces are perfect. Tape it to the tray and say, "First craft done — now let's paint a ghost."
-
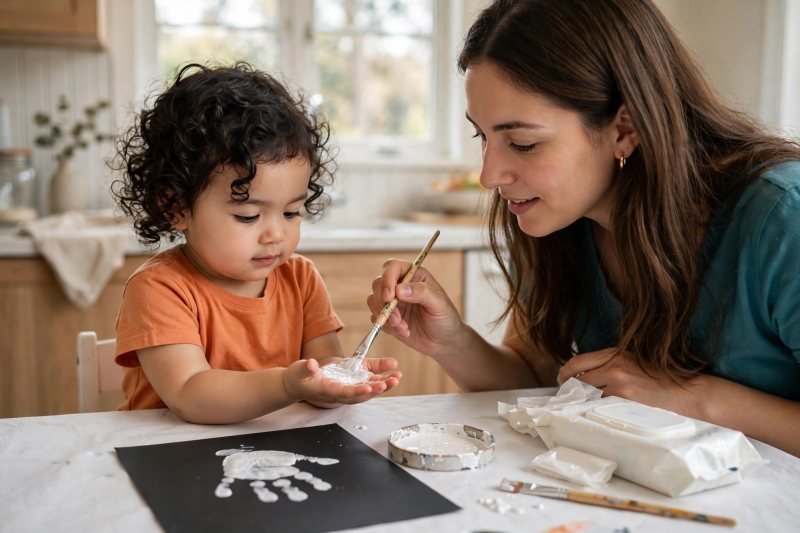
**Step 2: Make handprint ghosts on black paper.** Brush white washable paint onto your toddler's palm — say, "Open your hand like a starfish!" Press it onto black paper, lift straight up, and wipe their palm with a baby wipe right away. While the paint is wet, let them stick two black dots near the top as eyes. Say, "Your hand turned into a friendly ghost! Wave hello!" Set it on the tray and say, "Next, a fluffy ghost."
-
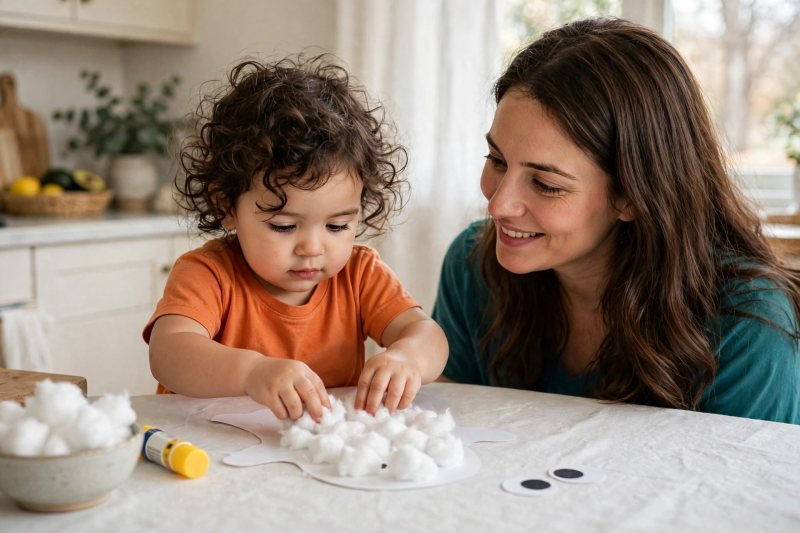
**Step 3: Build a cotton-ball ghost collage.** Show a white paper ghost dabbed with glue stick — say, "Pat the soft cotton balls onto the ghost, like tucking it into a fluffy blanket." They press and pat; stray balls rolling away is part of the fun. Add two paper eyes at the top. Say, "Feel how soft it is!" Place it on the tray and say, "Now let's light tiny pumpkins with our fingertips."
-
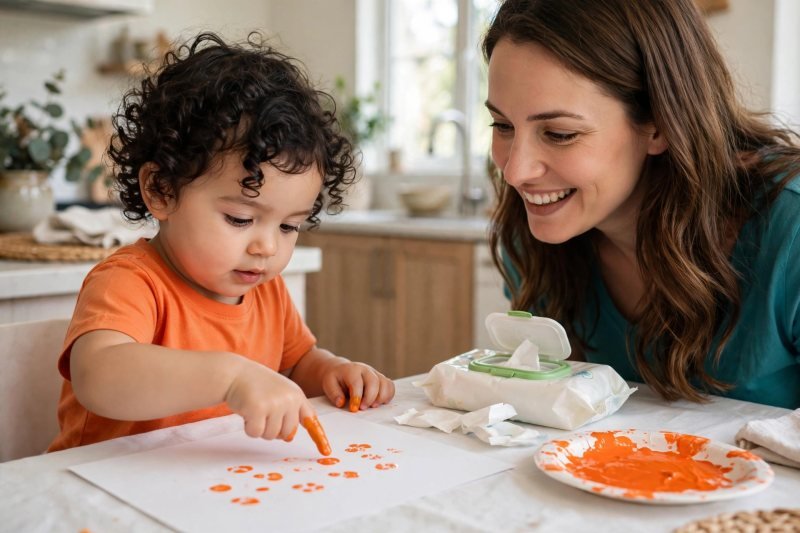
**Step 4: Dot fingerprint pumpkin lights.** Dab orange paint on a plate and show one fingertip dip-and-dot — say, "Dip, dot, lift — like lighting a tiny pumpkin!" They scatter orange dots across white paper, then add a tiny green dot as a stem on a few. Say, "You lit up a whole pumpkin patch!" Wipe fingers with a baby wipe and say, "Big pumpkins next — grab a paper plate."
-
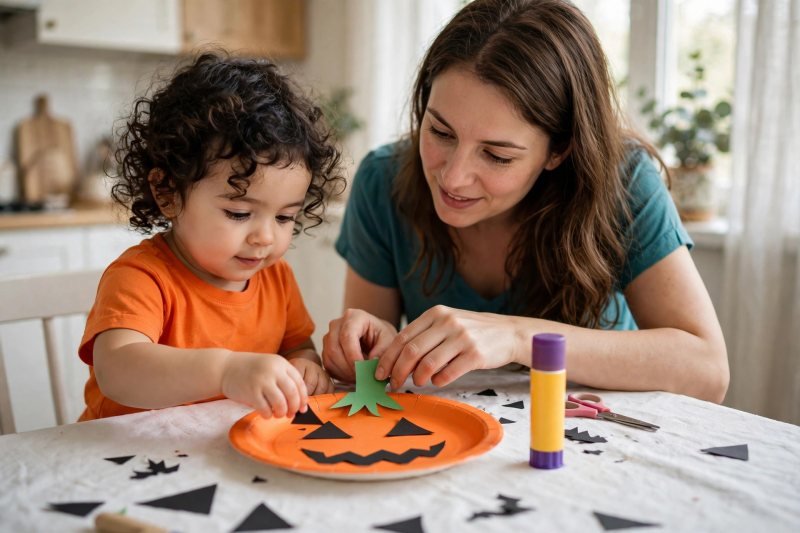
**Step 5: Assemble a paper-plate jack-o-lantern.** Hand your toddler an orange paper plate — say, "This is our big pumpkin face." Give them pre-cut black shapes: triangle eyes, a nose, a jagged smile. They arrange the pieces, then press a glue-stick dab under each. Say, "Where should the smile go?" Add a green paper stem. Say, "Your jack-o-lantern is grinning! Hold it up and say cheese." Set it on the tray and say, "Let's make ghosts that float in a row."
-
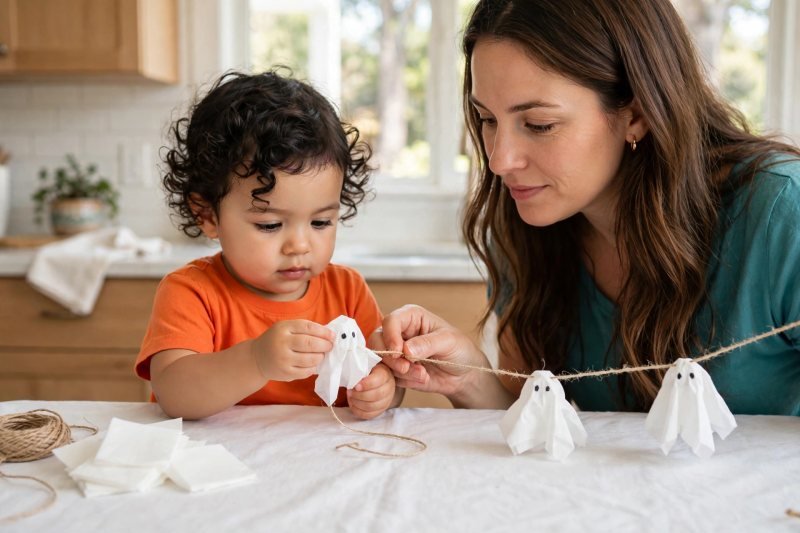
**Step 6: String a tissue-paper ghost garland.** Drape a white tissue rectangle over your toddler's fist and pinch it into a ghost head — say, "Wrap it like a little hood, then pinch!" Tie string around the neck, stick on two tiny eyes, and help them thread three or four ghosts onto a long string. Say, "Look at our ghost parade!" Lay the garland aside and say, "Time to stamp some bats."
-
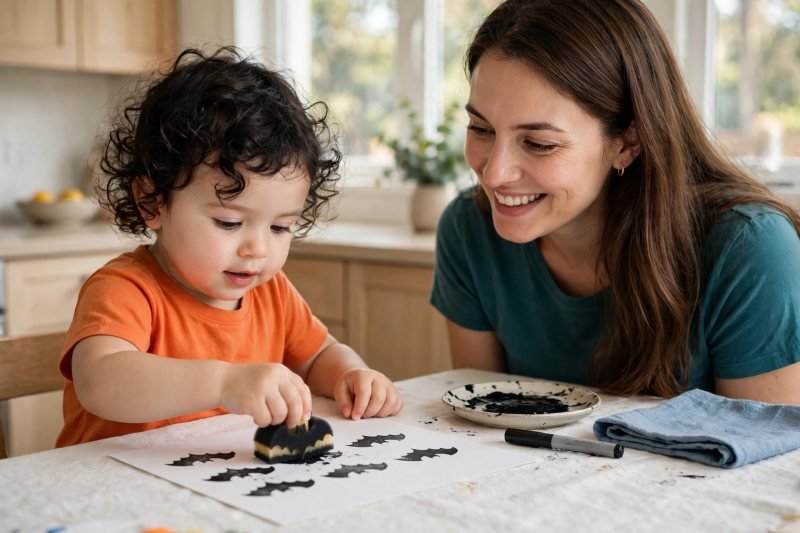
**Step 7: Sponge-stamp flying bats.** Dip the bat-shaped sponge in black washable paint — say, "Press down hard — one, two, lift!" They stamp bats across white paper, re-dipping each time; overlapping prints look like a busy bat sky. Add white dot-marker stars around them. Say, "The bats are flying at night! Flap your arms like a bat." Set it to dry and say, "Now the silliest one — we are painting a foot!"
-
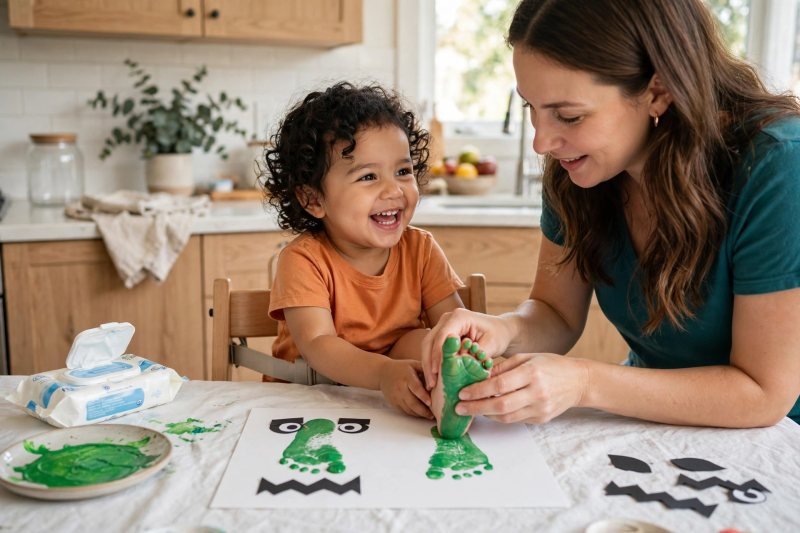
**Step 8: Press a footprint Frankenstein keepsake.** Brush green washable paint on the sole of your toddler's foot — say, "Wiggle those toes! This foot is turning into Frankenstein." Press heel-down onto white paper, lift, and wipe the foot clean with baby wipes right away. Add two paper eyes near the top and a zigzag mouth across the middle. Say, "Your foot made Frankenstein! He is silly, not scary." Set it on the tray and say, "Almost done — let's dot some candy corn."
-
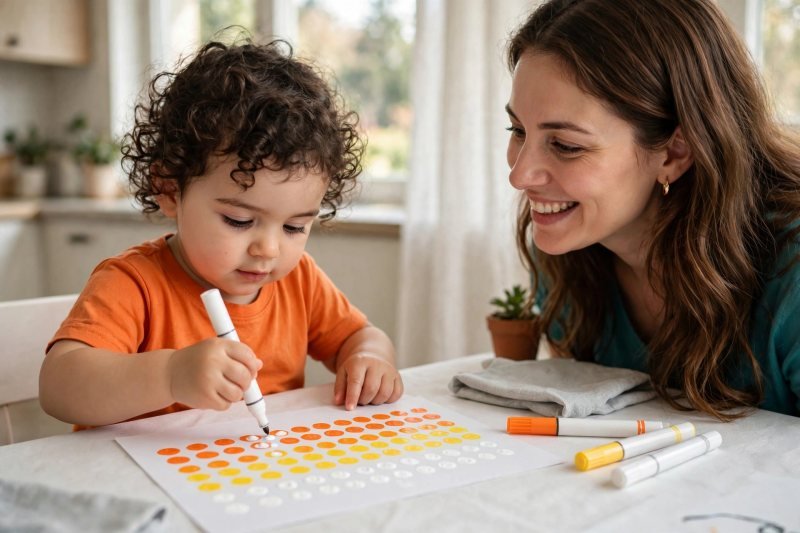
**Step 9: Dot-marker candy corn rows.** Show the dot markers — say, "Orange on top, yellow in the middle, white at the bottom — just like candy corn!" They stamp rows of dots in each band; wandering bands are exactly right for a two-year-old. Count the dots aloud together — one, two, three. Say, "Sweet enough to eat — but just for looking!" Set it to dry and say, "One last craft — let's wrap some mummies."
-
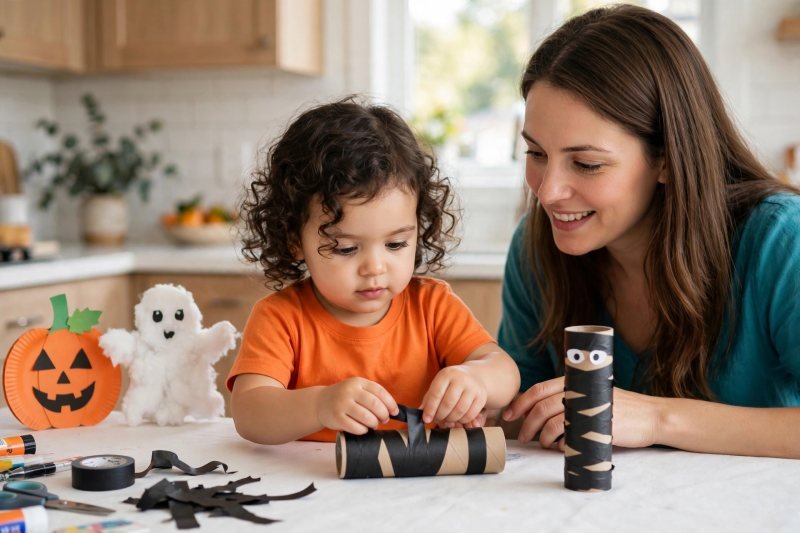
**Step 10: Wrap washi-tape mummies and hang the gallery.** Hand your toddler a cardboard tube and strips of washi tape — say, "Wrap it round and round like a mummy's bandages!" Crisscrosses and gaps are perfect. Stick two paper eyes near the top. Line up all ten crafts — say, "Look at everything you made!" Tape the pieces to the wall at toddler height, let them point to each one and name it, then tidy up together: plates in the sink, wipes in the bin, tablecloth shaken out. Say, "Gallery open! Happy Halloween."


Make it easier
Do fewer crafts — even three or four steps make a satisfying session for a young two-year-old. Swap paint steps for sticker or dot-marker versions, pre-cut every shape, and keep the baby wipes open and ready so cleanups take seconds.
Make it harder
Let your toddler choose the order of the crafts, mix two paint colors to discover new ones, or add a second coat of dots and stamps to a finished piece. Older threes can try cutting the tissue squares themselves with safety scissors.
Other ways to play it
- Make it a pumpkin-only day with the sticker pumpkins, plate jack-o-lantern, and fingerprint lights; or a ghost-only day with the handprint ghost, cotton-ball ghost, and tissue garland. Swap the bat sponge for a star or moon shape for a night-sky page. For more simple table-top fun between holidays, browse these [toddler learning activities at home](https://brightplaydays.com/activities/toddler-learning-activities-at-home/) for easy everyday ideas.
How it changes by age
- Designed for ages 2–3. Younger twos may need you to peel stickers, hold the paper, and press their hand or foot for them — that is normal; the sensory experience is the point. Older threes can peel, stick, stamp, and wrap mostly on their own while you narrate.
What they're learning
Peeling stickers and winding tape build the pincer grasp and hand strength that later make writing easier — the same fine-motor work as these [fine-motor activities for preschoolers](https://brightplaydays.com/activities/fine-motor-activities-for-preschoolers/). Dotting and stamping practice [one-to-one counting](https://brightplaydays.com/activities/counting-activities-for-toddlers/) as you count aloud together. Naming colors, shapes, and body parts during the crafts builds vocabulary, and finishing ten small projects in a row teaches the satisfying feeling of completing something.
Clearing up
Wipe hands and feet with baby wipes between steps, and rinse paint plates in the sink at the end. Shake the tablecloth outside, toss used wipes in the bin, and save the dried crafts flat between sheets of newspaper until you hang them.
Questions parents ask
What are the easiest Halloween crafts for toddlers?
Are Halloween crafts safe for 2-year-olds?
How do you keep Halloween crafts low-mess with toddlers?
How long should a toddler craft session last?
What if my toddler won't follow the craft steps?
Crafts take about 10–15 minutes to dry. If your toddler loses interest halfway, stop and hang what is finished — a happy short session beats a forced long one. Save leftover cut shapes in a zip bag for a second round closer to Halloween.
