


Uppercase Letter Tracing Worksheets A–Z: Teaching Order, Formation Tips and Reuse Games
Uppercase letter tracing worksheets A–Z for ages 4–5 — a pack organized by teaching order (name letters first, then straight-line, curved, and tricky letters), with per-letter formation tips, troubleshooting for reversals and heavy pressure, and 10 playful games that reuse every page.
The best uppercase letter tracing worksheets for ages 4–5 use large letters with clear starting dots and arrows, and teach letters in a smart order: name letters first, then straight-line letters (E F H I L T), then curves (B C D G O), and last the tricky diagonals (K R S). Pair tracing with playful practice — rainbow writing, playdough snakes, dot markers — in short 10–15 minute sessions.

The short version
- Teach uppercase letters in confidence order: name letters, then straight-line family, then curve family, then zigzag family — not A to Z.
- Always start each stroke at the top dot; "start at the top and go down" is the rule that prevents bad habits.
- Finger-trace before crayon-trace, and use short crayons to fix a heavy grip.
- One printed page supports many games: rainbow writing, dot markers, playdough snakes, stamping, treasure hunts.
- Keep sessions to 10–15 minutes and stop while it is still fun.
- Age
- Ages 4–5
- Prep
- 5 min
- Play time
- 15 min
- Mess
- Low
- Difficulty
- Easy
- Where
- Indoor
Why kids love this
There is a moment in every four-year-old's life when their name stops being a scribble and becomes a message — and these uppercase letter tracing worksheets are built to reach exactly that moment. Uppercase letters are the friendliest place to start: they are made of straight lines and simple curves, they look the same in picture books and on street signs, and most of them are easy to recognize even when wobbly. Because the worksheets come as a pack, tracing turns into a collection quest — "I finished E! Now I want F!" Every finished page is a small victory worth sticking on the fridge, and the page with their own name on it is the prize they will keep.
Forget teaching the alphabet in A-to-Z order. Many families find letters are learned fastest in the order that builds confidence:
Name letters first. The first letter of your child's name is the most motivating shape in the alphabet — it means them. Practice it, then add the other letters of the name one at a time. Printable name pages help here — see our name tracing worksheets.
The straight-line family: E F H I L T. All lines, no curves. These teach the two golden rules of handwriting: always start at the top, and pull down.
The curve family: B C D G O (plus P and Q). Curves ask for softer wrist movement. Teach C and O before B and D — open curves are kinder than closed ones, and D is easier than B because it has only one belly.
The zigzag family: A K M N V W X Y Z. The diagonal letters demand the most of little hands, so they come last. R and S are the final two: S needs one long smooth curve without stopping, and R mixes a spine, a belly, and a diagonal kick.
Good formation habits now help prevent awkward handwriting later:
Straight-line letters: draw the tall vertical line first, from the top dot down. Then add the crossbars left to right. E means spine first, then top, middle, and bottom bars. T is the rebel of the family: top bar first, then the stem straight down the middle.
Curved letters: start at the top dot and sweep with the arrow — for C and O, that is left and around. For D and B, draw the spine first (top to bottom), then add the belly starting from the top of the spine.
Diagonal letters: any vertical line comes first (K, M, N), then diagonals drawn from the top outward. X is two diagonal strokes — either can come first as long as both start at the top. S is drawn in one long smooth curve without lifting the crayon: begin at the top, curve right, swing left, and finish curving right. R: draw the spine first, then the belly from the top of the spine, then the diagonal kick.
What you'll need
- Uppercase letter tracing worksheets A–Z (one letter per page, uppercase only) — print a tracing page, or draw each letter large with a starting dot and arrows
- Short, chunky crayons (shorter crayons encourage the right finger grip)
- One clear sheet protector or zip-top bag plus a dry-erase marker
- Playdough in one or two colors
- Dot markers (optional, but a huge hit)
- Alphabet stamps and an ink pad (optional)
- Child-safe scissors and a glue stick (for the cut-and-sort game)
- A tray or clipboard to define the workspace
Before you start
1. Prepare just the first five letters of the pack to begin with — the name letters (print a tracing page or draw each letter large with a starting dot and arrows) — and keep the rest in a folder for later. Five pages look doable; twenty-six look like homework. 2. Check the print size: a good tracing letter is at least 5 cm tall with a wide dotted path and a clearly marked starting dot. Tiny letters teach tiny writing. 3. Set one page, one crayon, and nothing else on the table. A calm, uncluttered workspace keeps small hands on the letter.
How to do it
-
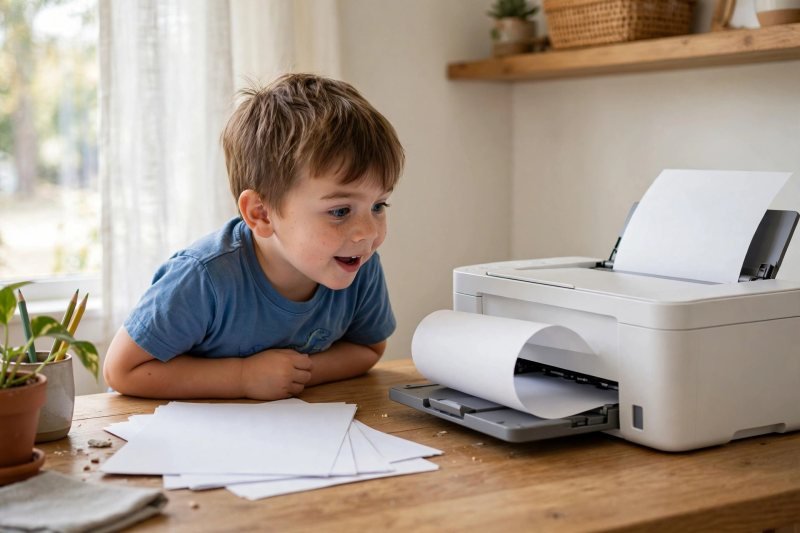
Prepare small batches, not the whole alphabet. Prepare the five letters you will start with (see the teaching order below) — print a tracing page or draw each letter large with a starting dot and arrows — and keep the remaining pages tucked away until these feel comfortable.
-
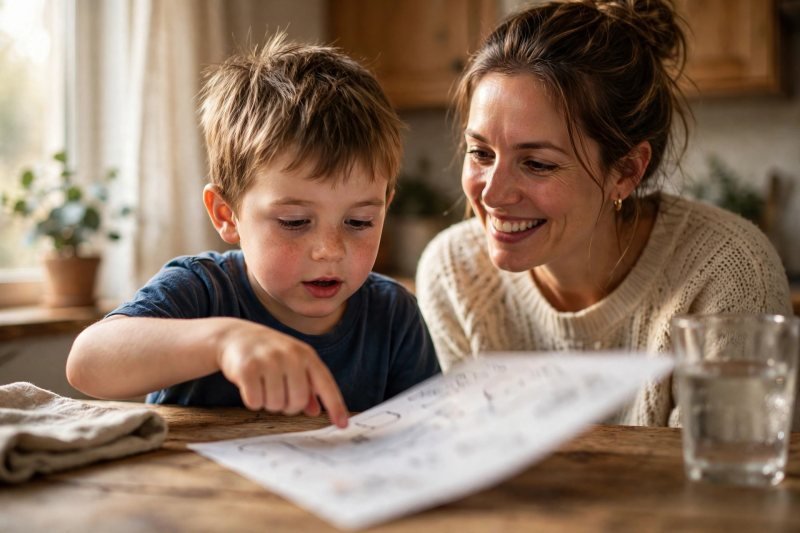
Start with the first letter of your child's name. If their name is Maya, M goes first — even though M is one of the trickier letters. Motivation carries small hands through tricky shapes.
-
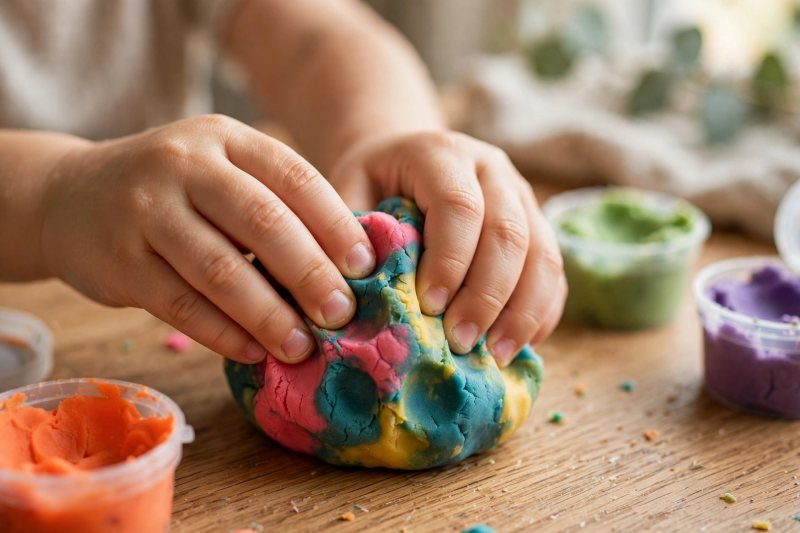
Warm up hands with a squish. Roll a playdough ball, squish it flat, and pinch it back into shape ten times. Cold, stiff fingers make stiff letters.
-
Trace with a finger first. Before the crayon comes out, your child drags their pointer finger along the dotted path. This teaches the route without the distraction of holding anything.

-
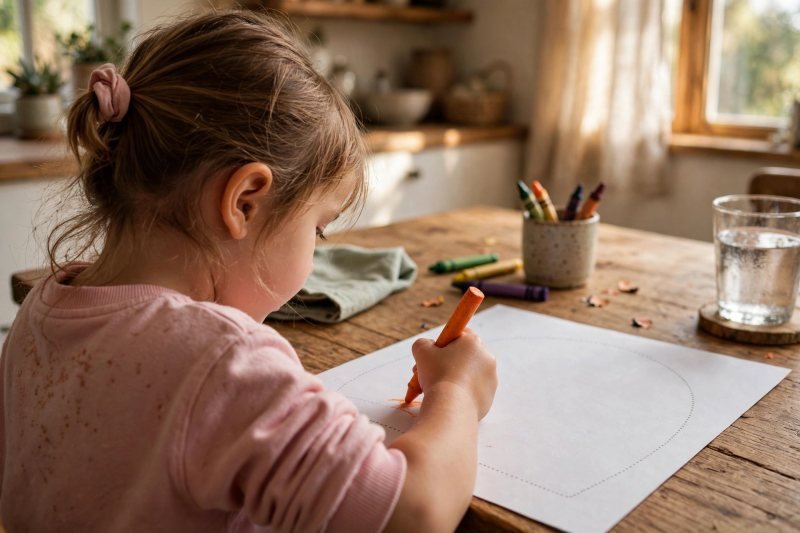
Trace with a crayon, starting at the top dot. Find the starting dot, put the crayon on it, and follow the arrows downward or around. Slow is good — accuracy beats speed every time.
-
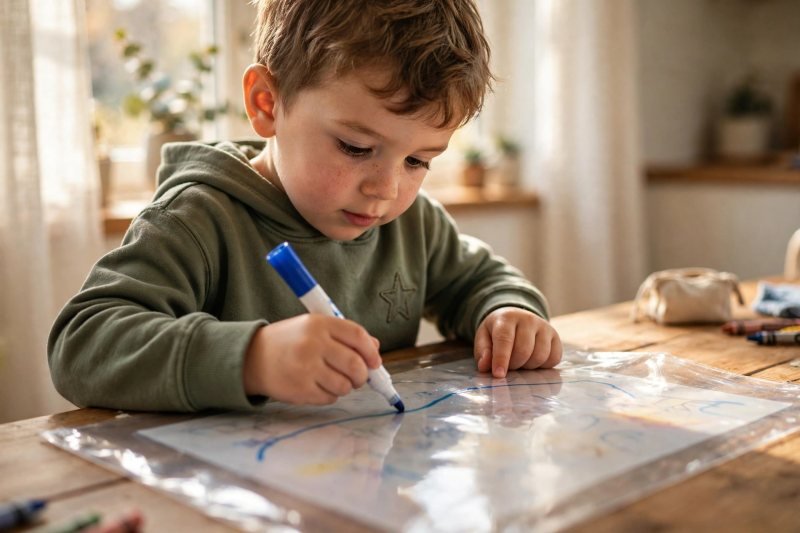
Slide the page into a sheet protector for the wipe-off round. With a dry-erase marker your child can trace the same letter again and again, wipe it clean, and start over.
-
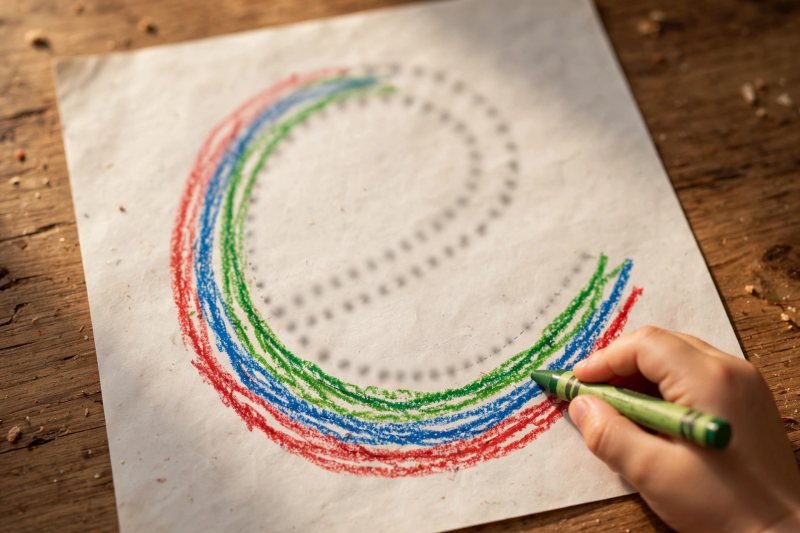
Play rainbow writing. Trace over the same letter three times, each time in a different color, right on top of the first tracing. The layered lines show exactly where the path wobbles.
-
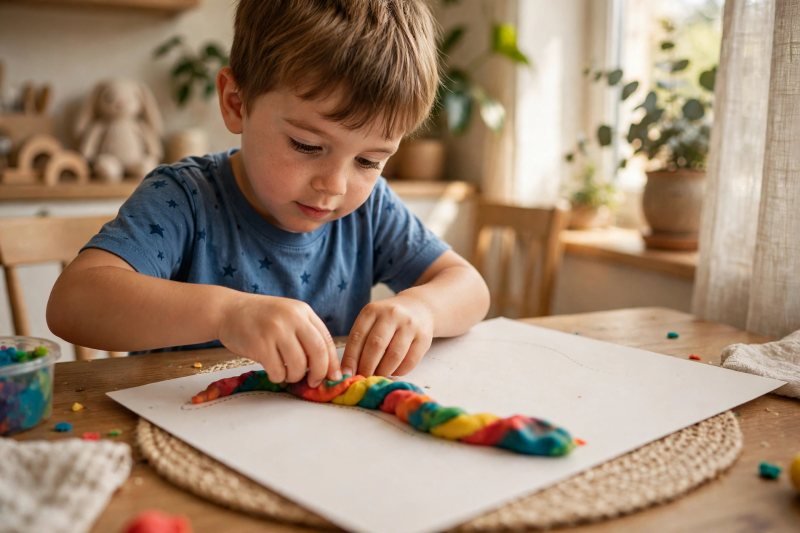
Lay a playdough snake along the letter. Roll a long thin snake, press it onto the traced letter, and follow every straight and curve with a finger. The shape becomes something they can feel.
-
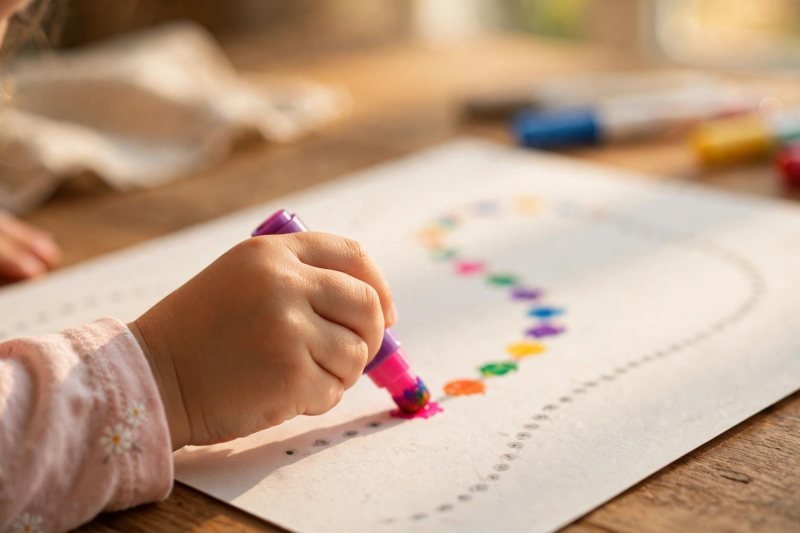
Fill the letter with dot markers. Dab dots along the dotted path — slow, deliberate dabbing builds the same hand control as tracing, but it feels like a game.
-
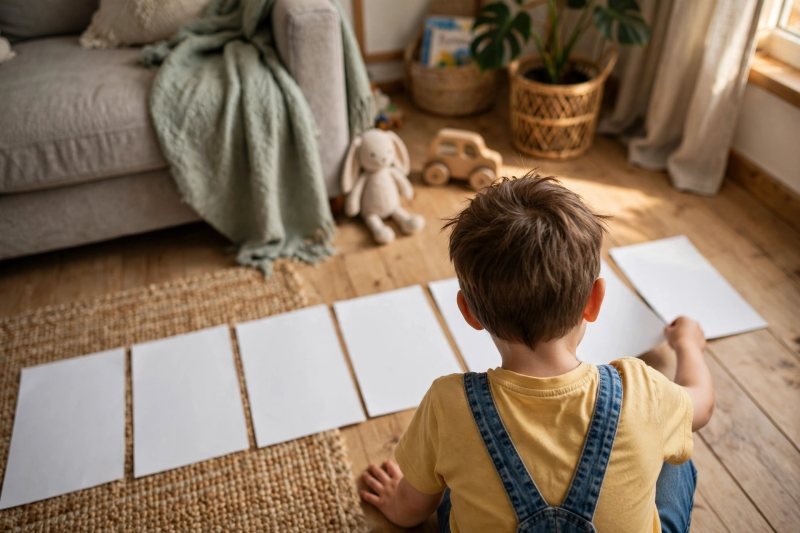
Build their name. When each name letter has been traced, line the pages face-down in name order, then flip each one over to reveal its letter and read the name together. A traced name taped to the bedroom door is the trophy of the pack.


Make it easier
Trace with a finger only for the first few days — no crayon pressure at all. Print the letters extra large (one letter per page, 7 cm tall or more). Color the starting dot green yourself and make it bigger, so the eye always knows where to begin. Do just one letter per session and celebrate it loudly. Step back to pre-writing strokes worksheets before tracing if the grip is not ready yet.
Make it harder
Trace the letter, then write it freehand in the empty box beside the tracing. Remove the starting dots from printed pages and let your child remember where each stroke begins. Spell simple words in all capitals with the learned letters — the child's name, MOM, CAT. Trace with the non-dominant hand for a silly warm-up round.
Other ways to play it
- Print on colored paper — pale yellow or blue makes the white crayon pop and feels special.
- Trace a glitter-glue outline over the letter and let it dry; the raised line becomes a tactile letter to finger-trace tomorrow.
- Make a themed mini-pack: only the letters of a favorite animal word (C-A-T, D-O-G, B-E-A-R).
- A printed page is worth more than one tracing. Keep finished pages for these games:
- Rainbow writing — three tracings in three colors, layered on the same letter.
- Dot-marker fill — dab dots along the dotted path instead of tracing it.
- Playdough snakes — roll snakes and press them along each letter's shape.
- Letter stamping — find the matching alphabet stamp and stamp it beside the traced letter.
- Name-building game — cut the name letters out and mix them up; your child puts them back in order.
- Wipe-off replay — the sheet-protector page gets traced again tomorrow with a dry-erase marker.
- Window tracing — tape a page to a bright window and trace it on blank paper over the light.
- Letter treasure hunt — hide the traced pages around the room; call out a letter and your child finds it.
- Cut-and-sort — cut the finished letters out and sort them into straight-line, curve, and zigzag families.
- Find-it race — spread five traced letters out; you say a word ("T for tiger!") and your child slaps the right letter.
How it changes by age
- Ages 4–5: the main audience — follow the 10 steps in order and keep sessions short.
- Age 3: let them scribble-trace big letters with a finger or chunky crayon; no rules about starting dots yet.
- Age 6: move toward lowercase letters and freehand writing beside the tracing box. Next, practise matching uppercase and lowercase letters as lowercase writing begins.
- Younger siblings in the room: give them their own page to scribble on so they leave the main tracing alone.
What they're learning
Pre-writing motor control — staying on the dotted path trains the small hand muscles handwriting needs. Letter recognition — meeting each letter slowly and closely makes it stick in memory. Directionality — the top-dot rule teaches that letters are built top-to-bottom, left-to-right. Name awareness — the most personal literacy lesson of all: their own name, written by their own hand. Stamina and focus — finishing a page, start to finish, is a genuine concentration workout.
Clearing up
Crayons back in the box, markers capped, playdough sealed in its tub. Recycle pages that are fully scribbled over; keep the best ones for the treasure hunt and cut-and-sort games. Wipe sheet protectors with a damp cloth so tomorrow's tracing starts clean.
Questions parents ask
Should my child learn uppercase or lowercase first?
What is the best order to teach uppercase letters in?
Why does my child write letters backwards?
How long should tracing practice last each day?
Are tracing worksheets as good as a store-bought workbook?
When is my child ready to stop tracing and write letters freehand?
Flipped letters — a backwards J, a B that faces the wrong way — are a normal stage for four- and five-year-olds, not a warning sign. Young brains are still deciding which way round shapes face. Tracing helps because every correct stroke becomes muscle memory. Three fixes that work: trace the letter in the right direction every time (correct practice beats corrected practice); put a big green starting dot on each letter so the hand always begins in the same place; and repeat a simple cue like "start at the top and go down." The reversals fade as the correct paths get repeated.
Some children press so hard the crayon snaps or the paper tears — usually a sign of excitement, not a problem. Try shorter crayons: with a stubby crayon, a death grip cannot do much damage, and the fingers naturally land closer to the tripod hold. Print on a soft surface like a folded towel to cushion the pressure, or switch to dot markers for a while — dots reward a light, controlled touch. If the hand tires quickly, stop after ten minutes and do the playdough warm-up instead. Gentle pressure comes with strength, and strength comes with play. Hand strength for a lighter grip builds through fine motor activities for preschoolers. For grip itself, pencil grip activities for kids build the hold that stops the death grip.
Ten to fifteen minutes is the sweet spot for ages 4–5 — usually two to four letters traced well, or one letter explored deeply through finger tracing, rainbow writing, and a playdough snake. When the tracing drifts off the dotted lines or the wiggles take over, the session is done; stop while it is still fun. One calm short session most days builds more skill than one long Saturday grind. If your child begs to keep going, hand them the dry-erase marker and let them re-trace a favorite letter in the sheet protector.
For the broader upper- and lowercase journey, see our letter tracing worksheets for pre-K.

save it for later
Pin this for the next rainy afternoon
Keep it on a board so it is there when you need it, rather than when you happened to find it.
Save to Pinterest

