


Pre Writing Strokes Worksheets: 13 Basic Strokes Every Preschooler Needs Before Letters
Before your preschooler traces a letter, they need 13 simple strokes. This playful printable pack teaches lines, circles, crosses, zigzags, and loops in learning order, with a gentle 4-week plan.
Pre-writing strokes are the 13 basic marks — vertical and horizontal lines, circles, crosses, diagonals, wavy lines, zigzags, squares, X, triangles, arcs, and loops — children need before they can form letters. Practicing them builds hand strength, pencil control, and top-to-bottom direction habits. Start around age 3 with salt trays and finger paint, and move to worksheets once the strokes are steady.

The short version
- The 13 pre-writing strokes are the building blocks of every letter.
- Teach in order: lines first, then circles and crosses, diagonals next, shapes after, loops last.
- Sensory play teaches the same strokes as worksheets, with less frustration.
- Fix heavy pressure with chunky crayons or vertical surfaces; fix wrong direction by modeling aloud.
- Three 10-minute sessions per week for four weeks covers all 13 strokes.
- Age
- Ages 3–4
- Prep
- 5 min
- Mess
- Some
- Difficulty
- Easy
- Where
- Both
Why kids love this
This is art play, not writing practice. Kids draw in salt, smear circles in finger paint, make giant zigzags, and "paint" the fence with water. Every stroke is a game, and every try earns a cheer.
What you'll need
- Shallow tray with a thin layer of salt, sand, or rice
- Chunky crayons and thick markers
- Washable finger paint and large paper
- Sidewalk chalk, paintbrush, and a bucket of water
- Big paper, painter's tape (an easel works too)
- The printable stroke worksheet pack (kept aside until week 3–4)
- An old shirt or smock for paint days.
Before you start
Set up a surface at elbow height — low table, easel, or paper taped to the floor. Pour a thin, even layer of salt into the tray and smooth it flat. Lay out materials for one or two stroke types only. Print the worksheet pack but keep it in a folder — it comes out in week 3 or 4.
How to do it
-
**Check readiness first.** Ask your child to copy a circle. Ready signs: purposeful scribbling, sometimes gripping with fingers, focusing for five minutes.

-
**Draw vertical and horizontal lines in the salt tray.** Model a tall line top to bottom — "like rain falling" — then a horizontal line left to right. Your child traces over yours, then tries their own. Shake smooth and repeat.

-
**Add circles and crosses with finger paint.** Model a round circle — "around and around" — then a cross. Your child copies with their fingers.

-
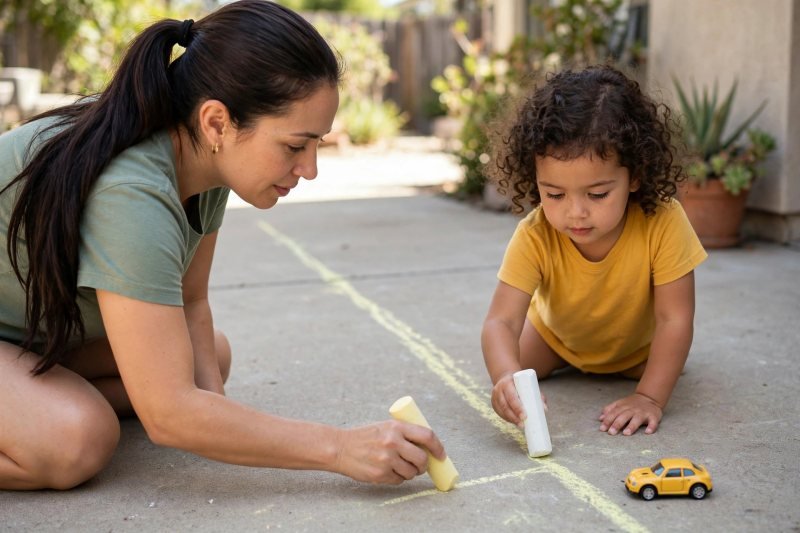
**Take diagonals outside with chunky chalk.** Diagonals are the hardest strokes, so start BIG on pavement. Draw a long diagonal; your child walks their chalk along it, then drives a toy car down it.
-
**Try wavy lines and zigzags with a chunky crayon.** Tape down big paper. Draw a wavy line — "a snake in the grass" — then a zigzag — "a mountain range." Chunky crayons need only a light touch.

-
**Draw squares and triangles on big paper.** A square is four straight strokes joined; a triangle is three. Draw them BIG — at least hand-sized — and count the sides: "one, two, three, four — square!"

-
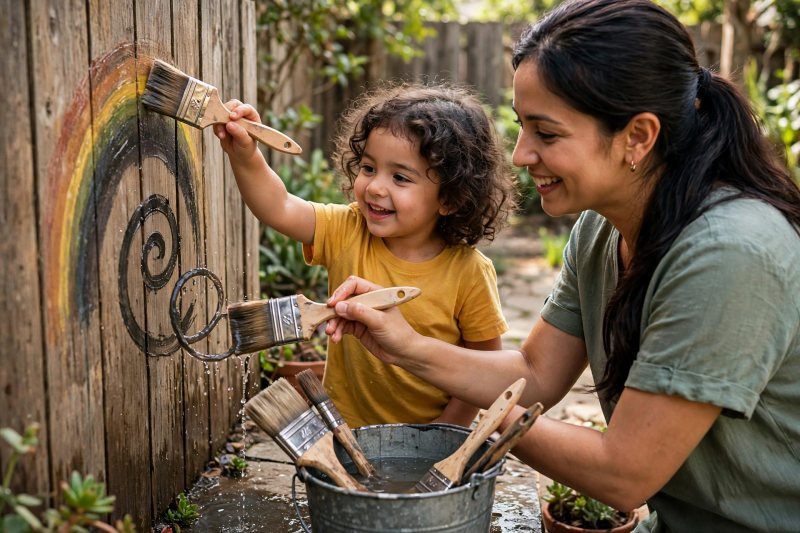
**Paint arcs, loops, and spirals with water.** "Paint" rainbow arcs on the fence with a wet brush — they evaporate, so kids beg to repeat. Then try loops and spirals, "like a pig's tail."
-
**Make an X and celebrate.** An X is two diagonals crossing — a victory lap. Draw a giant X and let your child decorate it. "Soon these strokes turn into letters!"

-
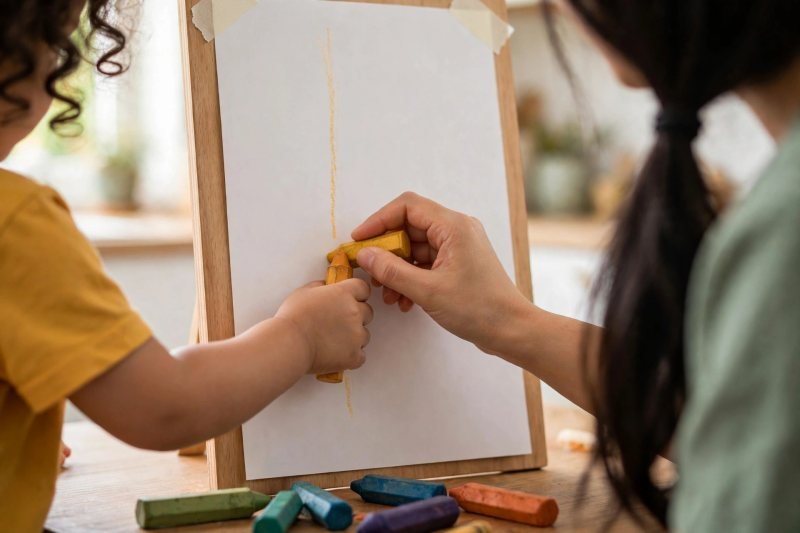
**Fix the two common problems gently.** Heavy pressure? Chunky crayons and chalk snap under hard pressure — instant feedback — and an easel lightens the touch. Wrong direction? Remodel with words: "we start at the top, like rain falling."
-
**Bring out the worksheets only when strokes are steady.** When your child can draw all 13 strokes in salt, paint, or chalk, open the printable pack. Trace the big dotted strokes with a finger first, then a crayon. Keep it to 10 minutes.



Print it out
Make it easier
Work BIG: salt tray, water-painted fence, or paper on the floor. Skip worksheets for the first two weeks; sensory play builds the same strokes. Keep sessions to 5 minutes.
Make it harder
Shrink the size once big strokes are steady. Combine strokes into pictures: circle plus lines becomes a sun. Add one rule: "start at the top."
Other ways to play it
- **Shaving cream strokes:** the smoothest sensory surface of all.
- **Rainbow strokes:** trace each stroke three times in three colors.
- **Stroke scavenger hunt:** spot strokes in the world — a striped awning, a winding path.
How it changes by age
- **Under 3:** skip formal strokes; free scribbling IS the precursor.
- **Ages 3–4 (the sweet spot):** one or two strokes per session, play first.
- **Ages 4–5:** with the 13 strokes solid, start letter tracing with l, t, o, c, x.
- **Ages 5+:** if strokes are wobbly, return to big sensory practice.
What they're learning
**Which hand skills does each stroke build?** Straight lines build controlled up-down and left-right movement; circles teach curved control without lifting the hand; crosses teach pencil lifts between marks; diagonals develop the wrist rotation later used for letters like K and Z; wavy lines and zigzags build smooth, relaxed motion; squares and triangles combine strokes into planned sequences; loops and spirals demand quick direction changes, the skill behind letters like e and l. That sequence is exactly why worksheets come last — the strokes transfer to letters only once the hand can make them freely.
Clearing up
Store the salt in a jar — it keeps for months. Rinse brushes and the bucket. Wash paint-covered hands and smocks right away.
Questions parents ask
What are pre-writing strokes?
When should a child practice pre-writing strokes?
Do kids need worksheets to learn pre-writing strokes?
My child presses too hard — how do I help?
How long does it take to learn pre-writing strokes?
**What is the 4-week plan?** Order: vertical, horizontal, circle, cross, both diagonals, wavy line, zigzag, square, X, triangle, arc, spiral/loop. **Week 1** — lines and circles in salt and finger paint. **Week 2** — crosses, diagonals, wavy lines with chalk and crayons. **Week 3** — zigzags, squares, triangles, X on big paper. **Week 4** — arcs, loops, spirals with the water brush, then the worksheets.

save it for later
Pin this for the next rainy afternoon
Keep it on a board so it is there when you need it, rather than when you happened to find it.
Save to Pinterest

