


Spring Crafts for Toddlers: 8 Easy Flower & Bug Makes
Eight easy spring crafts for toddlers ages 2-3: sponge flowers, egg-carton blooms, handprint blossoms, cotton-ball rain clouds, plate suns, butterfly prints, tissue trees, and fingerprint caterpillars.
Spring crafts for toddlers work best as eight tiny projects on trays: sponge-printed flowers, egg-carton blooms, handprint blossoms, cotton-ball rain clouds, paper-plate suns, folded butterfly prints, tissue blossom trees, and fingerprint caterpillars — all with washable supplies, close supervision, and a gallery finish.

The short version
- Eight crafts, one tray at a time: sponge flowers, egg-carton blooms, handprint blossoms, rain cloud, plate sun, butterfly print, tissue tree, and fingerprint caterpillars.
- Adult does all prep: cutting cartons, sponges, and tissue is finished before toddlers sit down; no scissors at the craft table.
- Large pieces only for ages 2-3 — no pom-poms, buttons, or small loose parts; washable, non-toxic supplies checked by an adult.
- Short bursts win: five to ten minutes per craft, wipes ready, hands washed promptly after any painted-hand step.
- Finish with a gallery: hang every piece low on a wall at toddler height, never on a line a child walks under.
- Age
- Ages 2–3
- Play time
- 30 min
- Mess
- Some
- Difficulty
- Easy
- Where
- Indoor
Why kids love this
These spring crafts for toddlers are built for very small makers: every project is short, squishy, and satisfying in under ten minutes. A 2-year-old does not need a finished masterpiece — she or he needs to press a sponge and see a flower appear, scrunch tissue and watch a bare branch burst into blossom, or fold paper and open it to find a butterfly that matches on both sides. Spring gives you the perfect story to craft inside: flowers opening, rain falling, suns shining, and caterpillars creeping toward becoming butterflies. Because each make lives on its own tray and uses just one or two motions — printing, sticking, scrunching, dabbing — toddlers can succeed again and again without waiting for complicated steps. By the end, the wall holds eight bright pieces they made themselves, and pointing at each one, naming its colors, and remembering how it felt is half the joy. It is spring, at toddler scale, with paint on fingers and pride on the wall.
What you'll need
- Washable paints in spring colors — pink, yellow, light blue, green, and white; non-toxic only, in small shallow pots, blank and unbranded
- Card stock and thick paper in white and spring colors — sturdy enough for paint, handprints, and folding
- Egg cartons — clean, dry cardboard ones; an adult cuts them into cups before the session
- Cotton balls — large, pulled slightly apart for clouds; kept in a bowl for sticking
- Tissue paper in pink, white, yellow, and green — pre-torn into large pieces for scrunching
- Glue sticks — child-sized, washable, with caps kept by the adult between uses
- Sponges cut into chunky shapes, plus sturdy forks for printing petal marks — easy for small fists to grip
- Paper plates, chunky crayons or thick markers for adult-drawn stems and branches, and a little water in a stable cup
- Smocks or old shirts, a tray per child, wipes and a damp cloth, and large clothespins for the gallery
Before you start
1. The night before or during nap time, do every adult-only job: cut the egg cartons into single cups, cut sponges into chunky shapes, tear tissue paper into large pieces, draw simple stems, one branch outline, and one bare tree, and set out small pots of washable paint. 2. Cover the table, lay out one tray per child with only the first craft on it, put smocks or old shirts by the chairs, and place wipes, a damp cloth, and a stable water cup within adult reach — never within swiping reach. 3. String nothing yet: lay a short display line flat on the table for now, and only fix it low on a wall, at toddler eye height, for the final gallery step, checking that no child will walk under any line anywhere.
How to do it
-
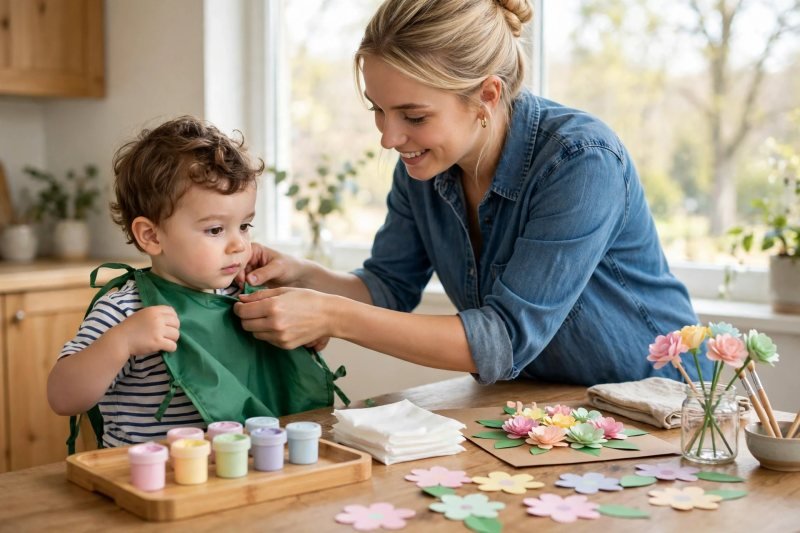
Set up the spring craft station. Put one tray in front of each child and keep every other craft hidden — the one-craft-at-a-time rule keeps spring crafts for toddlers calm. Help your toddler into a smock or old shirt, push sleeves up, and show them the wipes so a quick clean feels normal. Name the colors together before any paint opens — pink, yellow, blue, green — and let small hands squeeze a dry sponge first. Everything stays on the tray. Say, "One tray, one treasure at a time — when we finish, we hang it up."
-
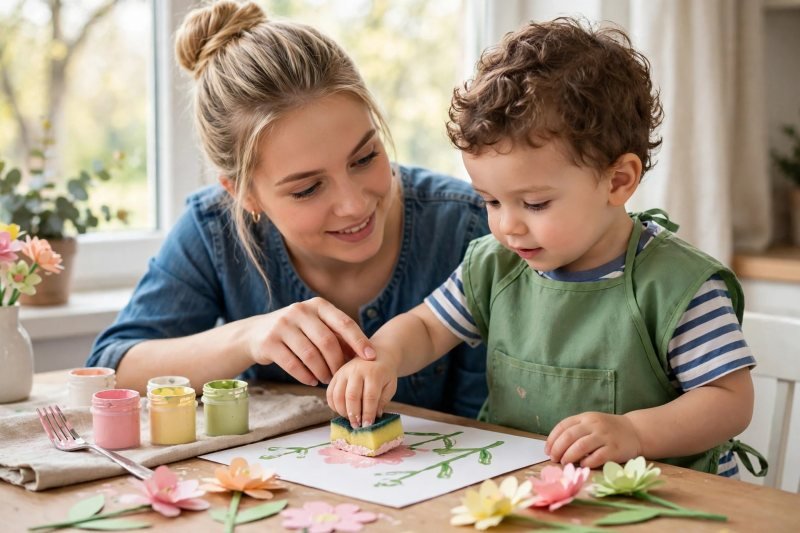
Print flowers with sponges and forks. Craft one is sponge and fork flower printing. Pre-draw simple green stems on thick paper, press a chunky sponge into pink or yellow washable paint, and stamp it at the top of a stem for a round bloom. Then dip the flat back of a sturdy fork into paint and press it around the print for spiky petals; two or three presses is a triumph. The same press-and-print idea makes sweet Valentine's crafts for toddlers when hearts replace flowers. This gentle color play pairs beautifully with color mixing activities on another day. Say, "Press, lift — you made a flower grow!" Set it aside to dry.
-
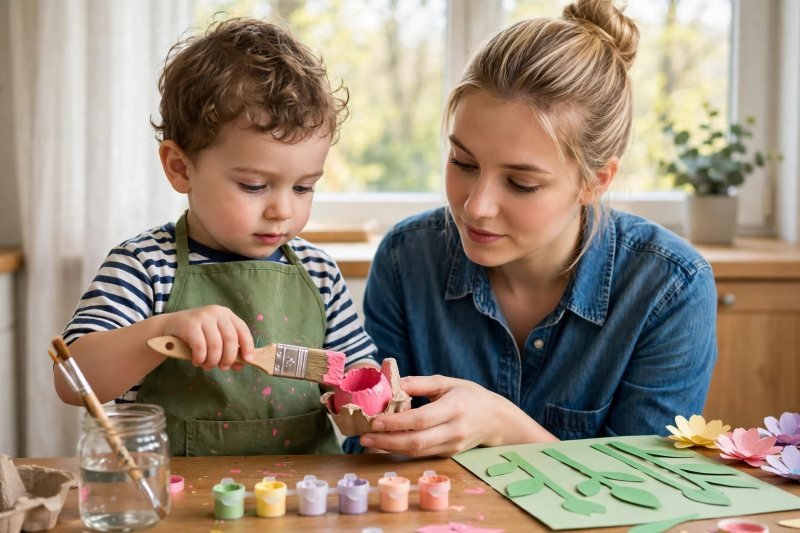
Build egg-carton flowers. Craft two is egg-carton flowers. An adult has already cut the carton into single cups — scissors never appear at the toddler table. Your toddler paints each cup inside and out, turning it slowly while you steady it, then presses it onto a pre-drawn paper stem with a dab of glue, holding while you count to five. A large scrunched tissue circle glued in the center finishes it — large pieces only. Egg-carton blooms are a spring classic — find more seasonal ideas in these Easter crafts for toddlers. Say, "Your flower used to hold eggs — now it holds spring."
-
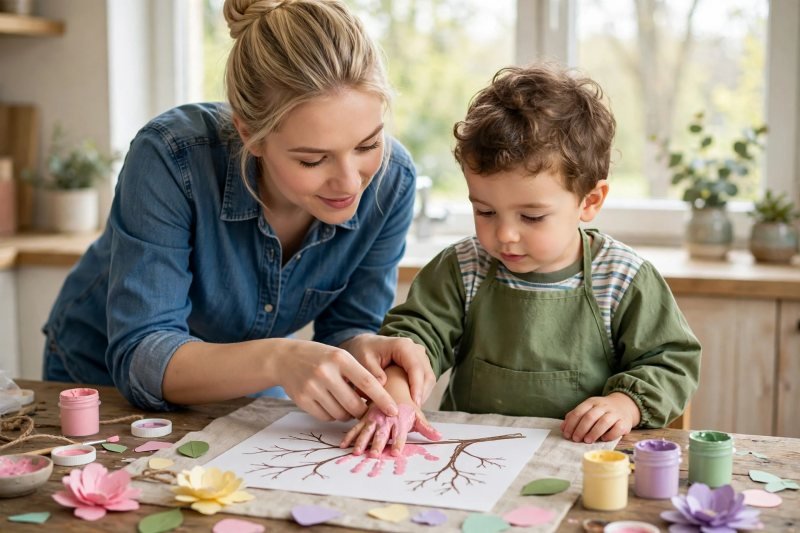
Make handprint blossoms. Craft three is handprint blossoms. Paint your toddler's open palm and fingers with pink or white washable paint, guide the hand onto the end of a pre-drawn branch, press gently while you count, and lift straight up to reveal a five-finger blossom. Repeat two or three times along the branch if patience allows, wiping fingers between prints. Toddlers who dislike painted hands can use a sponge instead — never force a sensory step. Wash the hand promptly with soap and water. Say, "Your hand made the flowers — nobody else's hand could make exactly those."
-
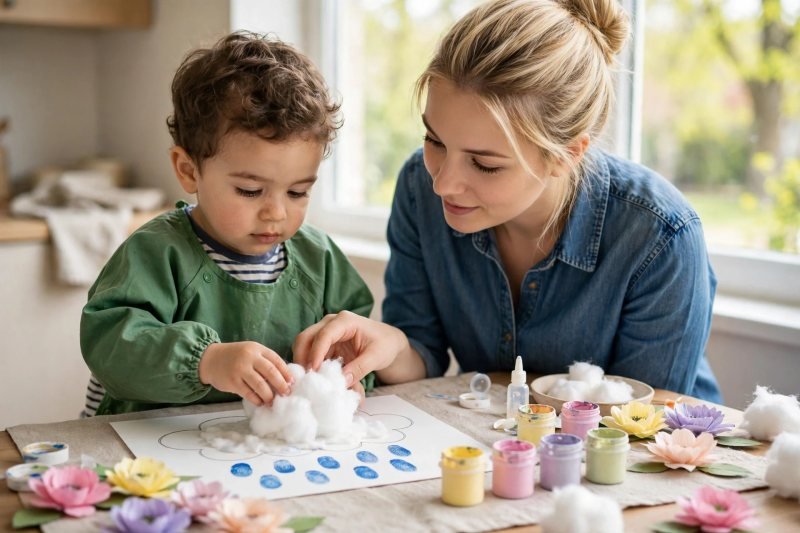
Stick a cotton-ball rain cloud. Craft four is a cotton-ball rain cloud with blue fingerprint rain. Give your toddler paper with a cloud outline drawn by an adult, a glue stick, and large cotton balls gently pulled apart. Show the rhythm — dab glue, press a cotton ball down, pat it flat — until the cloud looks soft and stormy. Below it, dip one fingertip into light blue paint and dab rows of raindrops. If a cotton ball heads toward a mouth, pause, swap it, and carry on hand-over-hand. Say, "Pitter-pat, your cloud is raining — can you hear the rain?"
-
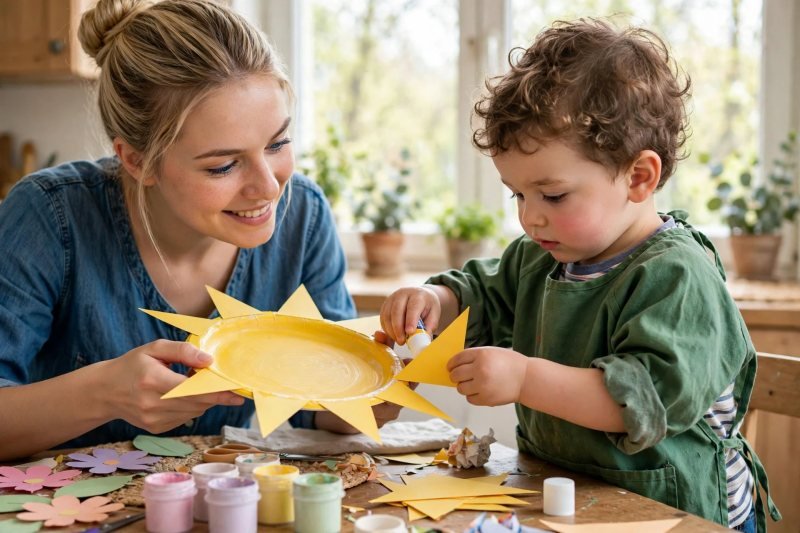
Paint a paper-plate sun. Craft five is a paper-plate sun. Your toddler paints a plain paper plate yellow with a sponge or chunky brush, adding orange dabs around the edge for a warm glow. Then hand them large pre-cut triangles in yellow and orange and a glue stick, and help them glue one triangle at a time around the back edge so the points stick out like rays. Naming each triangle as you glue turns the sun into early shape activities for toddlers. Eight to ten large, wobbly rays are perfect. An adult draws a face in the center only if asked. Say, "Round and yellow and warm — you made the sun come out."
-
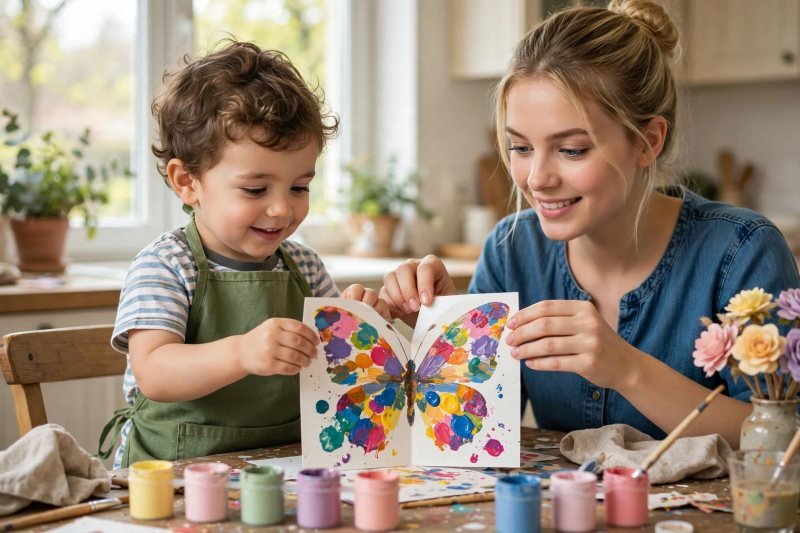
Fold a butterfly symmetry print. Craft six is a folded butterfly symmetry print. Fold thick paper in half, open it flat, and help your toddler dab thick blobs of paint in two or three colors onto one side only, near the fold. Fold the clean half over, press with flat palms together, rub slowly, then peel it open to reveal matching wings. An adult can draw a simple body down the fold once dry. This reveal feeds the same curiosity explored in the butterfly life cycle activities. Say, "Fold it, pat it, open it — your butterfly has two wings exactly the same!"
-
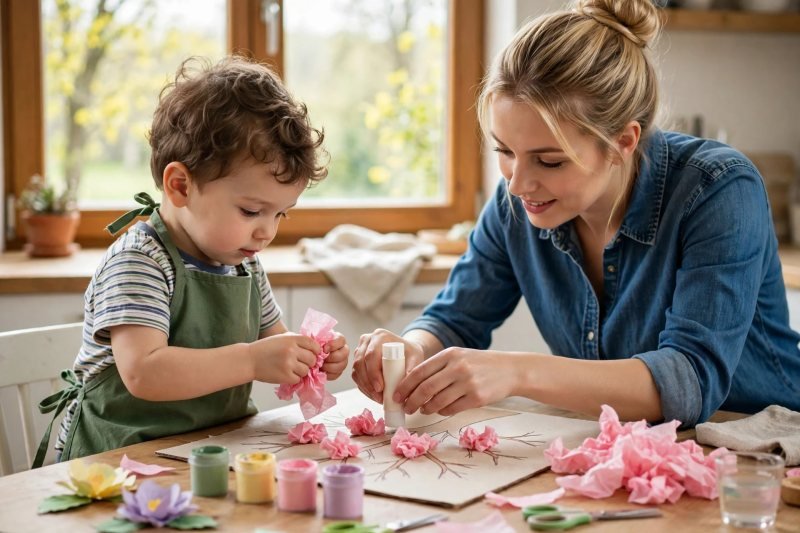
Stick a tissue-paper blossom tree. Craft seven needs no paint: a tissue-paper blossom tree. Give your toddler paper with a bare tree outline drawn by an adult, a glue stick, and large pre-torn tissue pieces in pink and white. Show them how to scrunch one piece into a loose ball, dab glue on a branch tip, and press the blossom on — scrunch, dab, stick — until the branches disappear under soft puffs. Add a few green tissue leaves the same way. Any tissue that gets mouthed is swapped out. Say, "Scrunch, stick — your tree is blooming!"
-
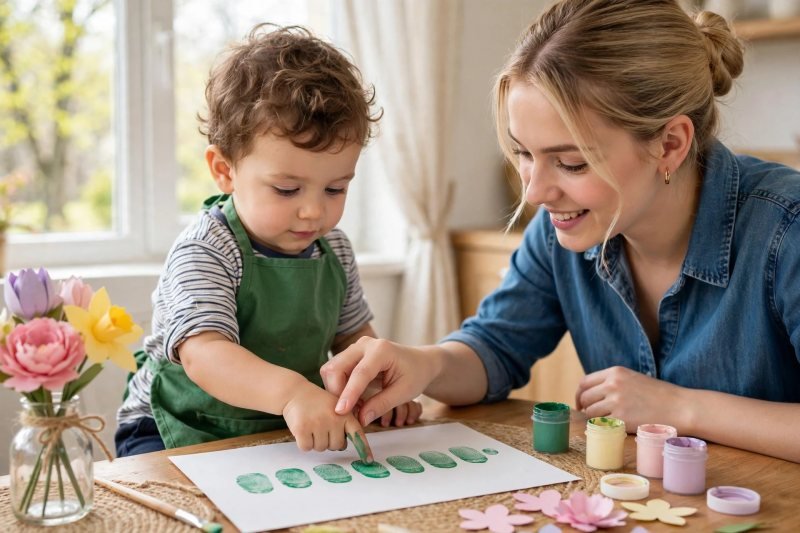
Make fingerprint caterpillars. Craft eight is fingerprint caterpillars. Dip your toddler's thumb or fingertip into green washable paint and press a row of four to six overlapping prints in a wavy line; a different color for the first print makes the head. Add a second, shorter caterpillar if they are still keen, wiping fingers between colors. Legs, antennae, and eyes are drawn on afterwards by an adult or older helper — toddlers cannot manage those details yet. This careful pressing is playful practice like the fine motor activities that build finger strength. Say, "One print, two prints — your caterpillar is creeping to the leaves!"
-
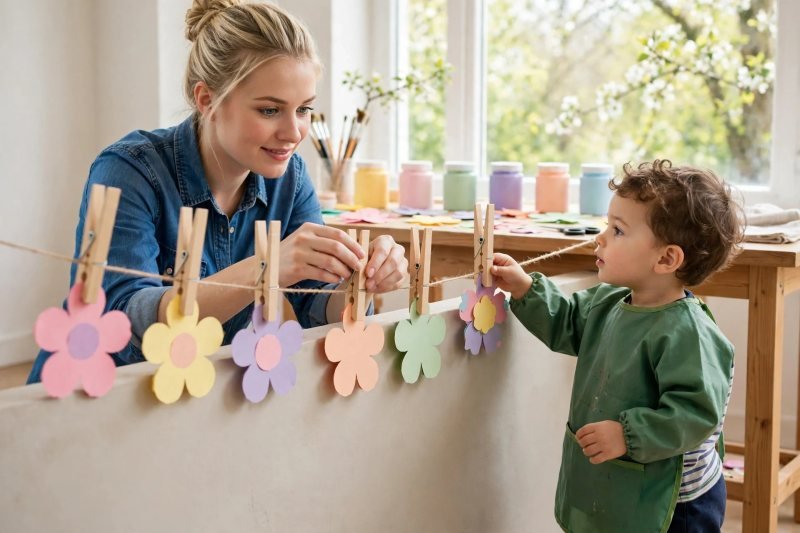
Hang the spring gallery and tidy together. Fix a short line low on a wall at toddler height — never across a walkway or anywhere a child walks under, and never at neck height — and help your toddler clip each dry piece up with large clothespins, naming all eight: sponge flowers, egg-carton bloom, handprint blossoms, rain cloud, sun, butterfly, blossom tree, and caterpillars. Photograph them beside the gallery, wash hands together with soap, wipe the table, cap the paints, and store leftovers out of reach. Say, "You made spring — look at everything your hands did today."


Make it easier
Pre-do every fiddly step: pre-cut cartons and triangles, pre-draw every stem and branch, and pre-tear tissue large — your toddler only prints, paints, and sticks. Shrink the morning: choose just three crafts (sponge flowers, rain cloud, and plate sun) in one short session and save the rest for another day. Swap paint for sticking whenever energy dips: glue sticks, cotton balls, and large tissue pieces give success with almost no mess or waiting.
Make it harder
Add color choices with intention: offer two paint colors per craft and let your 3-year-old choose, name, and predict what happens when the butterfly fold mixes them. Extend the caterpillar page into a counting garden: count the fingerprint segments aloud together, add fingerprint flowers to match, and hunt for the longest caterpillar on the page. Invite storytelling at the gallery: ask your toddler to tell you what the caterpillar eats, where the rain falls, and which flower the butterfly visits first, and write their words on the back yourself.
Other ways to play it
- Outdoor garden version: take trays to a shaded garden table, print real fallen petals and leaves alongside the sponge flowers, and hang the gallery on a fence at toddler height for the afternoon before bringing it inside.
- No-paint version: replace every painted step with sticking and scrunching — tissue blossoms, cotton-ball clouds, large paper rays, and pre-colored paper for caterpillar bodies cut by an adult and glued in a row.
- Keepsake gift version: choose the handprint blossoms and fingerprint caterpillars as gift pieces, mount them on fresh card stock once dry, and let your toddler carry them proudly to a grandparent or family friend the same week.
How it changes by age
- Age 2: Two-year-olds thrive on the shortest, squishiest steps: sponge printing, cotton-ball sticking, tissue scrunching, and single-fingerprint dabs, all hand-over-hand at first and then with a steadying hand nearby. Expect two or three crafts per session, paint explored with fingers as much as tools, and frequent wipes and movement breaks. Pieces must be large, sessions closely supervised, and mouthing met with a calm swap and a hand wash — at two, exploring with the mouth is normal, so the materials, not the child, carry the safety.
- Age 3: Three-year-olds can work through more of the morning in order, choose colors deliberately, glue triangles around a plate with growing independence, and fold-and-press the butterfly with only a reminder to pat gently. They enjoy naming every gallery piece, counting caterpillar prints, and retelling how each craft was made. Still pre-cut everything sharp or fiddly yourself, keep small items out of the set entirely, and stay at the table — confidence at three runs ahead of judgment every time.
What they're learning
Fine motor control: sponge squeezing, fork pressing, tissue scrunching, glue dabbing, and fingerprint placement — joyful hand and finger work that builds strength and control for drawing, fastening, and writing later. Color language: naming pink, yellow, blue, and green in context, choosing colors on purpose, and noticing what happens when butterfly wings mix them — vocabulary learned with paint on real fingers. Nature vocabulary: flower, stem, rain, cloud, sun, butterfly, blossom, and caterpillar, each attached to something they just made — spring words that stick because their hands learned them first. Cause and effect: press and a flower appears, fold and a butterfly matches, scrunch and a branch blooms — toddlers repeat these tiny experiments because watching their own action change the page never gets old.
Clearing up
Wash hands together first, then sort the table as a team: dry artwork goes to the gallery line, leftover tissue and cotton balls go into adult storage, and painted water is poured away by an adult. Wipe the table, rinse sponges and forks, check the floor for dropped pieces that could be mouthed later, and photograph the gallery before pieces migrate to the refrigerator door — because they will.
Questions parents ask
What are the easiest spring crafts for toddlers?
How do you keep spring crafts low-mess with a 2-year-old?
What spring crafts are safe for toddlers who still mouth things?
How long should a toddler spring craft session last?
Can you do spring crafts for toddlers without paint?

save it for later
Pin this for the next rainy afternoon
Keep it on a board so it is there when you need it, rather than when you happened to find it.
Save to Pinterest

