


Easter Crafts for Toddlers
Ten easter crafts for toddlers aged 2–3: sticker foam eggs, a cotton-ball bunny, handprint chicks, pom-pom carrots, sealed egg shakers, and a tissue-paper suncatcher — mostly mess-free, parent-guided, and made from big, safe pieces.
The best easter crafts for toddlers aged 2–3 are big-piece, mostly mess-free makes: foam eggs decorated with large stickers, a cotton-ball bunny on a paper plate, a yellow handprint chick, a pom-pom carrot, parent-sealed rice shakers, and a tissue-paper suncatcher on clear contact paper — all non-toxic, supervised, and finished with a basket parade.

The short version
- Open mess-free: sticker eggs, cotton-ball bunny, and the contact-paper suncatcher need no paint and no glue bottles.
- Small pieces — pom-poms, rice, stickers — stay in parent-side bowls and come out one at a time, away from mouths.
- Paint appears twice only: the guided handprint chick and sponge dabbing, both with washable paint, smock, and wipes ready.
- Egg shakers are sealed with tape by the parent, checked before every use, and never opened by toddlers.
- End with the basket parade: gathering and showing the finished crafts is the part toddlers remember most.
- Age
- Ages 2–3
- Prep
- 15 min
- Play time
- 60 min
- Mess
- Some
- Difficulty
- Easy
- Where
- Indoor
Why kids love this
The best easter crafts for toddlers give small hands real work with a fast, visible payoff, and this session is built exactly that way: an egg covered in stickers within two minutes, a bunny that turns fluffy under her palms, a chick that is literally her own handprint, and a shaker she can dance with the moment the tape goes on. Nothing here needs drying overnight, reading, or precision she does not have yet. Every craft follows the same kind rhythm — you set it up, she does the satisfying part (pressing, sticking, dabbing, shaking), and you finish the fiddly edge — so she experiences herself as the maker, not the watcher. Pastel colors, eggs, bunnies, and chicks repeat across the table, which toddlers find deeply reassuring: the same shapes keep coming back in friendlier forms. And the ending matters as much as the crafts — everything she made goes into one basket that she carries to the family herself. Making is fun; being applauded for making is the part she will talk about at lunch.
What you'll need
- Foam eggs (flat or half-egg shapes are easiest for small hands to hold steady)
- Big stickers — the largest you can find, dots, flowers, and Easter shapes; big is a safety feature, not just an ease feature
- Cotton balls, pulled apart slightly by a parent beforehand so they press on in soft tufts
- Washable paint, non-toxic — yellow for chicks, plus two or three pastel colors for sponge printing
- Paper plates — for the bunny face, the bunny-ear headband, and as paint palettes
- Pom-poms, large size only — for the carrot; counted out by a parent and kept in a bowl, never scattered loose
- Plastic eggs that snap shut — for the shakers, plus tape to seal them (parent step, every time)
- Dry rice — one spoonful per shaker, measured and handled by a parent
- Clear contact paper — for the suncatcher, cut to an egg shape and taped sticky-side-up by a parent
- Tissue paper, cut by a parent into palm-sized squares in pastel colors
- Also on the table: folded card for egg cards and handprints, a paper carrot shape and green paper strips (parent pre-cut), paper ears (parent pre-cut), glue dots or a glue stick, crayons, sponge dabbers, a craft-paper table cover, a paint smock, wet wipes, and a basket for the finale
Before you start
Cover the table with craft paper, put the smock on, and set out wipes within your reach — setup first, toddler second, every time. Pre-cut everything a toddler cannot: paper ears, the carrot shape and its green top, tissue squares, and the contact-paper egg; tape the contact paper sticky-side-up to the table edge of its spot. Count small items into parent bowls — pom-poms, rice, stickers — and keep the bowls on your side of the table; bring out one craft at a time and clear each away before the next appears.
How to do it
-
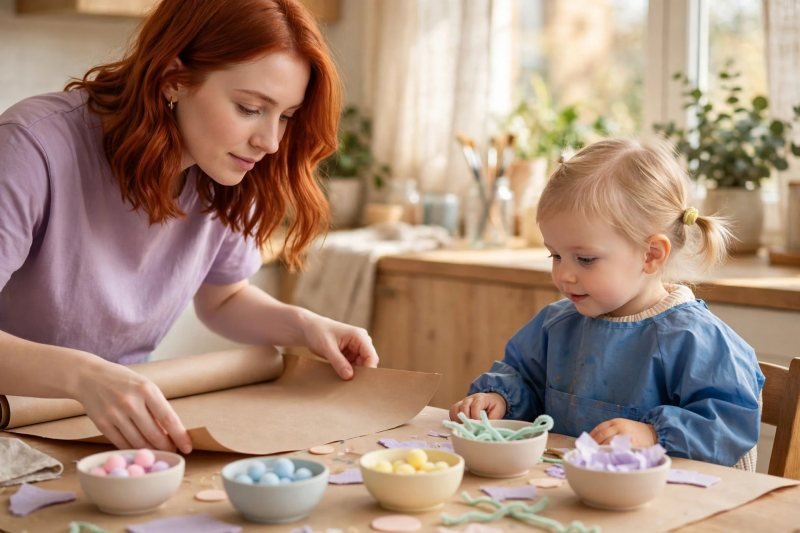
Set up the craft table together. Lay the craft paper over the bright kitchen table and smooth it flat while your toddler watches, then lift her into her seat and put the paint smock on over her clothes — the smock is the starting whistle, and toddlers learn fast that smock means making. Show her the bowls lined up on your side: foam eggs, big stickers, cotton balls, pom-poms, and tissue squares, each in its own plain bowl where she can see but not grab. Put the wipes within your reach, not hers. One craft comes out at a time in this session; a table holding everything at once overwhelms a two-year-old and scatters small pieces where mouths can find them. Say, "One special thing at a time — when we finish, the next surprise comes out." Let her pat the craft paper, choose which end of the table is hers, and hold the first foam egg up for inspection. Setup is step one of the craft, not a delay before it: a calm, covered table and a smocked toddler are what make the next nine steps feel easy instead of chaotic.
-
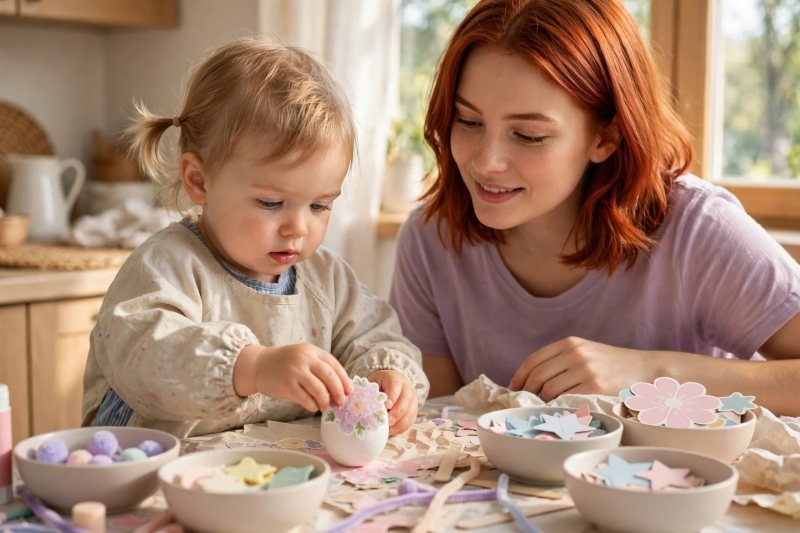
Decorate foam eggs with big stickers. Hand her one foam egg and set the bowl of big stickers between you. Peel the first sticker most of the way off its backing yourself and hold the loosened edge toward her — starting the peel is the parent job at this age; finishing it is hers. She pinches the lifted edge, pulls, and presses the sticker flat onto the foam egg with her whole palm. That pinch-pull-press sequence is exactly the kind of practice gathered in fine motor activities, delivered here as decorating rather than exercises. Turn the egg together so she works all the way around it, and start each peel for her until — often mid-egg — she begins worrying a corner up herself; let that struggle run a few seconds before helping, because the worry-and-win moment is the learning. Say, "You pick where it lives — press it down hard so it stays." No glue, no paint, no drying: this is the deliberate mess-free opener, and a finished, gleaming egg in the first five minutes buys patience for everything after it. Stand the egg in a cup while the next craft comes out.
-
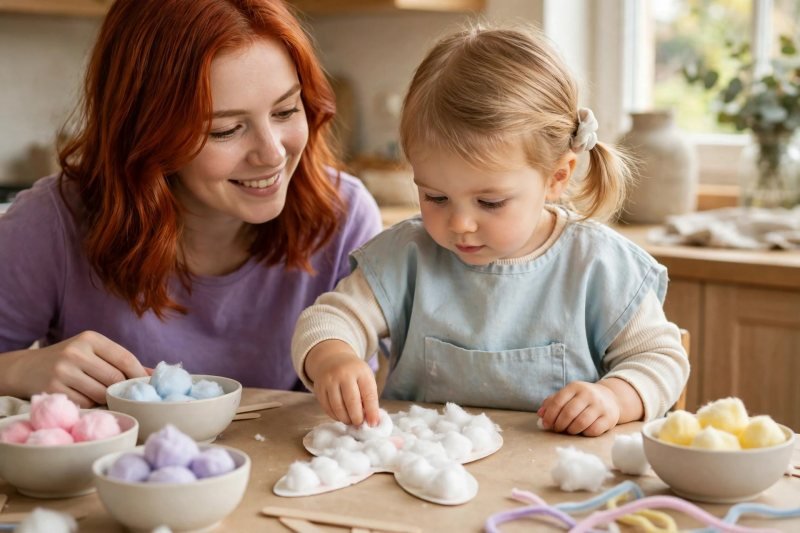
Make a cotton-ball bunny on a paper plate. Set a paper plate in front of her and squeeze glue dots in a ring and a few in the middle — or swipe a glue stick in circles while she holds the plate's edge with both hands, which toddlers experience as a serious job. Tip the bowl of pre-fluffed cotton balls toward her. She takes a tuft, presses it onto a glue dot, and pats it flat; repeat until the plate disappears under white. Pressing soft cotton onto sticky dots is forgiving work: too much is fine, lopsided is charming, and every press sticks, which matters enormously at two. When the face is fully fluffy, you add the parent parts: two paper ears you cut earlier, glued or taped to the back of the plate so they stand up, and — if she wants a face — two big sticker eyes pressed on by her from your started peel. Say, "Pat, pat, pat — your bunny is getting fluffy." Hold the finished bunny up together and let her pat it once more for luck. Cotton balls stay on the plate and at the table; any tuft that heads toward a mouth ends the bunny step calmly and early.
-
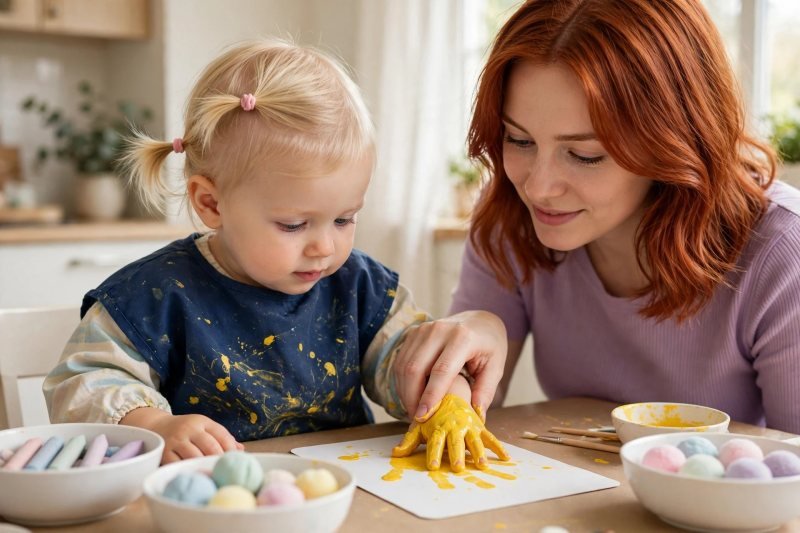
Paint handprint chicks with guided hands. This is the session's first paint step, so reset the table: bunny away, a sheet of folded card or sturdy paper down, yellow washable paint squeezed onto a paper plate palette. Hold her hand gently over the palette and press her palm and fingers into the paint together, coating it evenly — she will want to squeeze; a little squelch between fingers is half the joy, so let it happen for five seconds before you guide the print. Carry her painted hand to the card, press down once with your hand over hers, count "one, two, three," and lift straight up: a yellow handprint, fingers up, is a chick in waiting. Wash her hand with wipes immediately while she admires the print. Once it dries — use the next craft as the drying interval — you add the chick details with a crayon or fingertip of orange: a triangle beak at the thumb side, a dot eye, two stick legs. Exploring what yellow does beside the pastel paints later connects naturally to color mixing activities, but today yellow stays gloriously yellow. Say, "Your hand made a chick — nobody else's hand could make that one."
-
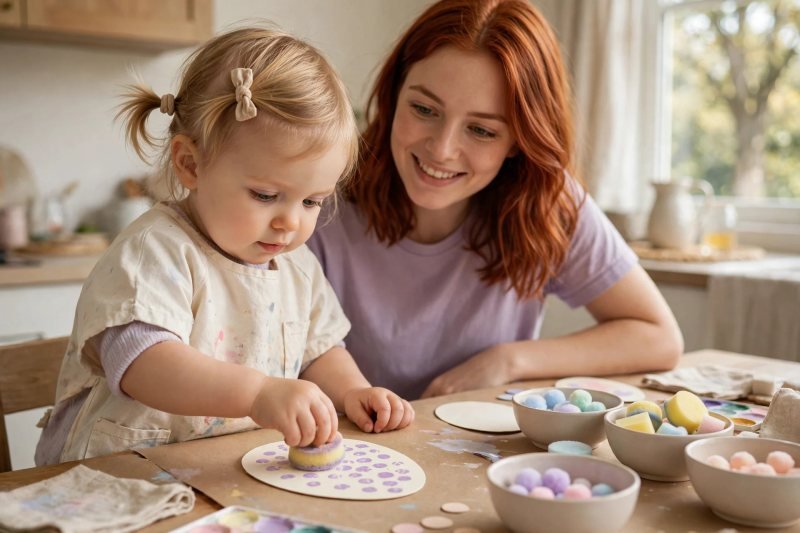
Sponge-print egg cards with dots and stripes. Fold card into a tent or keep it flat as a card front, and cut or use an egg-shaped piece of card if you have it — an oval of card reads "egg" instantly to a toddler. Load three sponge dabbers with three pastel washable paints on a plate palette and show her the move once, slowly: dabber down into paint, dabber onto card, lift straight up — a clean round dot. Her turn: she dabs dots in rows if rows happen, clusters if they don't, and drags the dabber once to discover a stripe. Sponge dabbers are the toddler-perfect paint tool — no brush to grip correctly, no drips to chase, and every single dab prints, whatever the angle. Swap dabbers rather than rinsing; a muddy color gets retired with ceremony, not frustration. Say, "Dab, dab, dot! Can you make a stripe like a ribbon?" Two or three cards is a good run; they become Easter cards for grandparents once dry, which gives the dabbing a real audience. The same dab-and-press idea makes sweet Valentine's crafts for toddlers when hearts replace eggs. Paint stays on card, smock, and dabbers; the palette plate stays on your side between dabs.
-
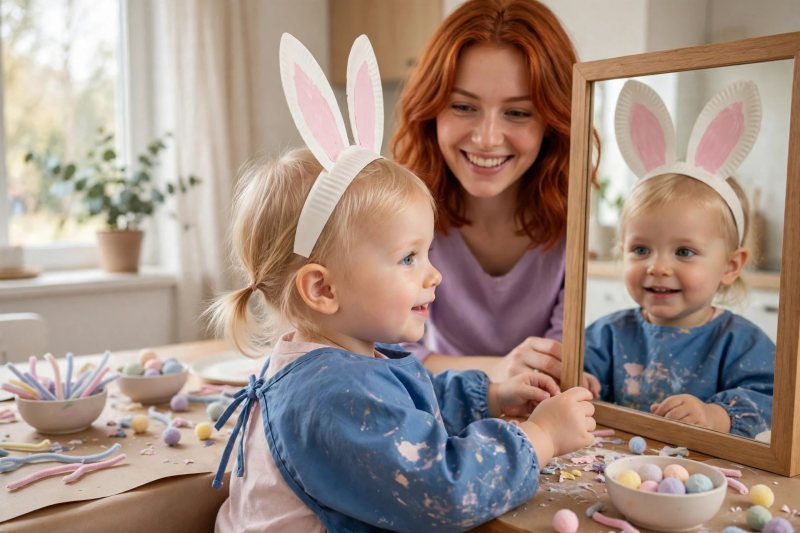
Wear paper-plate bunny ears to the mirror. While cards dry, build the wearable: you assemble the headband — a paper plate with the center cut away by you beforehand leaves a sturdy ring; tape or glue the two pre-cut paper ears to the top so they stand tall. The decorating is hers: crayons in her fist, stickers from your started peels, scribbles and dots all over the ears and band. Then the moment this step exists for: carry her to a mirror, settle the ears on her head, and let her meet the bunny. Toddlers will hop — clear a hopping space, hold a hand for the first jumps, and hop beside her if your knees allow, because a hopping mother is the funniest thing in a two-year-old's world. Say, "Who is that bunny? Hop, hop, hop — that's YOU." Photograph the mirror moment now, mid-delight, not posed afterward. The ears go into the basket later as the costume piece of the collection; if the band tears, tape mends it in seconds, and a mended ear worn proudly beats a perfect ear refused.
-
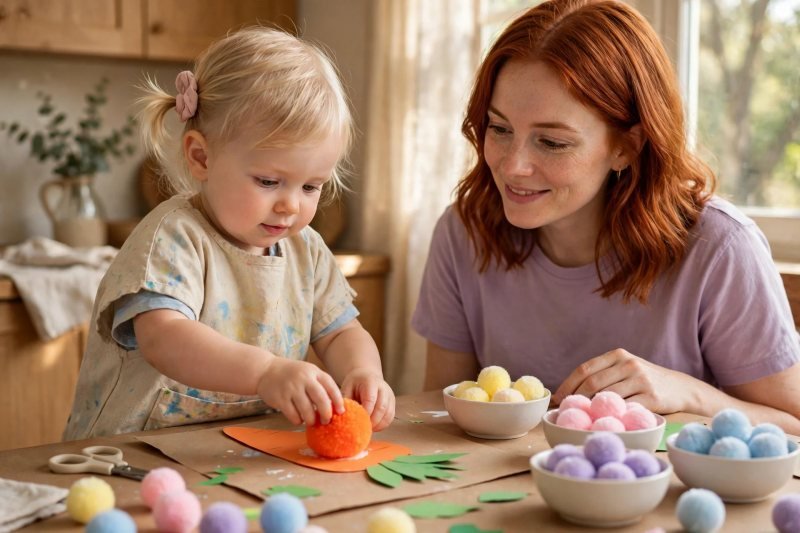
Build a pom-pom carrot, one big pom-pom at a time. Bring out the paper carrot shape you pre-cut — a long orange triangle with a rounded end — and the parent bowl of large pom-poms, counted out and kept on your side. Dot glue along the carrot in a line (glue stick or glue dots, your hands) and hand her one pom-pom at a time: she presses it onto the dot, holds for a count of two, and opens her hand to the reveal. One at a time is the safety architecture of this step, not just pacing — a single large pom-pom in her hand, placed and pressed, never a loose pile to grab by the mouthful, and pom-poms never leave the table or enter mouths; any that wanders floor-ward is yours to retrieve instantly. The repetition is the pleasure: dot, press, reveal, down the carrot until it is covered in a bumpy orange row she can stroke. Finish with the parent part: glue the green paper strips to the carrot's top as leafy fronds. Naming the triangle as you press turns the carrot into early shape activities for toddlers play. Say, "One pom-pom, press… you did it! The carrot is growing." A strokable, finished carrot goes flat into the basket lineup to dry.
-
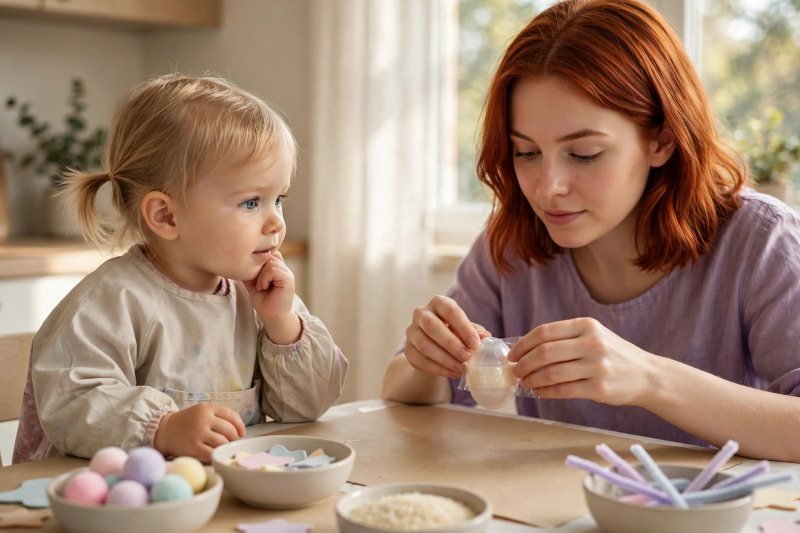
Fill egg shakers — and let the parent seal them. Tip a spoonful of dry rice — measured by you, from a bowl on your side — into the bottom half of a plastic egg while she holds the egg steady in both hands on the table; holding still for the pour is her real job here, and it takes genuine concentration. Snap the egg shut together, then comes the non-negotiable parent step: you wrap tape firmly around the seam, all the way around, and press it smooth while she watches. Say, "Grown-ups seal the egg so the rice stays inside forever — now it's music." Only then is it hers: shake high, shake low, shake during a thirty-second dance break around the kitchen, freeze when the music of your voice stops. Sealed shakers are checked before every later use — a split seam retires the egg to the bin, and sealed eggs are never opened by toddlers, ever; the rice is an ingredient of the sound, not a snack and not a loose material. Make two shakers if the dancing is good; label nothing, just shake.
-
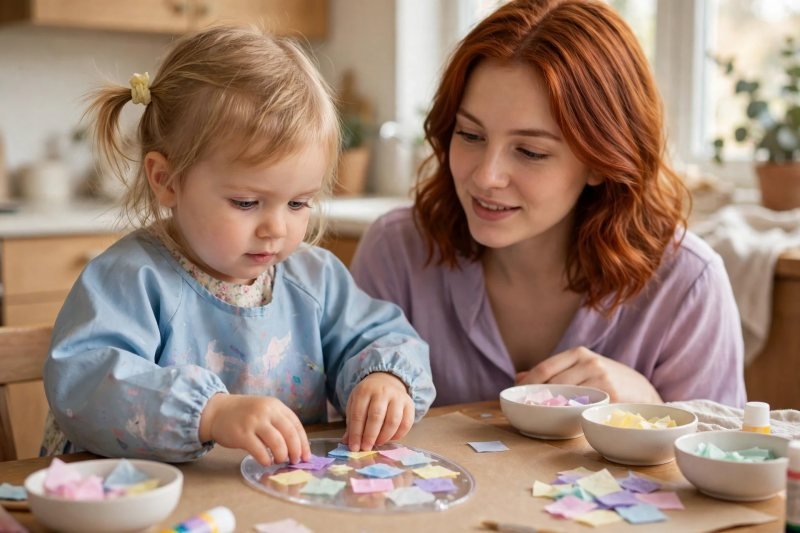
Press a tissue-paper egg suncatcher for the window. Peel the backing from the clear contact-paper egg you cut and taped sticky-side-up at her place — the reveal of a big sticky egg is its own small magic. Set the bowl of pre-cut tissue squares beside her: pastel pink, yellow, green, blue. She takes one square at a time, presses it anywhere on the sticky egg, and smooths it with her palm; squares can overlap, hang slightly over the edge (you trim later), and land in whatever order she chooses — translucent layers stacking into new shades is the quiet wonder of this craft. Contact paper grips instantly, needs no glue, and cannot spill: this is the second fully mess-free anchor of the session, perfectly placed after the shakers' energy. Say, "Press it flat — the sun is going to shine through your egg." When the egg is covered, you peel it up, trim the overhang, and hang it in the window together, holding her up to pat it into place. Step back and look at the light coming through work she made; name the colors the sun finds. The same press-and-stick idea powers St. Patrick's Day crafts for preschoolers when green tissue takes over.
-
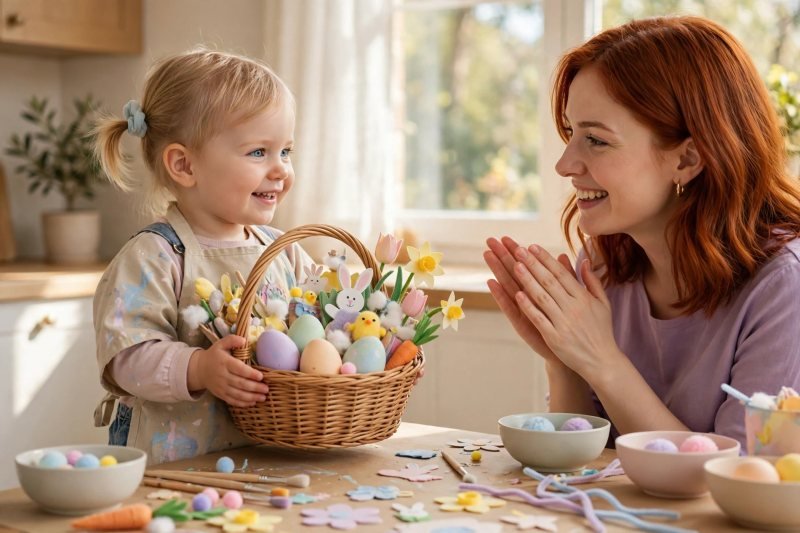
Fill the Easter basket and show the family. Bring out the basket and lay the finished crafts in a row first: sticker egg, cotton-ball bunny, handprint chick card, sponge-print cards, bunny ears, pom-pom carrot, shakers, and — once peeled from the window trip or spared a duplicate — a suncatcher story to point at. She loads the basket herself, piece by piece, wearing the bunny ears; a toddler arranging her own exhibition is doing real curatorial work, and pieces will be rearranged twice before departure. Then the parade: basket carried in both hands (walk beside her with a steadying hand under it for the first trips), a presentation at each family member — craft lifted out, held up, applause received, craft replaced. Photograph the parade, not just the products. Say, "You made ALL of these — show them what you made." Close with the tidy-up game that ends every craft session in this house: wipes hunt (find every paint dot on the table), bowls stacked by her into the sink area, smock off with a shake — the same seasonal rhythm that makes halloween crafts for toddlers end clean in autumn works in spring: the session finishes by putting the table to bed together, and the basket goes on a shelf where she can point at it all week.


Make it easier
Run a three-craft session instead of ten: stickers (step 2), cotton bunny (step 3), and suncatcher (step 9) are the fully mess-free trio — smock optional, cleanup under five minutes. Pre-peel every sticker onto the edge of the bowl or the table rim before she sits down; a wall of waiting sticker corners removes the session's biggest frustration at a stroke. Swap paint for paint dabbers or do the handprint chick as a traced-hand outline she scribbles in — the chick survives translation, and so does the morning.
Make it harder
Pattern prompts on the sponge cards: a row of dots, then a stripe, then dots again — copying a two-part pattern is genuine early-math work for a confident three-year-old. Let her direct the suncatcher by color: "all the pink first," then yellow — sorting, sequencing, and executing her own plan across a whole craft. Add a second shaker with a different parent-measured filling sound to compare — heavier or lighter, louder or softer — and let her run a shake-and-guess game for the family at the parade.
Other ways to play it
- Garden-party version: take steps 2, 7, and 9 to an outdoor table — stickers, carrot, and suncatcher travel well, paint stays indoors, and finished crafts dry in real spring air.
- Grandparent-gift version: double the sponge-print cards (step 5) and handprint chicks (step 4); the basket parade becomes a wrapping session, and cards go out with a photo of the maker in her bunny ears.
- Quiet-week version: spread the session across three mornings — making, then wearing and shaking, then the basket parade — the same halloween crafts for toddlers trick of letting one seasonal project pace a whole week instead of one long sitting.
How it changes by age
- Age 2: Twos live in steps 2, 3, and 9 — pressing and sticking are their native language, and every one of those crafts forgives a wandering attention span because each single press completes something visible. Keep their session to 20–30 minutes, expect mouths to investigate anything new once (redirect calmly, keep pieces big, stay within arm's reach), and count the parent-started sticker peel as a permanent arrangement, not a phase to rush past. The basket parade may be three steps long and entirely to an audience of one parent and a stuffed animal; it counts in full.
- Age 3: Threes can hold the egg steady for the rice pour, press handprint chicks with a counted lift, follow a dot-stripe pattern, and carry the basket solo on a practiced route. Give them the director jobs: choosing sticker order, naming the bunny, deciding which card goes to which grandparent. Their session stretches to the full ten steps with the dance break doing the pacing work — and their parade commentary ("I made the carrot bumpy") is language development you can hear happening.
What they're learning
Fine motor control: peeling stickers, pressing pom-poms one at a time, dabbing sponges, and smoothing tissue squares build pinch strength, hand-eye coordination, and the two-hand teamwork writing will later need. Cause and effect: a dab makes a dot, a sealed egg makes music, layers of tissue change color in the light — every craft answers her action with an instant, visible result. Early math and language: counting pom-poms and shaker shakes, naming spring colors and animals, and narrating the parade grow vocabulary and number sense inside real work. Pride and presentation: choosing, arranging, carrying, and showing finished work to an applauding family is a toddler's first experience of an audience — and of herself as someone who makes things.
Clearing up
Wipe the table while the crafts line the windowsill — washable paint lifts off craft paper and skin with warm water and one pass of a wipe if you catch it before it dries, and the craft-paper cover itself carries most of the evidence straight into the bin. Cotton wisps and tissue trimmings sweep into one pile (a toddler with a hand brush treats this as a bonus craft), sticker backings go in the bin the moment each is peeled so they never become floor litter, and the bowls stack into the sink. The finished crafts keep their shelf and window spots for the week — the same clear-then-keep rhythm used after halloween crafts for toddlers in October — because clearing up means putting the table away, not putting the work away.
Questions parents ask
What are the easiest Easter crafts for a 2-year-old?
Are Easter crafts safe for toddlers who still mouth everything?
How do you make egg shakers that toddlers cannot open?
What Easter crafts are completely mess-free for toddlers?
How long should a toddler Easter craft session last?

save it for later
Pin this for the next rainy afternoon
Keep it on a board so it is there when you need it, rather than when you happened to find it.
Save to Pinterest


