


Shamrock Crafts for Kids: 7 Ways to Make the Luckiest Leaf
Seven shamrock crafts for kids ages 4–5, each teaching a different skill: fold-and-cut paper shamrocks, handprint clovers, pepper stamping, tissue collage, a window sun-catcher, paper weaving, and a finger-painted card — plus a garland finale for the whole set.
Make shamrocks seven ways with kids ages 4–5: fold-and-cut paper shamrocks that open with mirror symmetry, handprint clovers in two greens, heart-stamp and bell-pepper stamping compared side by side, a crumpled-tissue collage shamrock, a contact-paper sun-catcher, a woven paper shamrock, and a finger-painted shamrock card — then string the set into a garland.

The short version
- The shamrock's secret is symmetry: fold, cut one curve, open a whole leaf.
- Seven techniques, one subject — cutting, printing, stamping, collage, light, weaving, finger paint.
- The print-off (stamp vs pepper) teaches kids to compare tools and judge results.
- The sun-catcher cannot fail and glows in the window; the handprint is the keepsake.
- Finish by stringing the flat shamrocks into a garland and sorting the rest by technique.
- Age
- Ages 4–5
- Play time
- 80 min
- Mess
- Some
- Difficulty
- Easy
- Where
- Indoor
Why kids love this
The shamrock is the perfect craft subject for 4- and 5-year-olds because it is secretly a geometry lesson wearing a party hat: three heart-shaped leaves, one stem, and mirror symmetry down the middle — and children this age are symmetry hunters by nature, thrilled when a folded cut opens into matching halves. Each of the seven projects in this session attacks the same leaf with a different tool — scissors, hands, stamps, tissue, light, weaving strips, fingertips — so the shamrock becomes a familiar friend made seven ways, and comparing the versions ("which shamrock is softest? which one glows?") is the kind of sorting-and-judging play that builds real thinking. The garland finale strings the whole week's work into one decoration, which gives every child the rare pleasure of a collection: my shamrocks, all of them, on one string.
What you'll need
- Paper: green construction paper in several shades, white cardstock, green tissue paper, a big sheet for the finger-painted card base
- Cutting: child-safe scissors, plus adult scissors for prep; a pencil for tracing hearts and stems
- Paint: washable green paint (two shades if you have them), a shallow tray, brushes, a heart-shaped stamp or cookie cutter, half a bell pepper
- Glue sticks and school glue, clear contact paper (two sheets per sun-catcher), a hole punch and string or yarn for the garland
- A tray per child, smocks, a drying line or shelf, wipes
Before you start
1. Cut the contact-paper squares and tissue squares ahead; leave the shamrock cutting itself to the children — fold-and-cut is the headline skill of step 2. 2. Draw one big shamrock outline on cardstock per child for the tissue collage (step 5) — drawing the leaf is prep; filling it is theirs. 3. Set the paint tray with two green shades side by side; the light-dark contrast powers both the stamping comparison and the finger-painted field.
How to do it
-
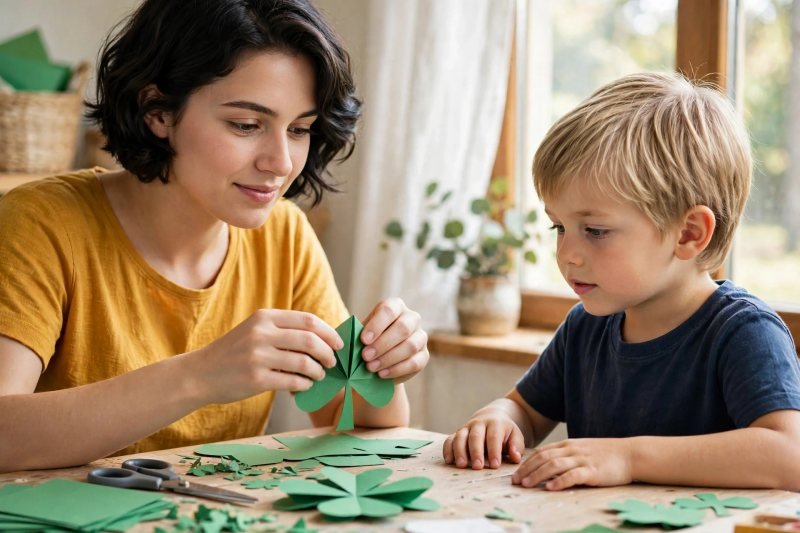
Study the shamrock first — three heart leaves, one stem, one mirror line.
-
Before any tool comes out, hold up a paper shamrock and take the tour together: count the leaves (three, each one a plump heart), find the stem, then fold the shamrock down its middle and open it to show the two sides matching — that fold line is the session's secret, and steps 2 and 8 both run on it. Say, "A shamrock is three hearts holding one stem — and it folds in half like a book." Lay out the day's seven ways on your fingers — cut, print, stamp, squash, glow, weave, paint — because this age group loves a menu they can check off; the fine motor workout across these seven techniques is serious: folding, cutting, pressing, crumpling, threading, and weaving all in one leaf.
-
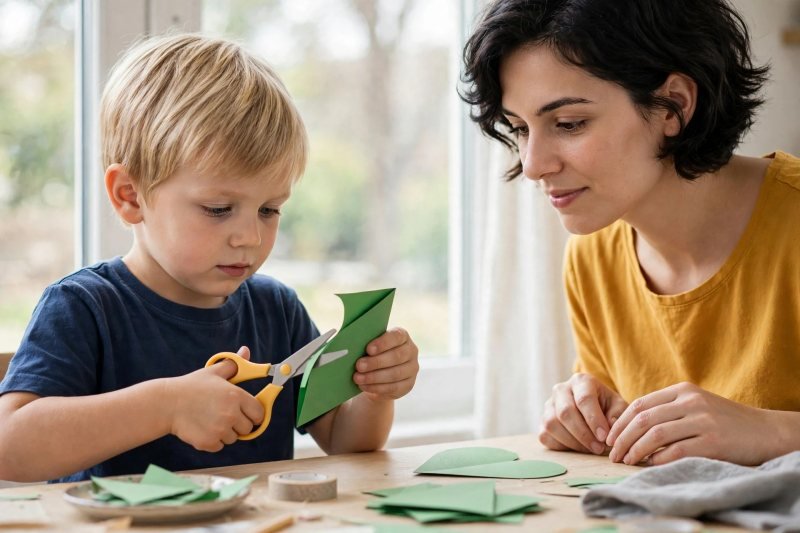
Fold green paper and cut one curve to open a whole shamrock.
-
Fold a square of green paper in half, draw half a heart along the fold (an adult draws the first one; confident 5s draw their own), and cut along the line — open it and a full heart appears, which is the fold's magic trick and worth doing twice for the gasp. Cut three hearts, arrange them points-in on a stem strip, and glue: a folded-cut shamrock with paper-doll symmetry. For more fold-and-match play, symmetry activities for kids turns the same fold line into a whole session. Say, "Cut half, open whole — the fold does the other side for you." Some hearts will be lopsided; shamrocks in nature are too, and the garland in step 9 has room for every personality of leaf.
-
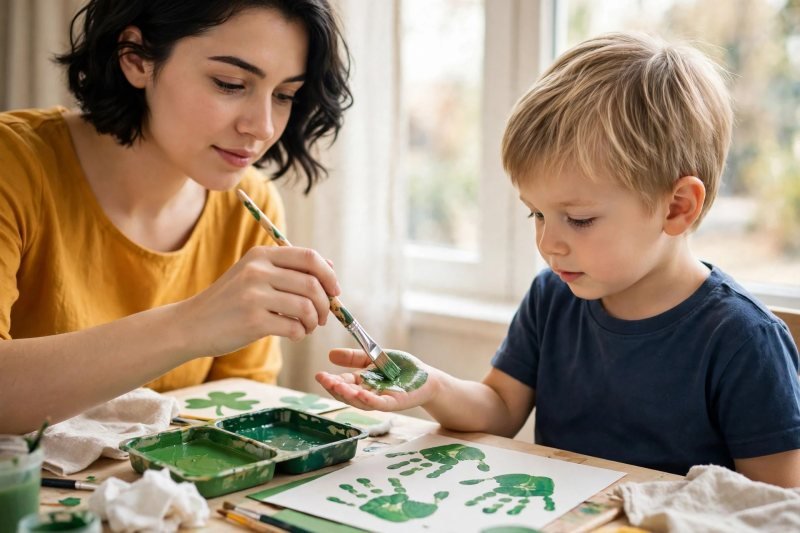
Paint palms and print handprint shamrocks in two greens.
-
Brush green paint over your child's palm and fingers, press onto cardstock three times fanning from one center point — heel of the palm always landing on the same spot — then swap to the lighter green and print a second shamrock beside it so the pair can be compared: same hand, different green, different leaf mood. Add stems with a fingertip dragged downward. Say, "Three prints, one clover — your hand is three leaves at once." This is the session's keepsake; date-free and word-free, it still says everything. Rinse hands before the stamping step, or every stamp from here on carries a bonus palm print.
-
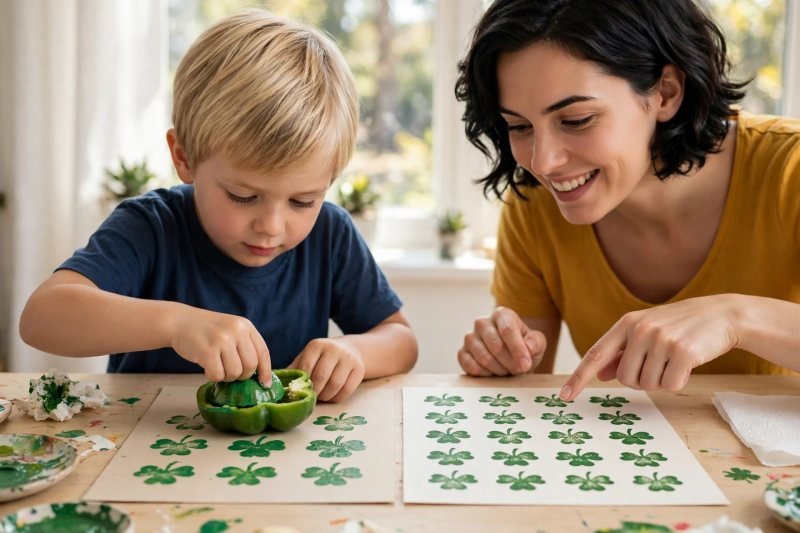
Stamp shamrocks two ways and hold a print-off.
-
First the heart stamp: three heart prints meeting at a point, stem drawn on — the tidy, repeatable shamrock. Then the bell pepper: press its cut face (three lobes, nature's own shamrock stamp) into paint and print — the wild, organic shamrock. Make a page of each, then hold the print-off: line the two pages up and ask which method gives the same shamrock every time (the stamp) and which gives a surprise every time (the pepper). Say, "Same leaf, two tools — tools change the picture." This compare-and-judge moment is early art criticism, and 4-year-olds are deliciously blunt critics.
-
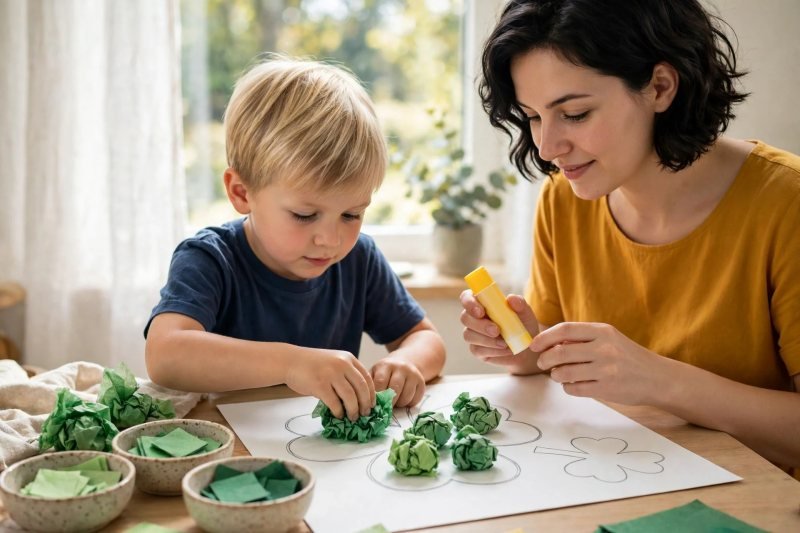
Crumple tissue squares and collage a shamrock in shades of green.
-
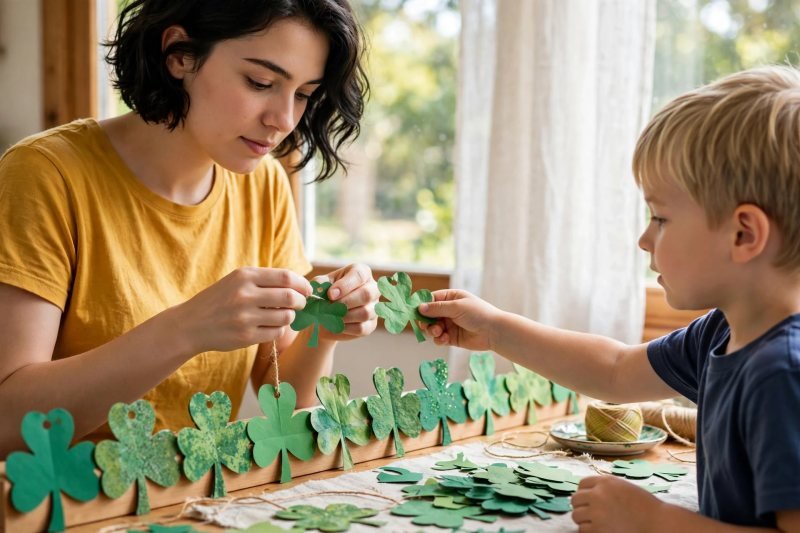
Hand over the big shamrock outline and bowls of tissue squares in three greens; children crumple each square into a tiny ball (the pinch-and-crumple is this step's whole motor curriculum), dab glue inside the outline, and press the balls in — dark green around the edge, light toward the middle, or fully mixed for the confetti shamrock. Say, "Squash it, glue it, press it — a shamrock made of tiny green clouds." Tissue collage forgives everything: gaps fill with one more ball, overflow trims away, and the finished leaf has a quilted, touchable texture no flat craft in this session can match. This is color work by shade rather than by mixing — value, taught by tissue.
-
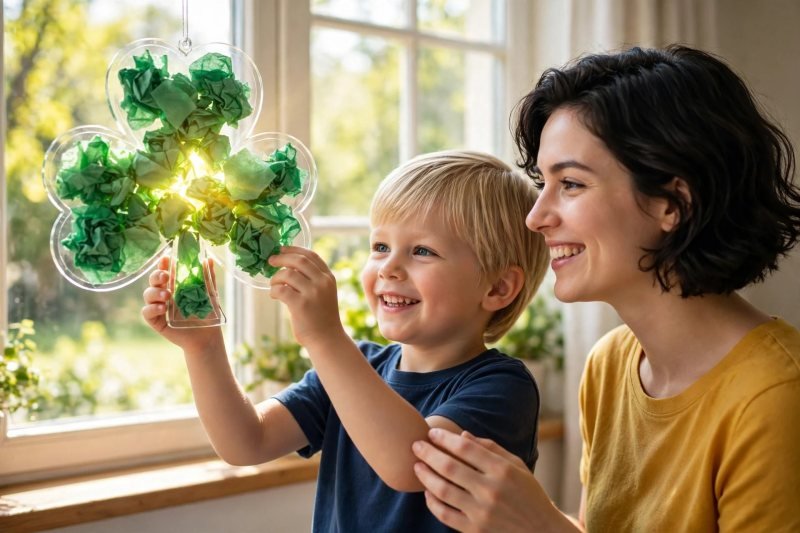
Stick a shamrock sun-catcher and hang it where the light does the art.
-
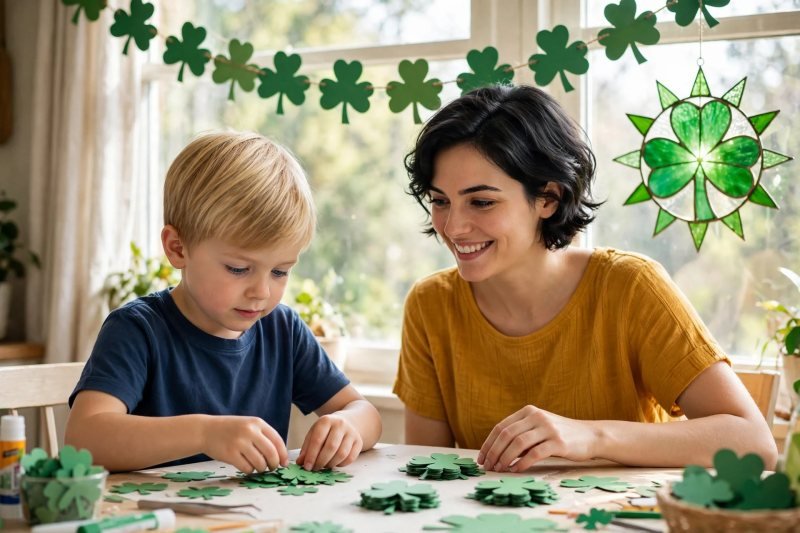
Peel the backing from a clear contact-paper square (sticky side up, taped to the table at its corners so it cannot escape), press a shamrock-shaped frame of dark green paper onto it, and fill the leaf with green tissue pieces laid flat — overlapping is good, the light blends them. Seal with the second contact sheet, trim the edge, and hang it in the sunniest window. Say, "This shamrock runs on sunshine." Hold the finished sun-catcher up before hanging and let your child find the light-and-dark patches where tissue doubled: stained glass, explained by a leaf.
-
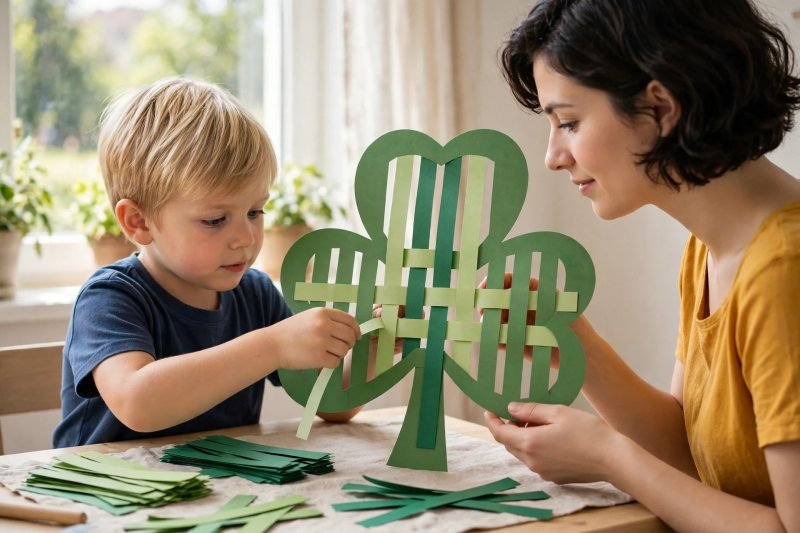
Weave green strips through a shamrock frame for the woven leaf.
-
Cut a big shamrock outline from cardstock and slice straight vertical slits inside it (an adult starts the slits; safety scissors finish them), then weave strips of green paper — two shades alternating — over, under, over, under across the leaf, tucking the ends behind. Say, "Over, under, over, under — the strip is a snake through grass." Weaving is the session's most demanding skill and its most absorbing; expect the first rows to wobble and the last rows to march. A stem strip glued behind finishes the one shamrock in this set that is all pattern and no paint.
-
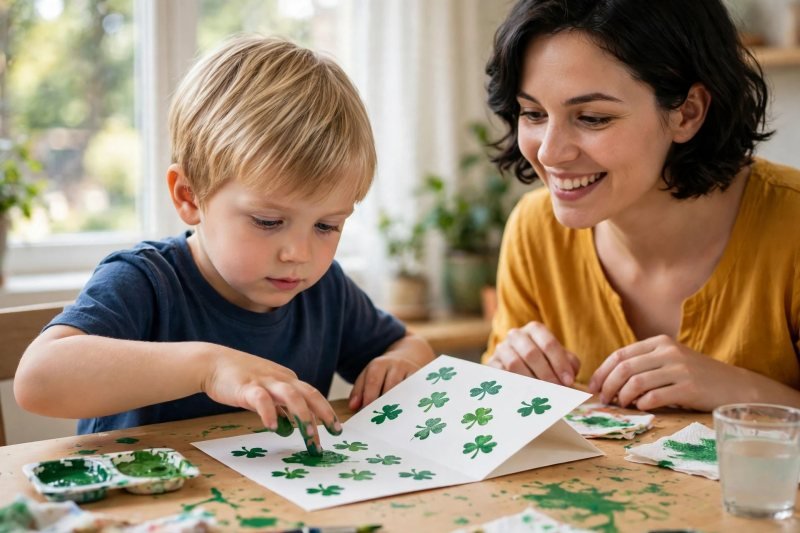
Finger-paint a whole shamrock field onto a card for someone lucky.
-
Fold a big sheet into a card, then fingertip-print the front into a field: shamrock after shamrock made of three fingerprint heart-dabs meeting at a point, in both greens, until the card front blooms. Inside goes a handprint shamrock from step 3's technique (a spare print, if you made extras — this is why we print pairs). Say, "A field of luck, for somebody's mailbox." Finger painting is the session's freest technique after six steps of structure, and children feel the gear-change in their shoulders; the card gives the freedom an address.
-
Punch holes and string the week's shamrocks into one garland.
-
Gather the dry, flat shamrocks — folded-cut, stamped pair, tissue, woven — punch a hole at the top of each (the punch's click is a ceremony), and thread them onto string or yarn in an order your child curates: alternating techniques is the classic arrangement, and arguing the order is half the fun. The handprint keepsake and the sun-catcher stay out of the string — one is for keeping, one is already hanging where light lives. Say, "Seven ways to make one leaf — and now they march together." Tie the garland across the window or the mantel and step back for the full view.
-
Sort the shamrocks by how they were made and tell the leaf story.
-
End with the collection on the table: sort the shamrocks into piles by technique (cut ones, printed ones, squashed-tissue ones, the glowing one, the woven one), count each pile, and let your child pick the family's official shamrock — the one that best deserves to represent the holiday. Photograph the garland and the winning leaf for the family chat, hang the sun-catcher last so the session ends with light coming through green, and wash the paint tray while your curator explains the collection to anyone who will listen. Say, "One leaf, seven ways — and you made them all." Tidy brushes, file the handprint keepsake somewhere safe, and let the garland stay up through St Patrick's Day.


Make it easier
Run three projects, not seven: fold-and-cut, handprint, and the sun-catcher cover the session's skills with half the setup. Pre-draw the half-heart on the fold and let younger cutters just cut — the opening reveal is the reward either way. Skip weaving for young 4s; a second tissue shamrock in different greens keeps the table balanced.
Make it harder
Let 5-year-olds draw their own half-heart and stem shapes — wobbly symmetry is still symmetry, and it is theirs. Extend the weaving into a checkerboard challenge: alternate shades column by column as well as row by row. Add a symmetry hunt: after step 2, walk the house finding things that fold in half evenly (leaves, butterflies, faces in the mirror). Weave a pattern: alternate two greens in a checkerboard — AB patterns for preschoolers builds the same over-under rhythm with beads and blocks.
Other ways to play it
- Four-leaf clover special: repeat any technique with four hearts instead of three and talk about why the four-leaf version is the famous lucky one — rarity. One per garland is tradition.
- Shamrock suncatcher mobile: hang three small sun-catchers at different heights from a stick — the window becomes a shamrock mobile.
- Potato-stamped shamrocks: an adult carves a heart into a halved potato for a third stamping method to enter in the print-off.
- St Patrick's Day session: for the full holiday arc — rainbows, wands, and a leprechaun trap — St Patrick's Day crafts for preschoolers runs the five-project version of this week.
How it changes by age
- Age 4: Fours cut the fold with drawn lines, print and stamp with glee, and crumple tissue like professionals. The weaving may need a partner hand holding the frame; the sun-catcher is their glory project because it cannot really fail.
- Age 5: Fives draw their own halves, run the print-off judging like critics, and weave independently by the third row. Give them the garland curation and the sorting finale — classification is five-year-old catnip.
What they're learning
Symmetry: the fold-and-cut shamrock makes mirror halves physical — cut half, open whole. Technique comparison: seven tools, one subject — stamping vs weaving vs collage — is art education in its most practical form. Shade and value: three greens sorted dark-to-light across tissue and paint teach how color families work. Classification: the finale sort (by technique, counted) is early data handling on a craft table.
Clearing up
Tissue squares breed — gather the strays first while the glue dries, then rinse brushes and the paint tray, and sweep the punch dots before they migrate. The garland and sun-catcher stay up through the holiday; the woven and folded shamrocks store flat in a folder for next March's comparison ("look how much better your cutting is"), which is a growth chart disguised as a craft box. The keepsake handprint gets filed, not framed-and-forgotten — it is next year's measuring stick.
Questions parents ask
What are the easiest shamrock crafts for kids?
How do you make a paper shamrock by folding?
How is a shamrock different from a four-leaf clover?
Can you make shamrock crafts without paint?
What do shamrock crafts teach kids?
Distinctness: this is the technique-focused big-kid shamrock article (ages 4–5): seven methods for one leaf, symmetry and comparison at its core. The companion st-patricks-day-crafts-for-preschoolers article is the five-project holiday session (rainbows, wands, leprechaun trap).
For more seasonal making, see Halloween crafts for kids.

save it for later
Pin this for the next rainy afternoon
Keep it on a board so it is there when you need it, rather than when you happened to find it.
Save to Pinterest


