


Handprint Turkeys for the Table
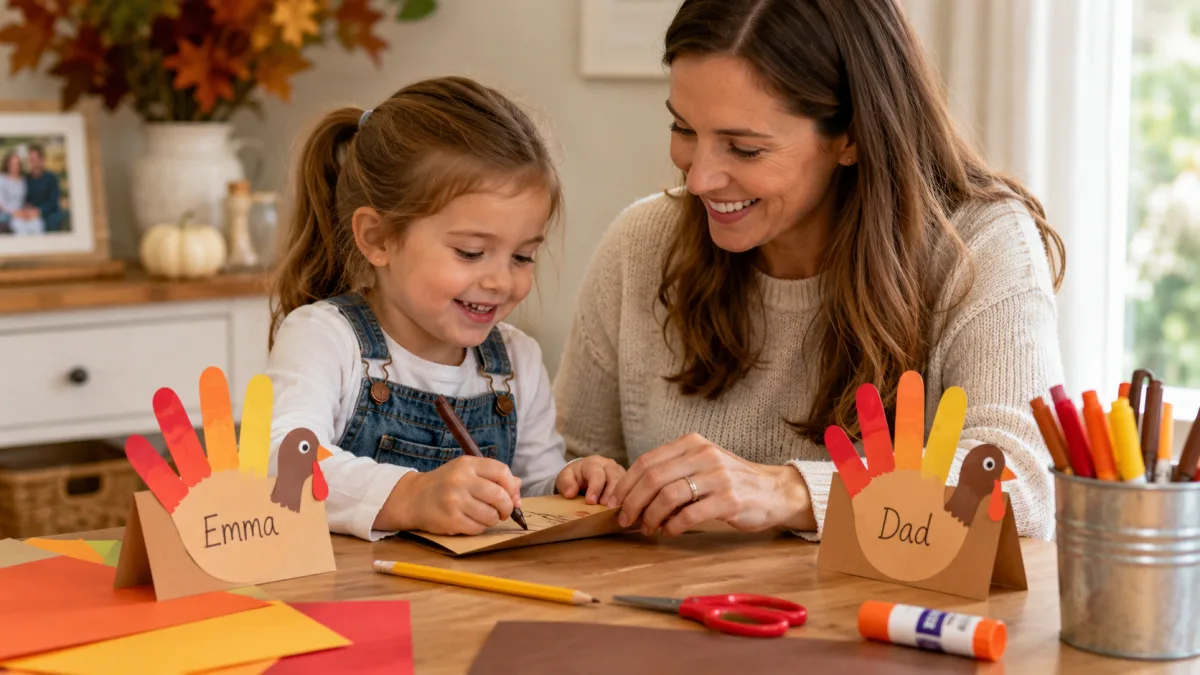
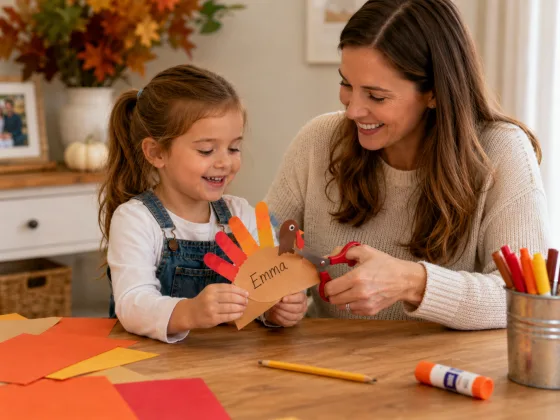
Draw round their hand, turn it into a turkey, write a name on it. Everyone gets one at their place.
Draw around a child's hand on folded card to make turkey place cards for a Thanksgiving table. Needs card and pens. Suits ages 3 to 7 and takes 20 minutes.
The short version
- Wrist on the fold, fingers pointing up, or it will not stand.
- One for every person at the table.
- Write the year on the back and keep one.
- Age
- Ages 3–7
- Prep
- 5 min
- Play time
- 20 min
- Mess
- Low
- Difficulty
- Easy
- Where
- Indoor
Why kids love this
Their hand becomes the turkey, which children find genuinely funny, and it gets smaller every year in a way that families notice. The cards get used at a real table with real people sitting behind them, which matters more than anything that goes on a fridge.
What you'll need
- Card in brown, orange, red and yellow
- A pencil
- Scissors
- Glue stick
- Felt tips
- Optional: googly eyes
Before you start
Fold a piece of card in half so the place card will stand up. Draw around their hand with the thumb pointing away from the fold, so the fingers become tail feathers and the fold stays as the base. That one detail is the whole trick — get it wrong and the card will not stand.
How to do it
-
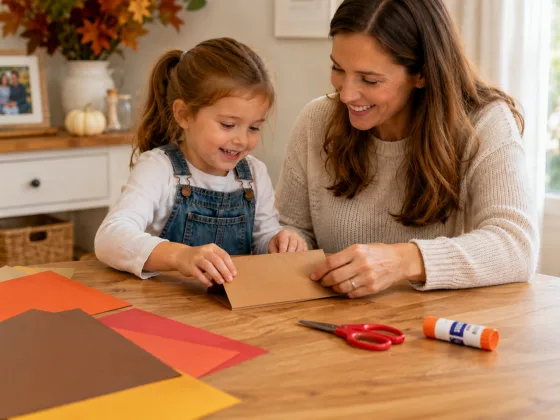
Fold a piece of card in half.
-
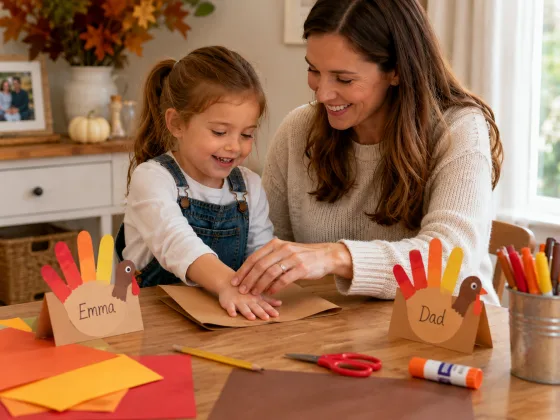
Lay their hand on it with the wrist on the fold and the fingers pointing up.
-
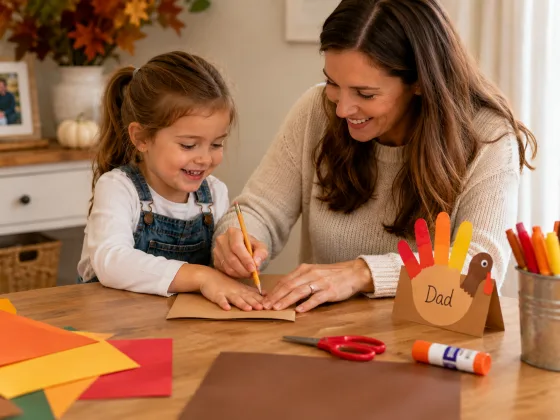
Draw around the hand with a pencil.
-
Cut it out, keeping part of the fold uncut so it still stands.
-
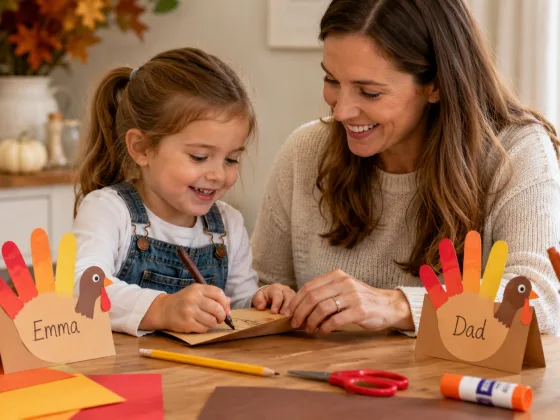
Colour the thumb brown — that is the turkey's head.
-
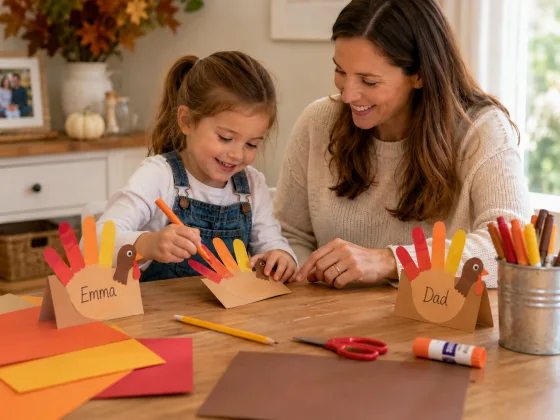
Colour each finger a different colour for the feathers.
-
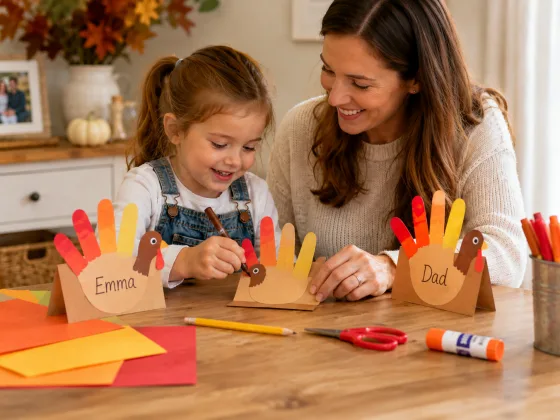
Draw an eye and a beak on the thumb.
-
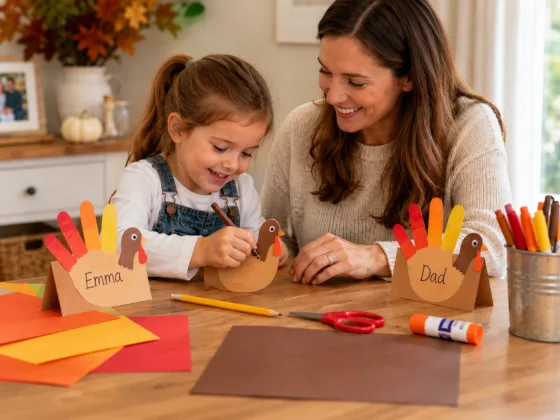
Write a name across the palm and stand it at somebody's place.
Make it easier
You cut, they colour. Cutting around fingers is genuinely difficult and it is the step that ends the activity.
Make it harder
Ask them to write all the names themselves, and to plan who sits where.
Other ways to play it
- Make one for every person coming, including anybody joining by phone.
- Write something you like about each person on the back.
- Use real feathers glued to the fingers.
- Make a giant one for the middle of the table.
- Keep one each year and line them up to see the hands grow.
How it changes by age
- Three: you draw and cut, they colour the feathers.
- Four to five: they colour and write their own name.
- Six and up: the whole card including cutting, plus writing everybody's names.
What they're learning
Drawing around a hand and then cutting along the line is precise scissor work with a clear target. Writing names for a real purpose — people will actually sit behind them — is far more motivating than writing practice.
Clearing up
Card scraps in the recycling. Keep one card each year with the date on the back — it becomes the best kind of record.