


Letter Tracing Worksheets for Preschoolers: Big Letters, Little Hands
One guided letter-tracing session for 3–4-year-olds: warm up with big arm movements and finger tracing, find a comfortable crayon grip, then work a five-page worksheet pack from giant letters to independent writing. From wavy arm-writing in the air to tracing real letters — with a five-page worksheet pack you can make yourself in minutes.
Letter tracing worksheets teach preschoolers letter shapes, stroke order, and hand control — but warm up first: air-writing, then finger tracing in a salt tray, then crayon on giant letters. Keep sessions to 15–20 minutes, accept an imperfect grip, teach straight-line letters before curvy ones.

The short version
- Sky-writing first: big arm movements warm up the muscles that steady the hand.
- Finger-trace in a salt tray before touching a crayon — finger before pen.
- One page, one letter, one session; letters at least three inches tall early on.
- Straight-line letters (L, T, H, E, F) come before curvy ones (C, O, G, S).
- Never force a tripod grip at 3–4 — a stable pinch is the goal; it develops gradually.
- Age
- Ages 3–4
- Prep
- 10 min
- Mess
- Low
- Difficulty
- Easy
- Where
- Indoor
Why kids love this
The guide line does half the work, so every finished letter looks right. Big pages, fat crayons, and rainbow re-tracing keep it playful.
What you'll need
- Salt in a shallow tray
- a 5-page worksheet set (hand-drawn, or any printed letter tracing worksheets pack)
- thick crayons (short "broken" ones are ideal)
- a yellow highlighter
- blank paper
Before you start
Fill the tray with a thin layer of salt. Draw the five pages with thick lines, letters at least three inches tall early on. Page 1: the child's first name, one giant letter per page. Page 2: big straight-line letters. Page 3: wavy "roads." Page 4: smaller dotted letters. Page 5: big letters with blank lines beside them.
How to do it
-
Are letter tracing worksheets good for preschoolers?

-
Yes — for most 3–4-year-olds, when tracing follows big-motor warm-ups. Giant letters, short sessions, no pressure to be neat: that's when tracing builds stroke patterns and hand control. Work the steps in order.
-
1. Warm up the arms before the fingers. Trace giant invisible letters in the air — "sky writing." Say: "Watch my arm — it makes a big round letter!" They copy, arms wide. Do five or six, then shrink them: shoulders, then elbows, then wrists — writing's top-down order. Then sit down.

-
- Bridge: "Our arms know the letters — now the fingers."
-
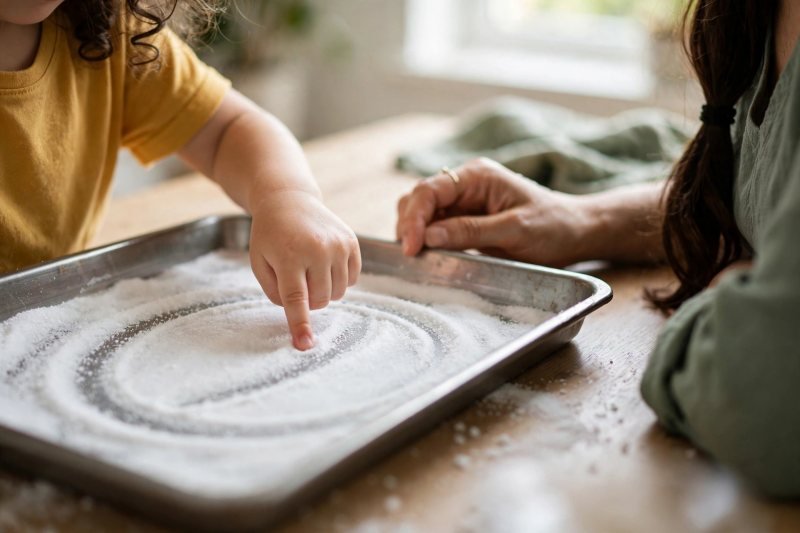
2. Trace with one finger in the salt tray. Trace a big letter slowly in the salt with your index finger, saying its sound — "ssss." Say: "Use your pointer finger — draw it right behind mine." They drag one finger through your line. Shake the tray flat and mistakes vanish — that's why finger tracing feels safe. Try their first name's letters.
-
- Bridge: "Your finger knows them — now the paper letters."

-
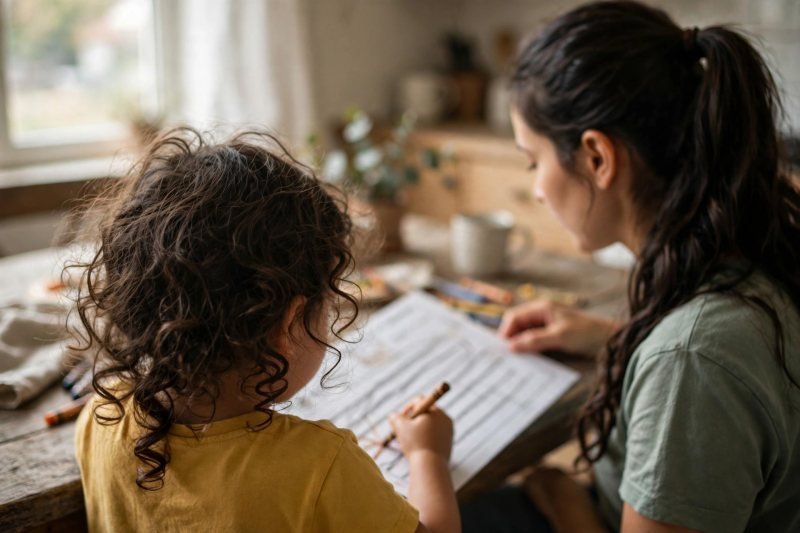
3. Meet the worksheet pack, one page at a time. Fan the pages out face-down, then flip just Page 1 — the giant first letter of their name. Say: "This is YOUR letter. Today we only visit this page." A whole stack feels like homework; a single page feels like a gift. Let them touch the letter with a finger first.
-
- Bridge: "Before we draw, find the best way to hold the crayon."

-
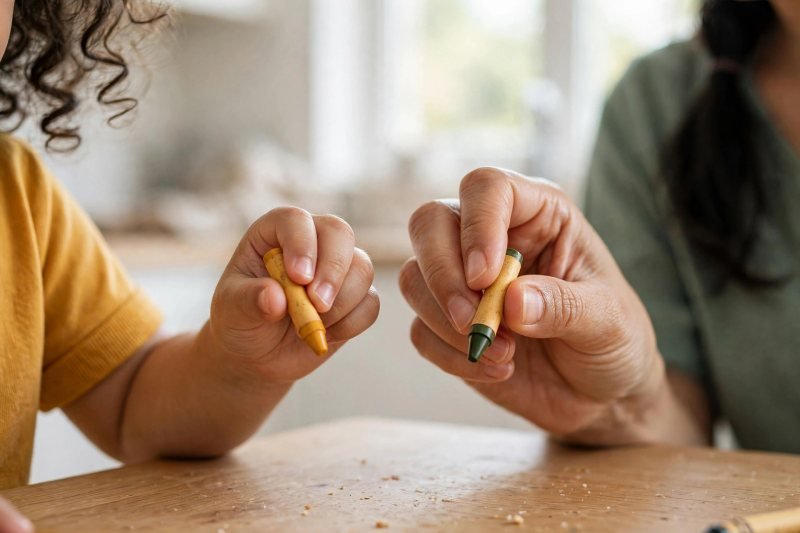
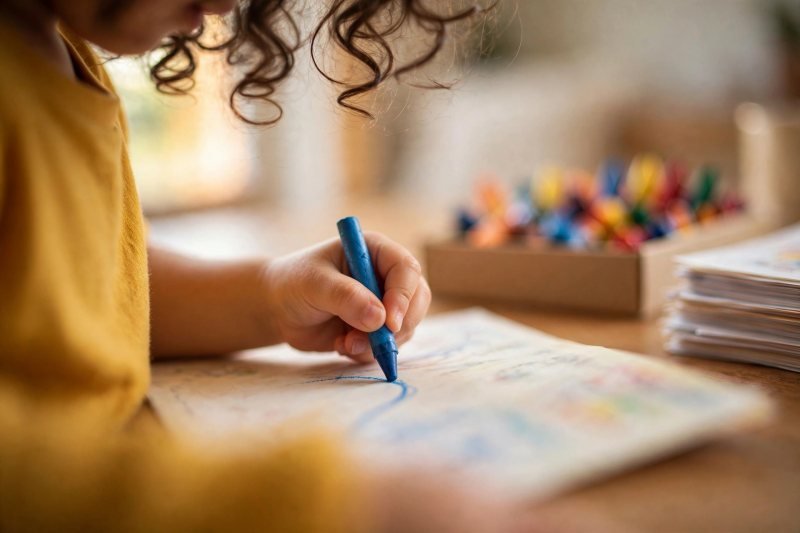
4. Find a working grip — never force a perfect one. Hand them a short, stubby crayon; a broken one is ideal — too short for a fist grip, so fingers naturally pinch. Say: "Pinch it like a little bird beak." Then accept whatever grip they manage: a true tripod grip develops gradually, and at 3–4 the goal is a stable pinch where fingers do the moving.
-
- Bridge: "Grip's sorted — now I draw it, you drive over it."

-
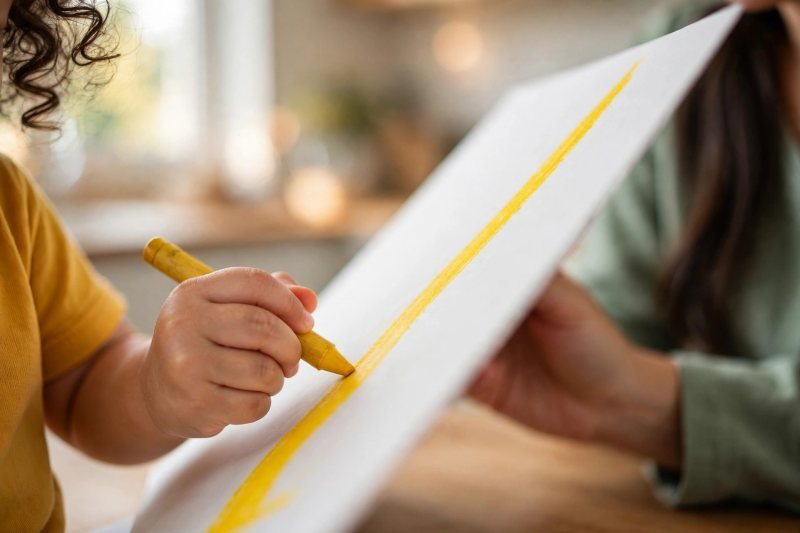
5. Trace over YOUR letters first. Redraw the letter on Page 1 with the highlighter — thick, bright, impossible to miss. Say: "Your crayon drives right on top of my yellow line, like a car following the road." Steady the page while they trace, and praise the following: "You stayed on the road the whole way!" Then they choose: same letter in a new color, or Page 3.
-
- Bridge: "Roads first, then letters — your hand needs the practice routes."
-
6. Trace lines and curves before letters. Flip to Page 3. Say: "Drive the crayon-car from THIS dot all the way to THAT dot — don't fall off the road!" They trace wavy lines, zigzags, loops: the raw ingredients of every letter. Then connect it: "That curvy road? It's hiding inside the letter C — watch." They trace a few big C's and O's.
-
- Bridge: "You drove the curves — now the straight roads."
-
7. Work letter families: straight before curvy. Back to Page 2 — straight-line letters (L, T, H, E, F). Say: "These are all made of straight sticks — let's build them like LEGO." Teach each stroke order from the top: "For E: down the tall stick, then three little shelves." Corners teach stopping-and-starting control; curves come later. If hands tire, stop — tired hands learn nothing.
-
- Bridge: "Your mouth knows the letter, your hand knows the road — combine them."
-
8. Say the strokes out loud as you trace. Give the letter a spoken pathway to chant while tracing. Say: "Big E! Say it with me: down, across, across, across!" The chant fixes stroke order and slows a rushing hand. Try two or three letters; it quickly becomes a joke they do unprompted — that's motor memory forming.
-
- Bridge: "Same letters, brand-new rainbow — color the roads again."
-
9. Rainbow-trace for repetition without boredom. Bring back Page 1 or 2. Say: "That letter needs a rainbow — trace it in red first!" They trace the same letter 3–4 times, each pass in a new color, each sharpening the stroke path. Repetition is where learning lives; rainbow tracing disguises ten practice reps as art. Revisit yesterday's page too — it's easier today.
-
- Bridge: "No more yellow roads — try one on your own."
-
10. Step off the guide: one letter on a blank line. Turn to Page 5 — big letters with empty lines beside them. Say: "The model letter is watching you. Can you write one all by yourself on the empty line?" It will wobble — celebrate the attempt: "You did the whole thing without the road!" Do two or three, then stop while the victory is fresh. End with free drawing.


Make it easier
Trace in shaving cream on a tray or with bath crayons on the tub — instant wipe, zero pressure. Use a whole hand in the salt tray before one finger. Accept scribble-tracing; accuracy comes from repetition.
Make it harder
Move to smaller letters sooner and add surname initials. After tracing, have them write the letter, then name a word starting with it ("B — ball!"). Older 4s can trace two-letter combos from their name.
Other ways to play it
- Bath time: bath crayons on the tub wall — big letters, easy cleanup.
- Sandpaper letters: finger-trace on rough sandpaper for extra sensory feedback.
- Letter hunt: hide the five pages around the room; find one, trace it.
How it changes by age
- Younger 3s: stay in steps 1–4 — sky writing, finger tracing, one big letter. Ten minutes max; repeat the same letter for a week.
- Older 4s: run the full sequence, lingering on steps 8–10.
What they're learning
Pre-writing stroke patterns and correct letter formation (top-down, left-to-right); fine-motor control developing from shoulder to fingers; the tripod grip building gradually; letter-sound connections; persistence and pride.
Clearing up
Shake salt trays flat for reuse, or funnel the salt into a jar. Stack the pages in order in a folder — the child's "tracing book." Two-minute tidy: crayons in the box, pages in the folder.
Questions parents ask
Are letter tracing worksheets good for preschoolers?
What order should I teach letter tracing to a 3-year-old?
How do I help my preschooler hold a pencil for tracing?
What letters should preschoolers trace first?
How long should letter tracing practice last for a 4-year-old?
One short session a day beats a weekend marathon. If your child resists, drop back to steps 1–2 for a week — readiness is waited for, not taught. Never criticize letter shapes.
Keep reading: Letter Tracing Worksheets for Pre-K (link to https://brightplaydays.com/activities/letter-tracing-worksheets-prek/) for printable practice sheets, and Fine Motor Activities for Preschoolers (link to https://brightplaydays.com/activities/fine-motor-activities-for-preschoolers/) to strengthen the hand muscles tracing depends on.

