


Magic Milk Experiment for Preschoolers: A Color-Burst Science Guide (Ages 3–4)
A complete magic milk experiment guide for preschoolers ages 3–4: milk, food coloring, and one drop of dish soap create bursts of swirling color — plus the simple why-it-works, color-mixing learning, and a marbled art extension.
The magic milk experiment mixes milk, food coloring, and a drop of dish soap to create bursts of swirling color. Pour whole milk into a shallow dish, add drops of food coloring, then touch the surface with a soap-dipped cotton swab. The soap breaks the milk's surface tension and chases its fat, dragging color along in a dazzling display perfect for preschoolers ages 3–4.

The short version
- Milk, food coloring, and one soapy cotton swab create instant, spectacular color bursts — five-minute setup, no special kit.
- The honest science, simply: soap breaks the milk's surface tension and chases its fat, carrying the colors along.
- Whole milk bursts best; skim milk barely moves — comparing the two is a real experiment.
- Red, yellow, and blue drops mix into orange, green, and purple as they swirl — color theory in action.
- Press paper onto the swirls to keep a one-of-a-kind marbled print.
- Do not drink the soapy milk; washable food coloring stains, so use aprons and supervise the soap.
- Age
- Ages 3–4
- Prep
- 5 min
- Play time
- 15 min
- Mess
- Some
- Difficulty
- Easy
- Where
- Indoor
Why kids love this
The payoff is instant and spectacular. Preschoolers add the color drops themselves, then they — personally — touch the swab to the milk and make the colors race. There is no waiting, no boring part, and no way to do it wrong. Every child gets their own gasp moment, and then the fun keeps going: trying new spots, swirling new patterns, guessing what each touch will do. It feels like they are doing the magic themselves, because they are.
How does the magic milk experiment work? Here's the simple, honest version — the one to keep in your head, and the one-liner to share with your child. Milk isn't just white water. It's mostly water, but it carries tiny bits of fat and protein. Those bits hold the top of the milk together in an invisible stretchy "skin" called surface tension — that's why the color drops sit on top instead of sinking in. Dish soap is a surface-tension breaker. The moment the soapy swab touches the milk, the soap shatters that invisible skin and rushes outward, chasing the fat bits in the milk. The color drops get swept along for the ride, which is why they burst and swirl. It keeps going until the soap spreads out and calms down — that's why the movement slows and a fresh soapy swab starts it up again. The one-liner for your preschooler: "The soap breaks the milk's invisible skin and chases the fat, and the colors ride along." Say it while the colors are still moving and watch their face — they got to see an invisible force work.
What colors can preschoolers mix with magic milk? Start with just red, yellow, and blue drops kept apart — three pure colors, easy to watch. When the swirling begins, the colors meet and mix on their own: red and yellow make orange, blue and yellow make green, red and blue make purple. It happens faster than mixing paint, so narrate it out loud: "Look — the red ran into the yellow and now it's orange!" For a deliberate color-mixing round, add only blue and yellow drops the second time and let your child predict the result before touching the swab. Then try red and yellow. After two or three rounds they start predicting the new color before it appears — and that prediction moment is genuine learning, not luck.
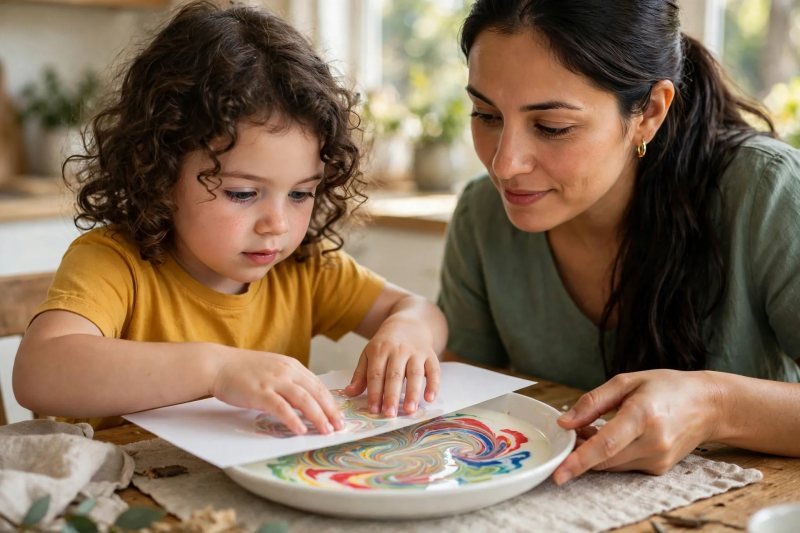
What can you do with the milk art after the experiment? Don't pour those beautiful swirls away — keep them. The paper-print step (step 9 above) turns the experiment into art: press, lift, dry, and you have a marbled print unlike any other. Let your preschooler make one print per burst round, then lay them flat to dry. Once dry, they make wonderful greeting cards (fold and the swirl is the front), bookmarks, or fridge art. Dating them on the back turns the collection into a little record of their science year. It also quietly teaches a lovely idea: experiments don't just end — sometimes they become something else.
What you'll need
- A shallow white dish or pie plate (white shows the colors best)
- Whole milk (a cup or so — whole milk gives the strongest burst because it has the most fat)
- Food coloring in red, blue, and yellow (washable, child-safe)
- Cotton swabs
- A small bowl of liquid dish soap
- A tray or folded towel to go underneath
- Aprons or old shirts
- A damp cloth for wiping fingers
- Optional: white paper for the art extension
Before you start
Set the tray or folded towel on the table and place the shallow dish on it. Pour about half an inch of milk into the dish — just enough to cover the bottom. Put the small bowl of dish soap, the food coloring, and a couple of cotton swabs within reach but let your preschooler do the setup steps once you begin. Pop aprons on. That's everything — you're ready in about five minutes.
How to do it
-
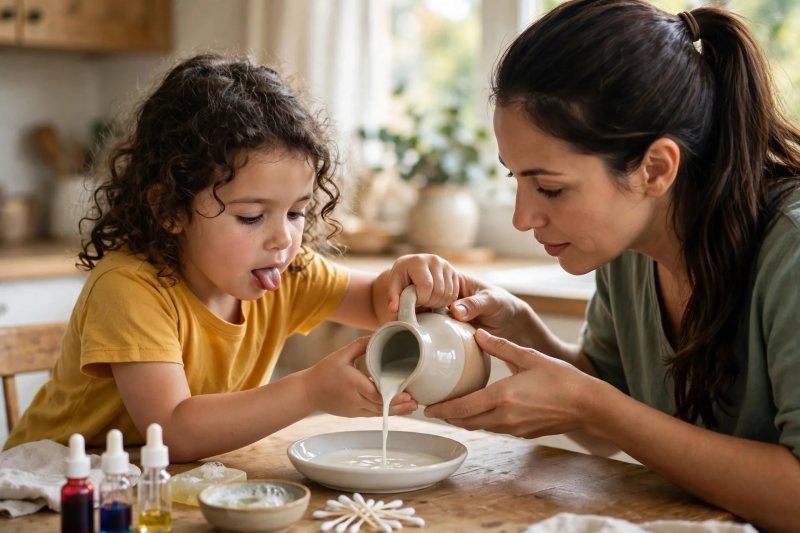
Pour the milk into a shallow dish. Let your preschooler pour the milk themselves — about half an inch, just covering the bottom. Tell them it needs to sit perfectly still, like a tiny white lake.
-
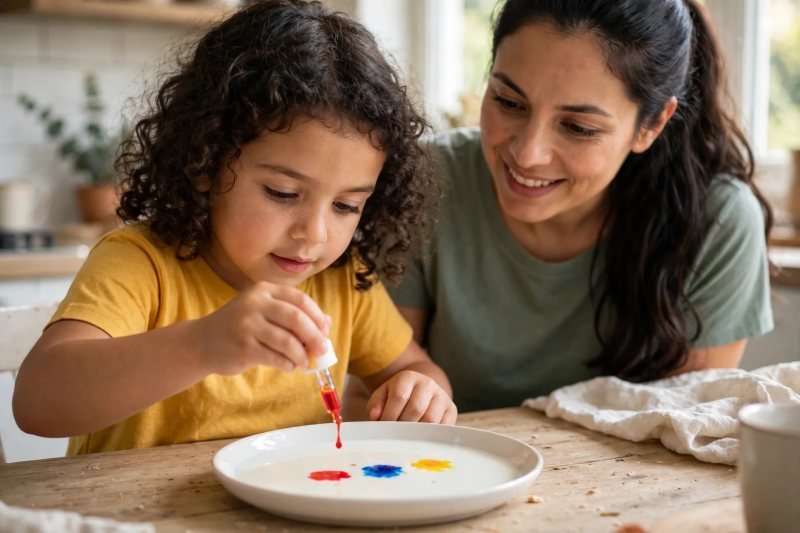
Add drops of food coloring. Let them squeeze 4–5 drops of each color around the surface — red, blue, yellow. Keep the drops apart so the colors start out separate. Notice how each drop just sits there, bright and round.
-
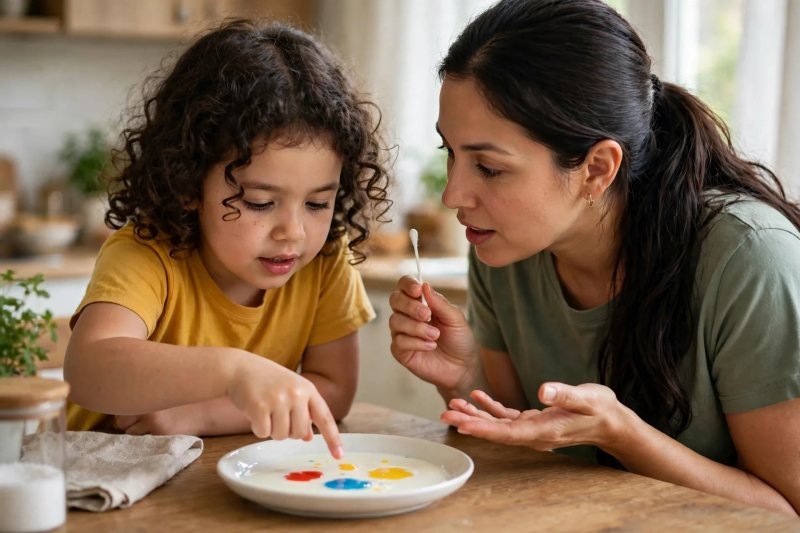
Look closely before the soap. Pause here — this is the most important step for learning. Ask: "What do you think will happen if I touch the milk with this swab?" Let them guess. There are no wrong answers; guessing is the whole skill at this age.
-
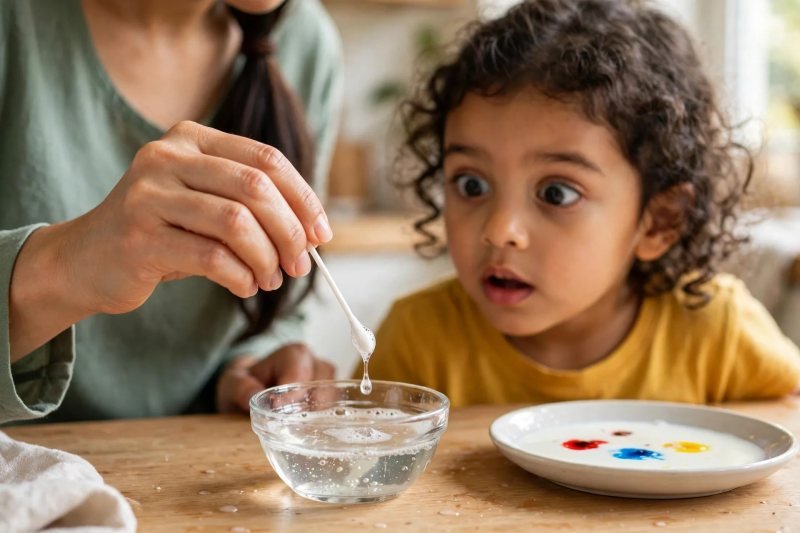
Dip a cotton swab in dish soap. You dip one end of a cotton swab into the small bowl of dish soap so the tip is lightly coated. Shake off any big drips. The soap is the magic wand — you stay in charge of it.
-
Touch the swab to the milk — the burst! Hand your child the swab and let them touch the soapy tip to the milk, right in the center or on a color drop. The colors will explode outward in swirling ribbons. Expect a gasp.
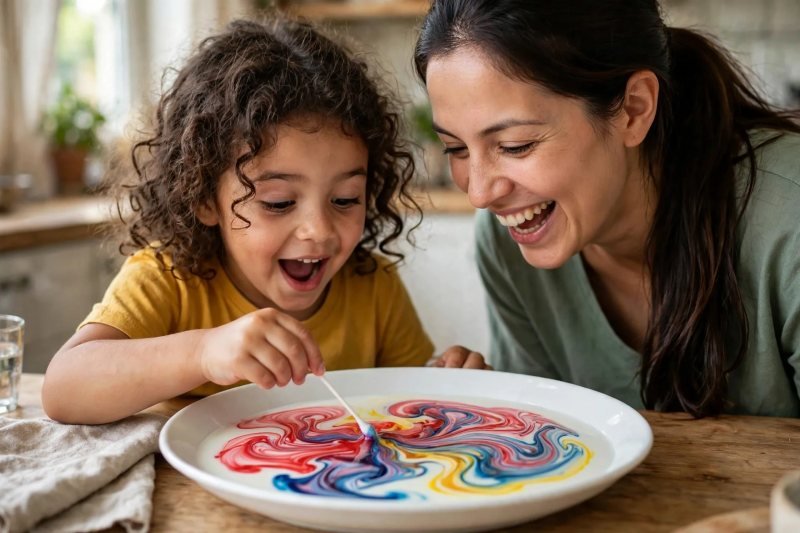
-
Try the swab in different spots. Touch fresh spots around the dish — the colors chase away from each new touch. When the burst gets weaker, dip a fresh swab in soap for a second round.
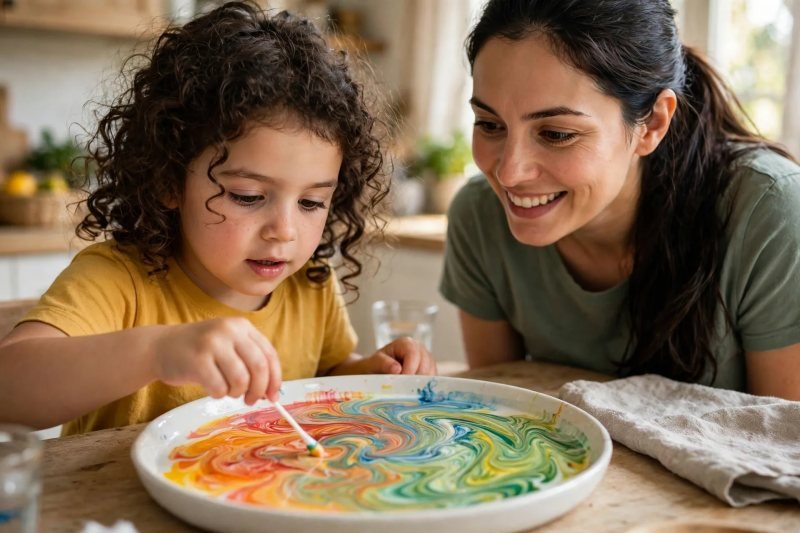
-
Swirl gently with the swab. Once the bursts slow down, drag the swab slowly through the milk to make marbled patterns. This is where red meets yellow and turns orange, and blue meets yellow and turns green — color mixing in real time.
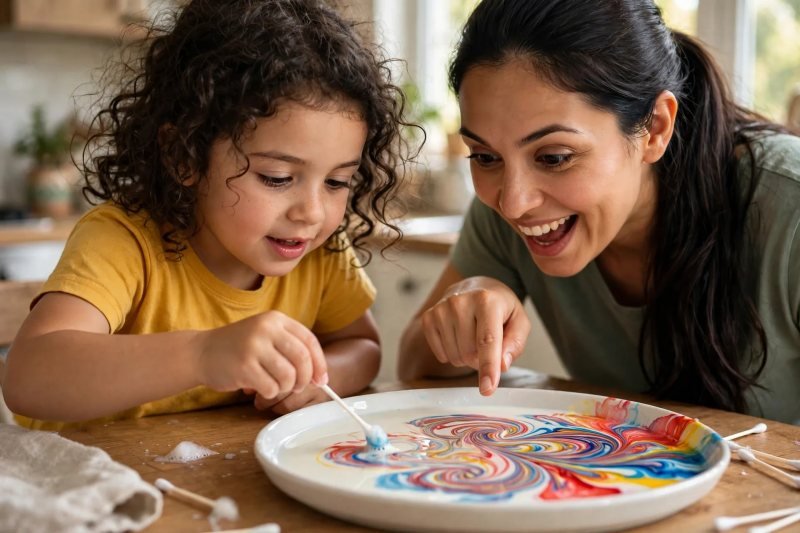
-
Talk about what happened. Ask what they noticed: "Where did the colors go? What happened when the soap touched?" Then give the simple explanation (see below — it's one short sentence for preschoolers).
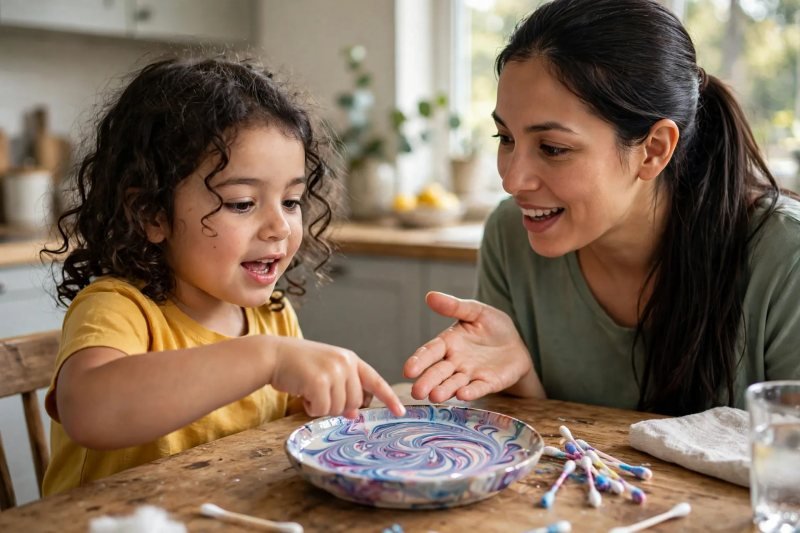
-
Art extension: press paper onto the milk. Lay a sheet of white paper gently on the milk's surface for a few seconds, lift it straight up, and lay it flat to dry. The swirling colors transfer into a one-of-a-kind marbled print they can keep.
-
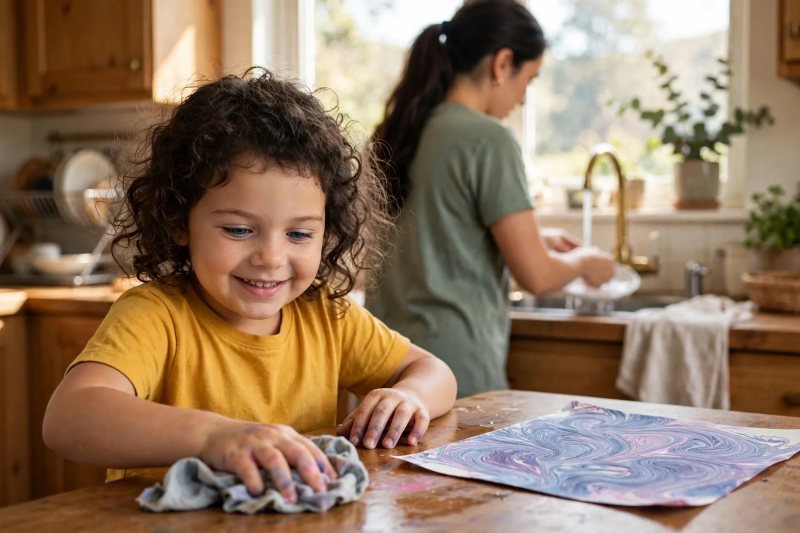
Clean up together. Tip the milky mixture into the sink, rinse the dish, and let your preschooler wipe the table with the damp cloth. Colorful hands rinse clean with soap and water.


Make it easier
For younger threes, do the soap-dipping yourself and just let them do the touching and watching. Use only two colors (red and yellow) to keep the setup simple. Keep the session to the burst moment and the swirling — skip the paper print until next time.
Make it harder
For older fours, turn it into a prediction game: before each touch, ask "where will the colors run this time?" Let them plan a pattern on purpose — "can you make the blue chase the yellow?" Have them describe what they see using color words and new words like swirl, spread, and mix. Our baking soda volcano activity makes a great next-step experiment for the same skills.
Other ways to play it
- Different milk types: Set up two dishes side by side — whole milk and skim milk — and compare. The whole milk bursts dramatically; the skim milk barely moves. Real comparing, real conclusions.
- Glitter galaxy: Add a pinch of fine glitter to the color drops for a sparkly version. It rides the currents just like the color does.
- Two dishes at once: Two children, two dishes, two soapy swabs — a burst race. Great for playdates.
- Night version: Do it near a window at dusk or with a lamp behind the dish; the glowing colors are gorgeous.
- Toddler version: For younger siblings, try color-mixing water play for toddlers next.
How it changes by age
- For ages 3–4. Threes do best with a parent doing the soap part and handling the pouring; the magic moment — touching the swab — is fully theirs. Fours can manage most steps with you beside them, and many will want to run the whole thing twice. This is an adult-led, child-driven activity: you set up the safe parts, they do the doing. If you want more sensory science for this age, our dancing raisins experiment pairs beautifully with it.
What they're learning
Cause and effect ("I touched it — the colors moved!"); early prediction ("what will happen?"); careful observation of fast-moving change; color-mixing discovery (red + yellow = orange); fine-motor control from squeezing droppers and holding the swab; and first real science vocabulary: surface, spread, swirl, mix, burst. They are also learning something bigger: that you can wonder about the world and test your wonder. Keep the science going with our science and colors collections.
Clearing up
Tip the leftover milk mixture into the sink and rinse the dish — the colors rinse away easily. Wipe the table and tray with a damp cloth; wipe food-coloring spills quickly so they don't stain. Colored hands wash off with soap and water (a little rubbing with oil helps stubborn blue). The marbled prints need an hour or so to dry flat — don't stack them.
Questions parents ask
How does the magic milk experiment work?
What kind of milk works best for the magic milk experiment?
Is the magic milk experiment safe for preschoolers?
Why did the colors stop moving?
How do you make a print from magic milk?
What do preschoolers learn from the magic milk experiment?

save it for later
Pin this for the next rainy afternoon
Keep it on a board so it is there when you need it, rather than when you happened to find it.
Save to Pinterest

