


Apple Crafts for Preschoolers: 4 Fall Makes With Real Apples
Four apple crafts for preschoolers in one orchard session: classic apple-half stamping, a paper-plate apple core, a crumpled-tissue apple tree, and a handprint keepsake tree — plus the seed-star discovery that starts it all. A complete fall craft guide for ages 3–5.
Cut one apple across the middle to reveal the seed star (adults do all cutting). Then make four crafts: stamp orchard prints with halved apples, adding fingerprint stems and leaves; build a paper-plate apple with a fingerprint seed star; scrunch tissue balls into an apple tree; and press a painted hand into a keepsake tree. Finish with a counting game, flat drying, and a gallery line.

The short version
- Adults do every knife cut in advance; the knife leaves the room before children sit down.
- The sideways cut reveals the seed star — the science hook that the paper-plate make copies.
- Stamping technique in four words: dip, press, hold, lift — practiced once on scrap first.
- Fingerprints do the details: stems, leaves, grass, seeds, and the handprint tree's apples.
- Painted craft apples are never eaten; snack apples are separate, fresh, and adult-cut.
- End with display: a pegged gallery line turns four crafts into an orchard exhibition.
- Age
- Ages 3–5
- Prep
- 10 min
- Play time
- 50 min
- Mess
- Some
- Difficulty
- Easy
- Where
- Indoor
Why kids love this
Real apples beat paper apples: they smell like fall, they stamp like magic, and one of them is hiding a star inside. Kids stamp orchards, glue trees, count seeds like treasure, and finish with a gallery wall of their own work — plus a handprint tree that saves this autumn's exact hand size.
What you'll need
- 4–6 real apples (any kind; a mix of red and green looks great in photos)
- Washable tempera paint: red, green, yellow, and brown
- Thick white paper or card stock, plus brown paper or card for trunks
- Paper plates (2 per child is plenty)
- Red and green tissue paper, torn or cut into small squares
- A glue stick or school glue in a small pot with a brush
- Child-safe scissors for paper (adults handle any tricky cuts)
- A sharp kitchen knife and cutting board — ADULTS ONLY, kept out of the craft zone
- Shallow trays or plates for paint, a smock or old shirt, wipes and a damp cloth
- String and mini pegs (or tape) for the gallery line; a flat tray for drying
Before you start
1. Wash the apples and dry them well — dry skins stamp crisply. Set aside one apple for the science cut in step 2. 2. Adult-only prep: halve two apples top-to-bottom for stamping (a fork or craft stick pushed into the skin side makes a great handle), plus spare halves. 3. Pour paint puddles onto trays: red and green for stamping, brown for trunks, plus a mixed leaf-green. Lay out paper, plates, tissue squares, and glue before calling your artist. 4. Cover the table, smock on, sleeves up, and put the knife away — out of the room, not just out of reach — once the cutting is done.
How to do it
-
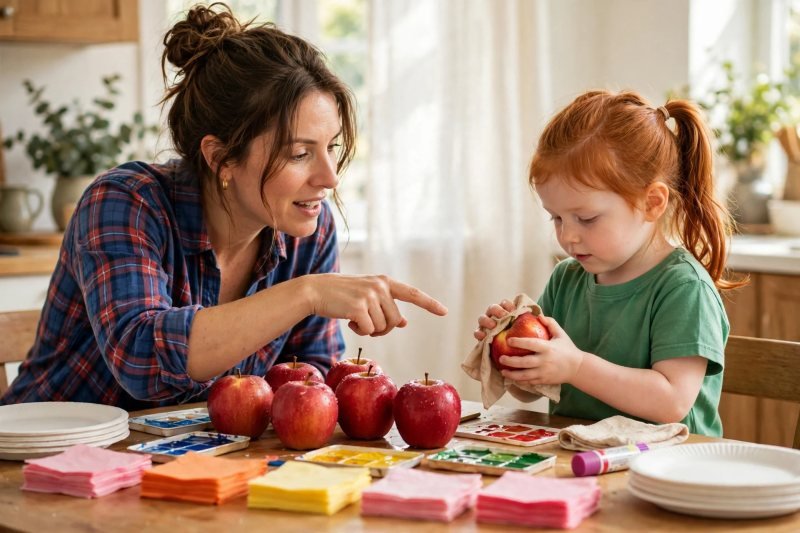
Set up the apple workshop and meet your materials. Apple crafts for preschoolers run best as a little workshop: everything on the table before anyone sits down. Walk the materials like a tour guide — "Real apples for stamping; paints for color; plates that become apples; tissue that becomes orchards" — and let your preschooler wash one apple, dry it, and hold the halved stamp apple (grown-ups did the cutting earlier, and the knife is already away). Say the two workshop rules out loud: "Paint stays on paper and apples; craft apples are for art, not snacking." A separate snack apple, cut by you and served away from the paint, keeps that rule easy and honest. Workshop ready: before any stamping, there's a discovery hiding inside the whole apple.
-
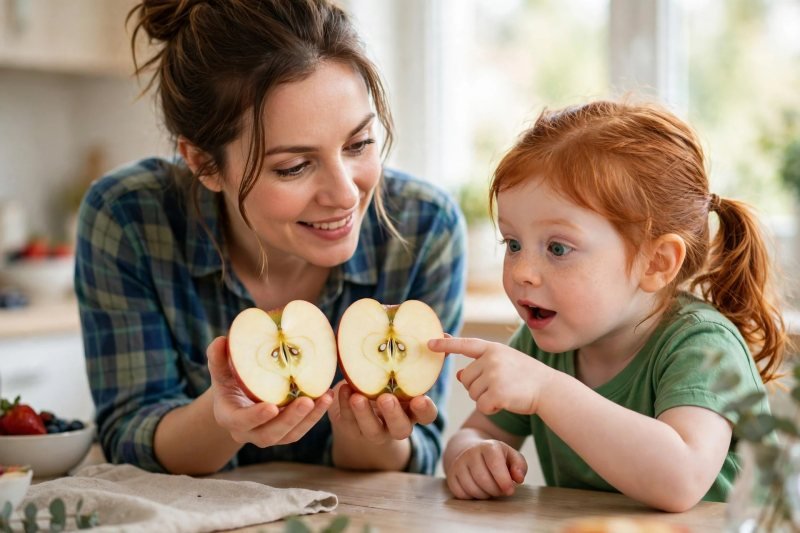
Cut one apple sideways and find the star. This is the science moment that makes the session: you (the adult) slice the reserved apple across its middle — not top to bottom — and open it to reveal the seed star hiding in the center. Hold it up like a magic trick: "Every apple hides a star. Count the seed pockets with me." Let your preschooler count the seeds, poke one out with a fingertip, and look at the star print the cut face makes pressed on scrap paper. Say: "The seeds are the apple's babies — this is how new apple trees start." Two minutes of wonder, real botany, and the perfect story hook for the trees you'll build later. Star found: now the classic make that every fall classroom knows.
-
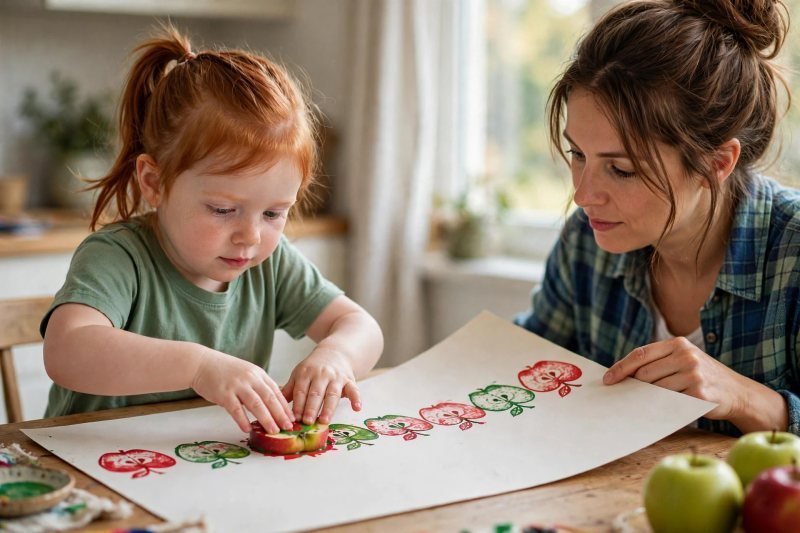
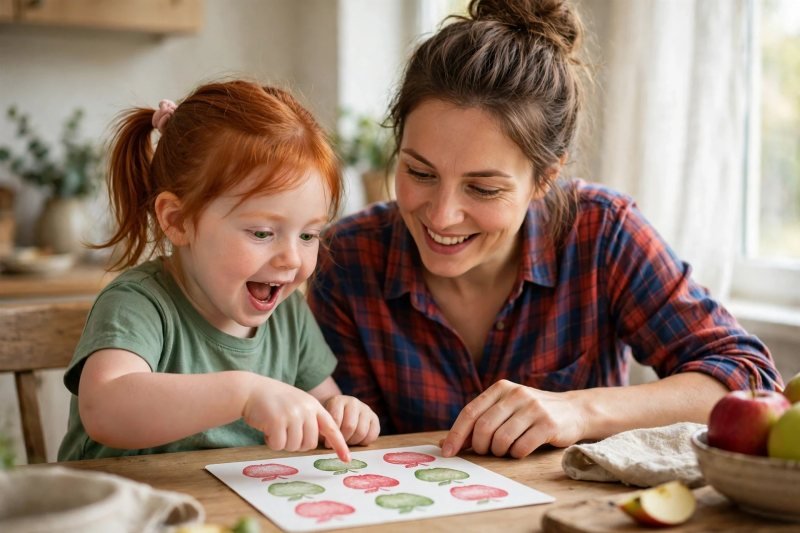
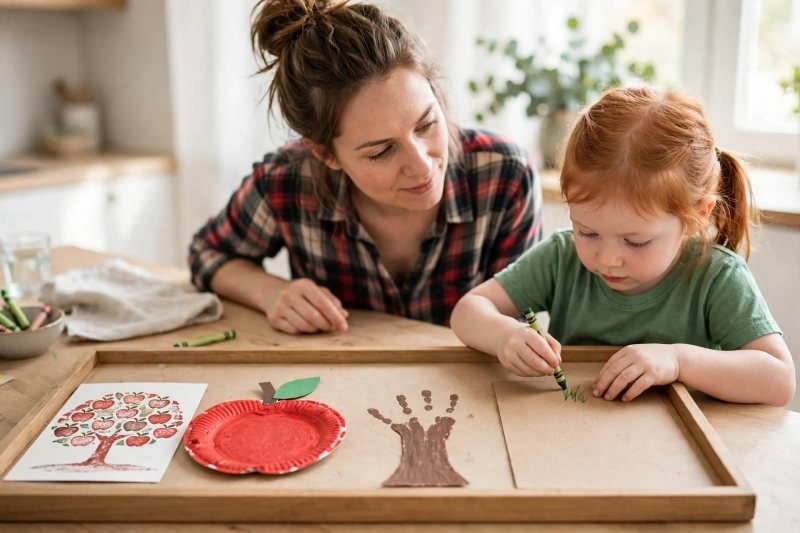
Make 1 — stamp an apple orchard print. Press a halved apple (cut side down) into the red paint puddle, lift, check the coat, and stamp firmly onto thick paper: press, hold, rock very slightly, lift straight up. That's the whole technique — teach it once on scrap, then turn your preschooler loose on the good card. Stamp an orchard: rows of red apples, then a fresh half in green, maybe one brave yellow. Mix a custom orange from red and yellow the way these color mixing activities for preschoolers teach it — young artists love inventing their own apple colors. Mistakes are just "apples that rolled away" — stamp over them or leave them; orchards are allowed to be wild. Say the rhythm while you work: "Dip, press, hold, lift — an apple!" Fill one full sheet; this becomes the orchard card in the next step and the counting board in step 8. Orchard stamped: give the apples their finishing details.
-
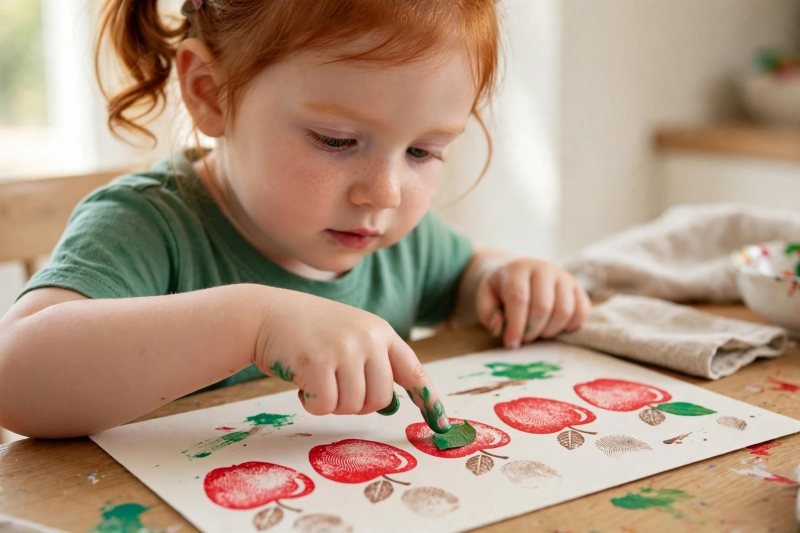
Add stems, leaves, and a fingerprint grass line. While the prints are still tacky, details go on with fingertips: a short brown fingerprint dragged upward becomes each apple's stem; a green fingerprint pressed sideways becomes its leaf. Along the bottom of the card, a row of green fingerprints makes the orchard grass, and a yellow thumbprint in the corner is the autumn sun. This fingertip work is the session's fine-motor heart — the same small-muscle practice these fine motor activities for preschoolers build. Faces on the apples? A fingertip smile works — it's their orchard. Say: "Stem up, leaf across, grass along the bottom." Card complete, set it on the drying tray — and while it dries, the second make turns a plate into an apple you can hold.
-
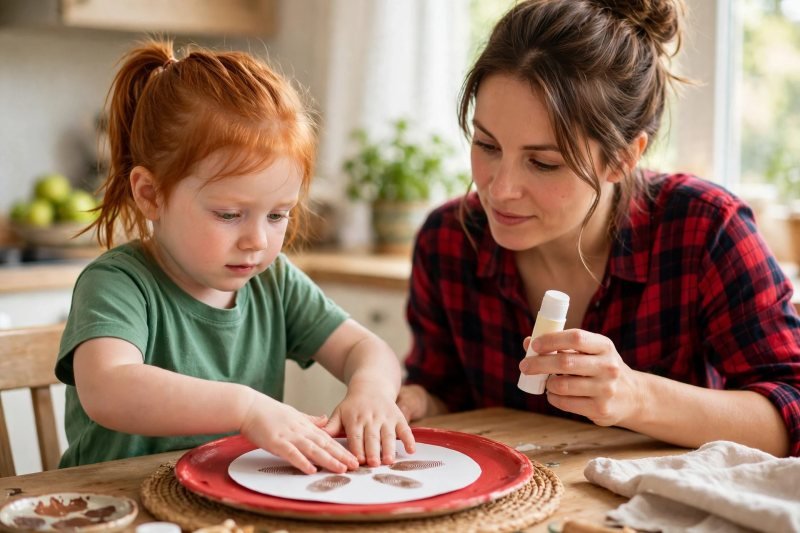
Make 2 — build a paper-plate apple core. Paint a paper plate red (or green) all over and let it become the apple's skin; while it dries a little, paint a second plate's center white, leaving the rim showing. When both are tacky-dry, an adult cuts a wide wedge notch from the top and bottom of the white plate to suggest a bitten, cored shape — or simpler for younger kids, leave it round as a cut-apple face. Your preschooler glues the white plate onto the colored one, then adds the seeds: brown fingerprint ovals in a star pattern, copied straight from the real star in step 2. A brown paper stem and a green paper leaf glued at the top finish it. Say: "Red skin outside, white fruit inside, star of seeds in the middle — just like the real one." Two makes done: now build the tree those apples grew on.
-
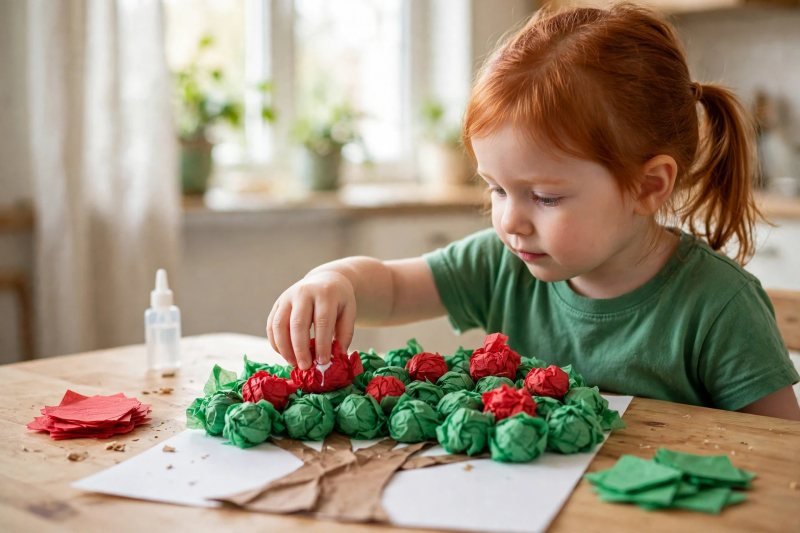
Make 3 — grow a crumpled-tissue apple tree. On a fresh sheet, glue a brown paper trunk — a rectangle with two triangle branches, cut by an adult or torn by your preschooler for a rustic look (torn edges are gloriously tree-like). For the canopy, your preschooler scrunches tissue squares into balls — red for apples, green for leaves — and glues them above and around the branches: green balls first as the leafy cloud, then red balls dotted through as the fruit. Scrunching is brilliant hand-strength work disguised as weather. Count the red apples together as they land ("that's seven — eight — nine apples on our tree!"). Leafy canopies are the whole point of fall leaf crafts for preschoolers — the leaves matter as much as the fruit. Say: "Scrunch, glue, grow." Tree standing, the fourth make turns your child's own hand into the tree itself.
-
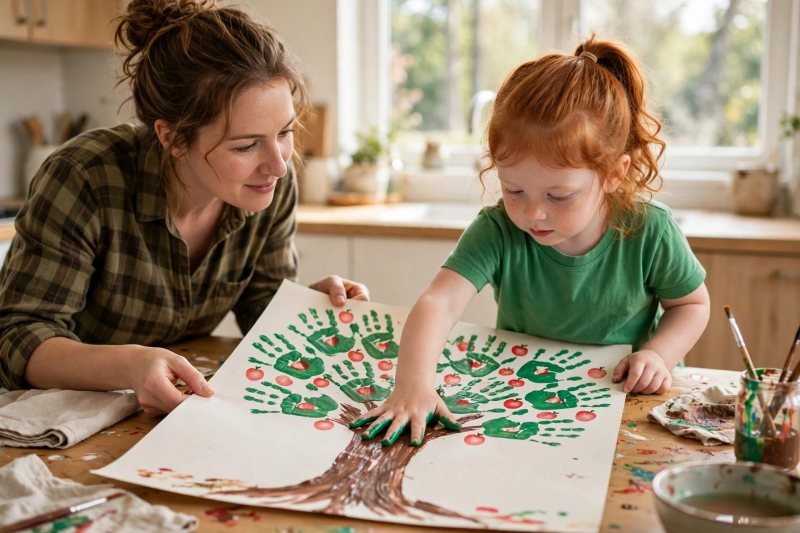
Make 4 — paint a handprint keepsake tree. Paint your preschooler's forearm and hand brown (this tickles; warn them, then enjoy it) and press the arm down as the trunk with the hand spread wide as the branches — one firm press, lifted straight up. Wash the hand, then reload it green and handprint two or three times over and around the "branches" as the leafy canopy. Finally, red fingertip apples all over the green. This is the keepsake of the set: date it on the back, because that exact hand will never be this size again, and next autumn's version will prove it. Say: "Your arm is the trunk, your fingers are the branches — you ARE the apple tree." Four makes complete: before the gallery, put those orchard prints to work as a game.
-
Play the count-and-find game with your orchard. Lay the stamped orchard card flat and play with numbers while the paint finishes drying: "Can you count all the red apples? Now just the green? Show me tree number three's apples." Count the tissue tree's red balls again and compare — which tree has more? Add one more stamp to the smaller side and count again. For older preschoolers, hide a sticker or draw a tiny bird on one apple and play find-it. Games like these are exactly why counting activities for toddlers work so well: the counting rides on something the child made — and a pumpkin seed counting game plays the same trick with autumn seeds. Say: "Counting is easy when the orchard is yours." Game played: dry everything properly so the gallery lasts.
-
Dry everything flat and name the artist. Move all four makes to the drying tray in a single layer — stamped card, plate apple, tissue tree, handprint tree — and park the tray somewhere flat and forgotten for an hour or overnight. Tissue balls and plate layers need the full rest; lifting early is how canopies slide. While pieces dry, your preschooler signs the backs (a name, an initial, or a wobbly attempt — all count as signatures) and picks the display order. Say: "Artists sign their work, and flat art dries strong." Dry and signed: hang the orchard where it belongs — on display.
-
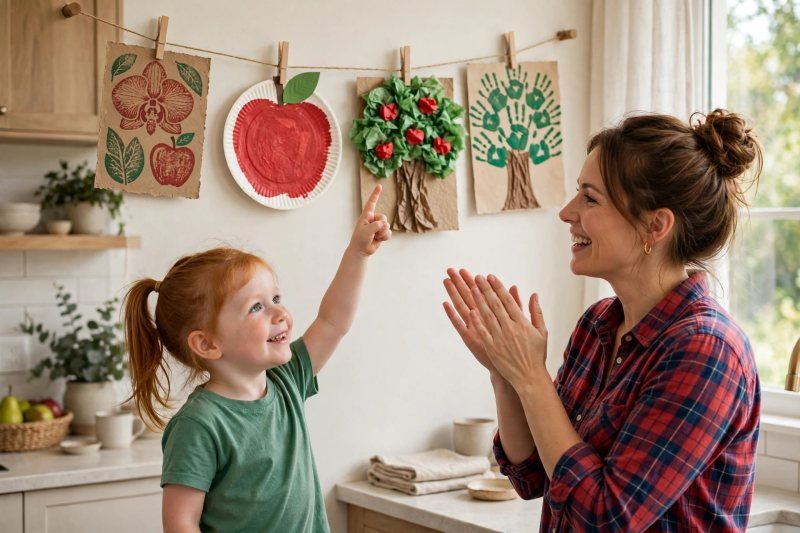
Hang the orchard gallery and clean up like a team. String a line across a wall, window, or fridge edge and peg the four makes up in the order your preschooler chose; step back and admire it together — gallery openings deserve an audience and a photo for the grandparents. Then the two-minute team cleanup: lids on paints (count them out loud), brushes and stamp apples rinsed in the sink, tissue scraps swept into the bin by your preschooler with a dustpan, table wiped with the damp cloth, smock hung up. The stamp apples go to the compost or bin — painted fruit is never snack fruit, the rule from step 1 closing the session. Say the sign-off: "Gallery hung, table clean — that's an artist's whole job." Fall session complete, orchard on the wall until the next season's craft takes its place — and the wall has room for more children's fall crafts beside it.


Make it easier
Toddlers (2–3): run only Make 1 with big paper and one color, hand-over-hand for the first stamps, and skip the tissue scrunching to simple sticking with big pre-torn pieces. Pre-stamp the orchard yourself and let a young child do only the fingerprint stems and leaves — full participation, zero frustration. Use a fork pushed into the apple half as a handle for children who dislike paint on their hands.
Make it harder
Mix custom paint colors for the orchard — red plus a dot of yellow for orange apples, green lightened with white for young leaves — the way these color mixing activities for preschoolers teach it. Add labels the grown-up writes at the child's dictation ("Amara's Orchard, 9 apples") and turn the gallery into a counting quiz for family visitors. Extend Make 3 into a four-seasons tree series over the year: same trunk, blossom-pink tissue in spring, green in summer, this session's apples in fall, bare branches with white in winter.
Other ways to play it
- Apple print tote or tea towel: stamp fabric paint on plain cotton for a gift that grandparents actually use; heat-set per the paint's instructions (adult job).
- Seed-start science week: plant seeds from your un-painted snack apple in a clear cup and watch for sprouts — the natural sequel to step 2's star.
- Orchard picnic snack: after cleanup and handwashing, serve fresh apple slices (adult-cut, paint-free apples) under the gallery — art, then the real taste of it.
How it changes by age
- Ages 2–3: stamping and tissue-sticking only, one make at a time, hand-over-hand available, and expect the orchard to be gloriously random — coverage is the goal, not rows.
- Ages 3–4: the guide as written with help on cutting (adults) and plate assembly; the count-and-find game lands perfectly at this age.
- Ages 5–6: children can tear and glue independently, run their own color mixing, count and record apple totals in writing, and curate the gallery order with reasons ("biggest tree in the middle").
- All ages: knife work is adult-only, always; the painted-apple rule (never eaten) is repeated every session, and all painting stops for handwashing before any snack.
What they're learning
Fine motor control: stamping with pressure control, fingerprint details, tissue scrunching, and gluing — the hand strength and precision behind writing, the same muscles trained by these fine motor activities for preschoolers. Early math: counting apples, comparing more and less across two trees, and one-to-one correspondence as each stamp lands. Science and nature: seeds, stars, and where fruit comes from — a real cross-section beats a diagram every time. Process art and pride: four different techniques in one session, finished with curation and display — children learn their work is worth hanging.
Clearing up
The tray system does the work: all four projects ride one tray to dry, paints are lidded and counted back into their box, brushes and stamp apples rinse at the sink, tissue scraps go straight to the bin, and the table gets one damp-cloth pass. The gallery line stays up — displaying the work is the reward that makes the cleanup feel worth it. Total adult time after the fun: about two minutes.
Questions parents ask
What age are apple crafts best for?
What kind of apples work best for apple stamping?
Are apple seeds safe for preschoolers to handle?
How do I stop apple stamps from looking like blobs?
What can I do with the finished apple crafts?

save it for later
Pin this for the next rainy afternoon
Keep it on a board so it is there when you need it, rather than when you happened to find it.
Save to Pinterest


