


Fall Leaf Crafts for Kids: 5 Easy Preschool Makes With Real Leaves
Fall leaf crafts for kids start with a leaf hunt and end with a gallery. Five easy preschool makes — collage, leaf people, a wreath, a suncatcher, and leaf prints — using real leaves, glue, and washable paint.
The easiest fall leaf crafts for kids are a glued leaf collage, leaf people with wiggle eyes, a cardboard-ring leaf wreath, a contact-paper suncatcher, and painted leaf prints. Start with a leaf hunt, sort leaves by color and shape, press a few flat, then make the crafts in that order — gluing first, painting last. One session takes about an hour.

The short version
- Start with a leaf hunt: collect 25–30 fallen leaves in varied colors, sizes, and shapes.
- Sort leaves by color and shape before crafting; press a few flat for suncatchers and prints.
- Make five crafts in order: collage, leaf people, wreath, suncatcher, then painted leaf prints (messiest last).
- Use a glue stick for small hands, washable non-toxic paint, and kid-safe scissors.
- Only collect fallen leaves from unsprayed areas; wash hands after the hunt and after crafting.
- Hang everything as a gallery and photograph it — real-leaf crafts look best in their first week or two.
- Age
- Ages 3–5
- Prep
- 15 min
- Mess
- Some
- Where
- Both
Why kids love this
Fall leaf crafts for kids turn an ordinary walk into treasure hunting — every red, gold, and crunchy brown leaf is a find. Then the treasure becomes art: a leaf with eyes, a wreath for the door, a picture that glows in the window. Preschoolers love that the materials came from their own hands and their own neighborhood, and that no two leaves — or two finished crafts — are ever the same.
What you'll need
- A basket or tote bag for collecting leaves
- Two shallow trays or baking sheets for sorting
- One heavy book for pressing leaves
- Thick paper or card stock in white and brown
- A glue stick and child-safe white glue
- Wiggle eyes in assorted sizes
- Small twigs for arms and stems
- A cardboard ring (cut from a cereal box) for the wreath
- Clear contact paper for the suncatcher
- Washable paint in red, orange, and yellow, plus a chunky brush
- Kid-safe scissors
- Removable tape for the gallery wall
Before you start
1. Pick a dry morning after a windy night — fallen leaves are plentiful and not soggy. 2. Cover the craft table with a washable mat or old tablecloth; leaf paint and glue are coming. 3. Cut the cardboard ring for the wreath and two contact-paper squares for the suncatcher ahead of time; preschoolers shouldn't wrestle those jobs. 4. Set out trays, glue, and paper so the crafting starts the moment the leaf hunt ends.
How to do it
-
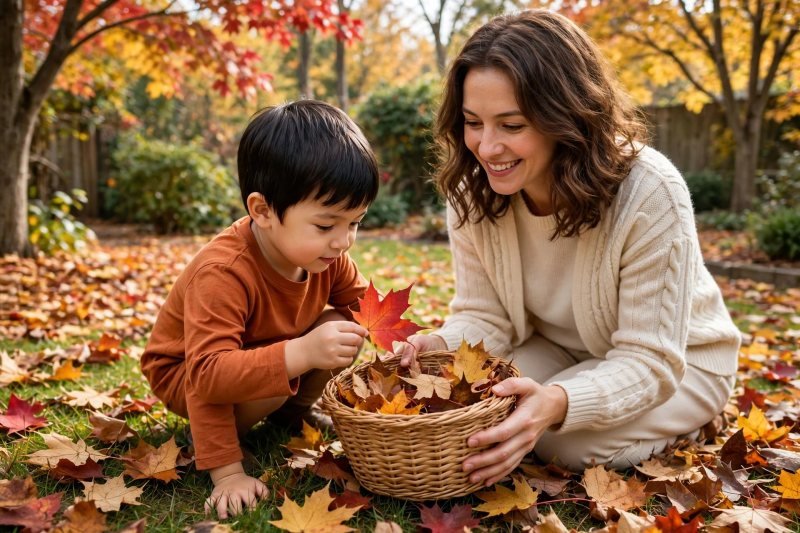
Go on a leaf hunt together. Hand your child the basket and say: "We're hunting for treasure leaves — red ones, gold ones, big ones, tiny ones." Walk slowly and let them choose; gathering 25 to 30 leaves gives plenty for five crafts with spares for the inevitable crumbles. Only pick up leaves that have already fallen, and skip any that are moldy, slimy, or covered in anything you can't identify. Talk as you go — which tree dropped this one, why this leaf is curly — because the hunt is half the learning. Basket full and pockets too, it's time to bring the treasure indoors and see what you've got.
-
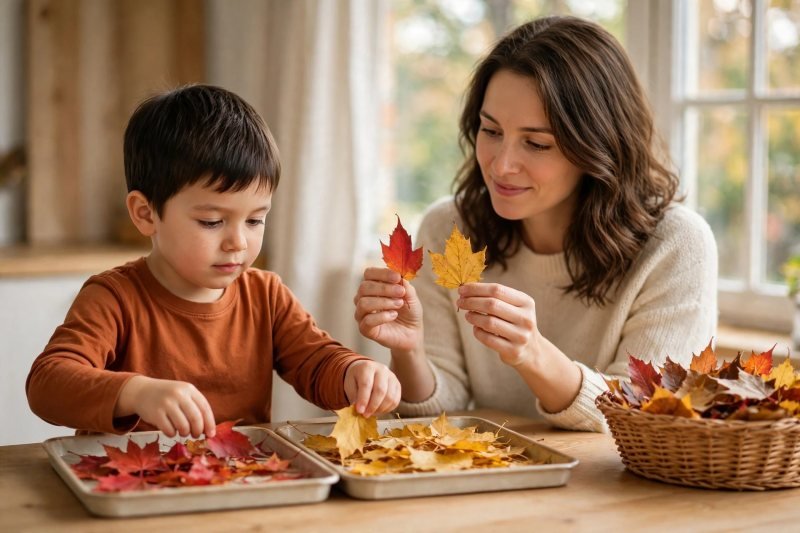
Sort your treasure by color and shape. Tip the basket onto a tray and say: "First we sort, like real scientists — reds here, golds here, browns here." Let your child make the piles; sorting by color first, then by size inside each pile, builds early math thinking without a single worksheet. Hold up two leaves and compare: "This maple is pointy like a star; this oak is round like a cloud." Set aside the five flattest, most colorful leaves for the suncatcher later, and the biggest, sturdiest ones for printing. Sorting done, a few special leaves need one quick job before the making starts.
-
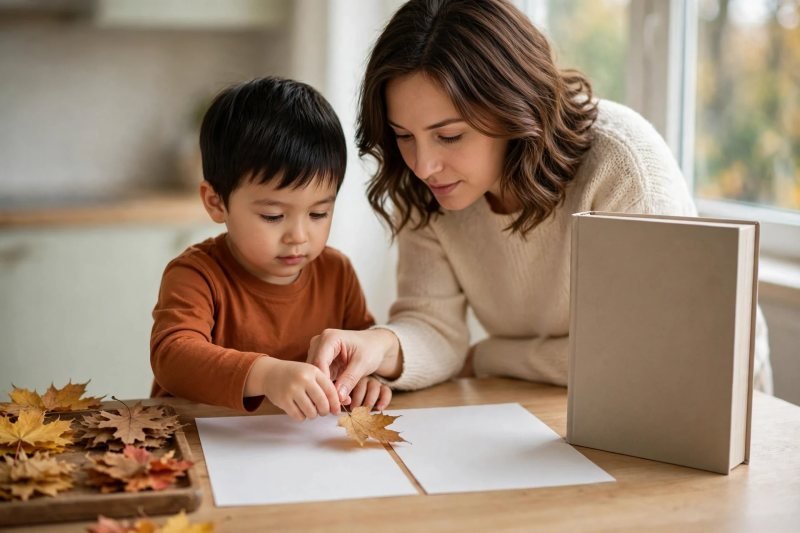
Press a few leaves flat for later. Choose eight to ten medium leaves and show your child how to lay them between two sheets of paper inside the heavy book: "These leaves are taking a nap under the book so they'll lie flat for our pictures." Press the book closed together and move on — even 20 minutes under weight while you do the first craft noticeably flattens them, and any left overnight work for a second session tomorrow. Fresh, unpressed leaves are perfect for the collage and wreath, so nothing is wasted by waiting. Book closed, leaves napping — now the real making begins.
-
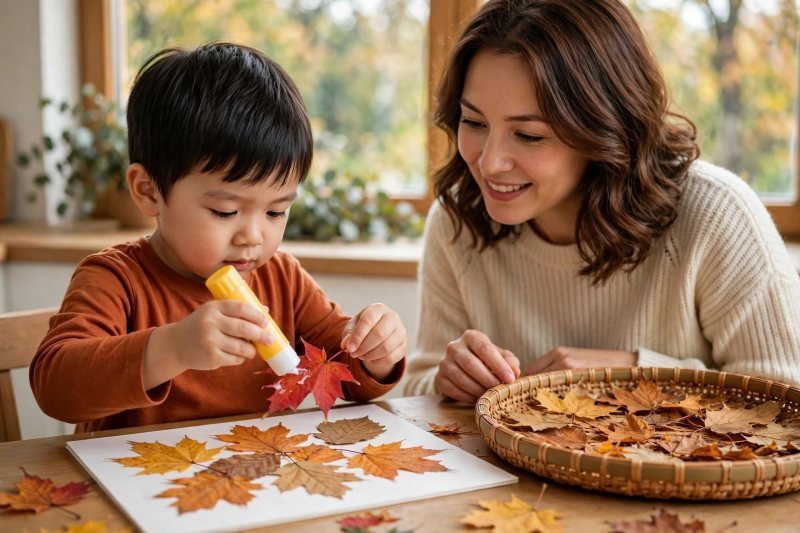
Glue a leaf collage picture. Give your child a sheet of thick paper and the glue stick and say: "Your leaves can become anything — a sun, a tree, a whole forest. You decide." Model one move only: glue on the leaf's back, press it down, count to five. Then step back — overlapping leaves, leaves hanging off the edge, and one giant leaf alone in the middle are all correct answers. Collage is the confidence craft: there is no wrong result, and small hands practice glue control and placement with every leaf. When the page feels full, set it aside to dry and reach for the wiggle eyes.
-
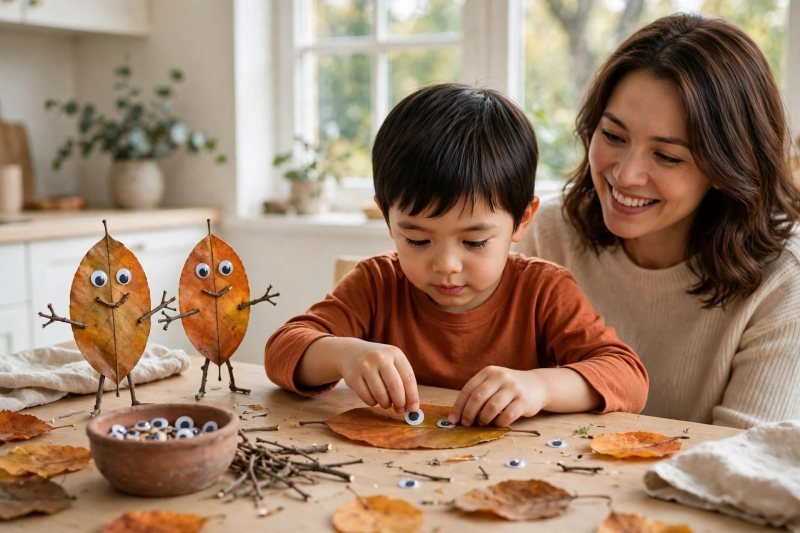
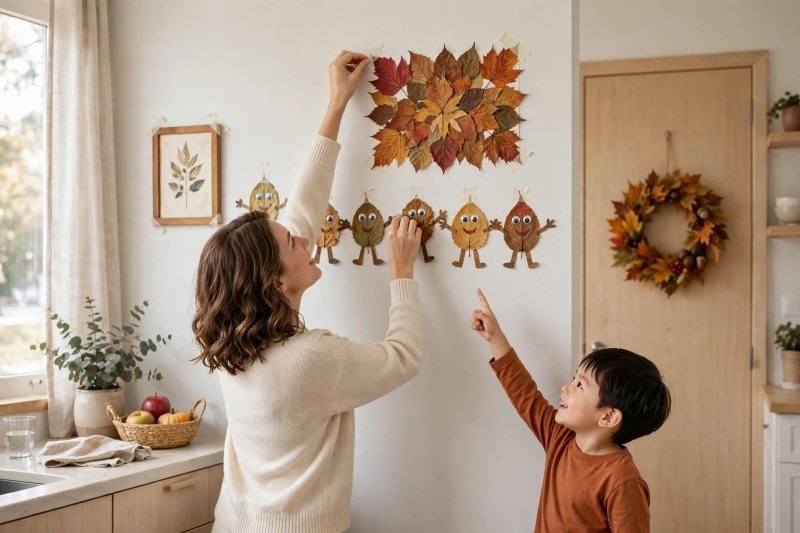
Build silly leaf people. Spread out oval and round leaves, wiggle eyes, and twigs, and say: "This leaf looks like a body — who could it be?" Show how two eyes transform a leaf into a character instantly, then let your child build a whole family: a big maple dad, a tiny birch baby, twig arms raised for a dance. Glue the eyes and arms on and let each person get a name — naming them is the storytelling step, and preschoolers take it very seriously. Line the leaf people up in a row to admire; they'll be the stars of the final gallery. Next, a craft for the front door.
-
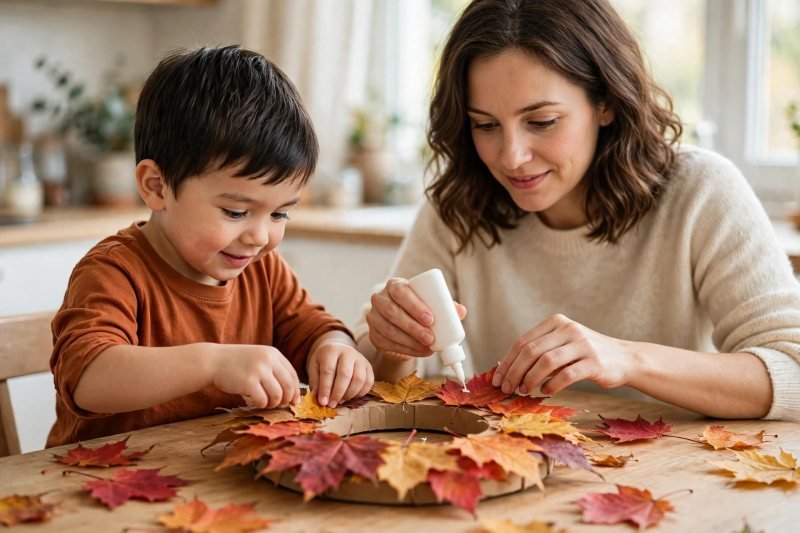
String a leaf wreath for the door. Bring out the cardboard ring and the sturdiest fresh leaves and say: "We're making a welcome wreath, one leaf at a time, all the way around." Work together around the ring: your child chooses each leaf and its spot, you help with a dab of white glue under each one, overlapping them like shingles so no cardboard peeks through. Pointy maple leaves make a spiky, festive edge; round leaves make a soft one. When the circle closes, hold it up together — a finished ring feels like a real achievement at this age. Set it to dry while you make the craft that catches the light.
-
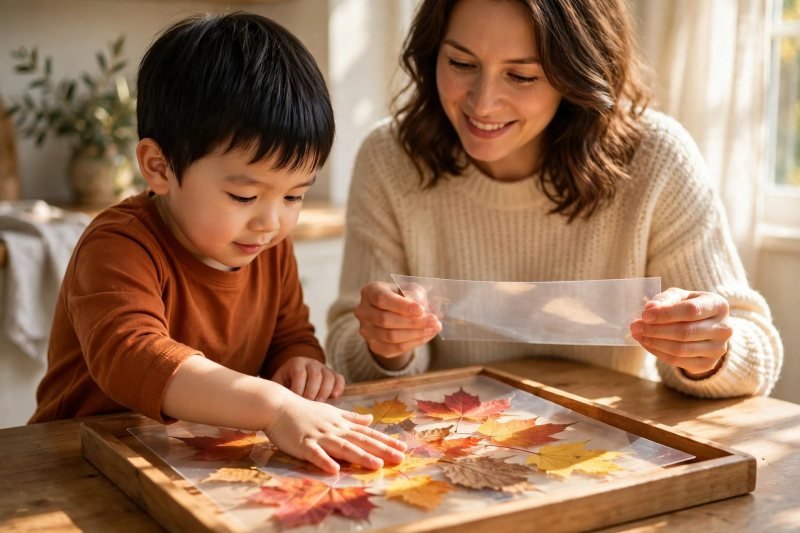
Make a leaf suncatcher for the window. Peel the backing from one contact-paper square, sticky side up inside a shallow tray so it can't skate around, and bring back the flat, colorful leaves you saved during sorting. Say: "Arrange your leaves like a picture — the sun will shine through and make them glow." Your child places leaves and petals on the sticky surface, presses each one flat with their palm, then you seal it with the second square and trim the edge together. Hold it up to the window: the colors light up like stained glass. Stick it up with removable tape and save the gallery wall for the finale — one craft left.
-
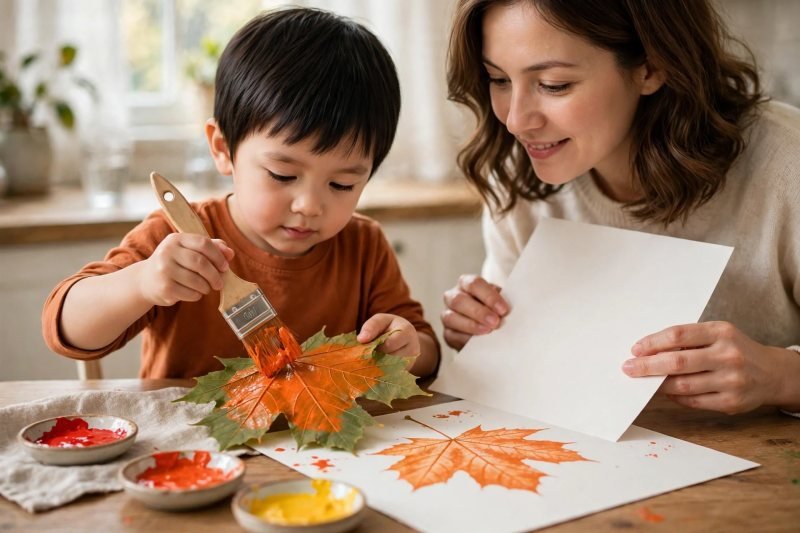
Paint and print leaf patterns. Pour small pools of red, orange, and yellow washable paint and pick the big, sturdy leaves with strong veins. Say: "Paint the bumpy back of the leaf — that's where the pattern hides." Your child paints the veiny underside, flips it onto thick paper, and presses with both hands, fingers spread, before you peel it up together: the leaf's skeleton appears like magic. Print three or four on one page for a falling-leaves picture, mixing colors on a single leaf for a sunset effect. This is the messiest step, so it comes last before cleanup, when painty hands no longer matter.
-
Hang your gallery and tidy up together. Choose a wall, door, or the fridge together and say: "Real artists hang their work — let's build your gallery." Your child directs placement while you tape: the collage, the leaf people standing in a row, the prints, and the suncatcher already glowing in the window; the wreath goes on the door with a removable hook. Step back and admire each piece out loud, naming what you notice. Then tidy as a team: leftover leaves go to the compost or back under their trees, brushes get rinsed, and the pressed leaves under the book wait for tomorrow's encore session.


Make it easier
Skip the suncatcher and prints; the collage and leaf people alone make a full, satisfying session for young 3-year-olds. Use a glue stick for everything — white glue control is hard for small hands. Pre-sort leaves into just two colors so choices stay simple.
Make it harder
Add leaf rubbings: leaf under paper, crayon on its side, rub to reveal the veins — a lovely science-meets-art extension. Challenge your child to plan a picture first ("draw your idea, then find leaves that match"). Practice real wreath-making with a grapevine base and leaves tucked in without glue, the way florists do — for more glue-and-placement practice, these fine motor activities for preschoolers are a great next step. Keep the leaf theme going with more art projects using leaves for rainy afternoons.
Other ways to play it
- Nature-table version: skip glue entirely — arrange leaves, twigs, and acorns into pictures on a tray, photograph them, and start again.
- Rainy-day version: press leaves between contact paper the day you collect them; they keep for a week of indoor crafting.
- Color-mixing version: paint leaves with two colors and print to see what happens where they meet — a gentle lead-in to color mixing activities for preschoolers.
How it changes by age
- Ages 3–4: expect the hunt and the collage to be the main event. Attention for gluing tiny pieces is short; offer big leaves, a glue stick, and the leaf people (eyes are easy wins). Sit close and narrate choices — your words become their craft vocabulary.
- Ages 4–5: the sweet spot for all five crafts in one session. Fours and fives can plan ("the wreath needs pointy ones"), thread their own color patterns, and explain their gallery to visitors. Add the rubbing extension if energy holds, much like the layered ideas in these preschool learning activities at home.
- When to wrap up: crumbling leaves, glue on sleeves instead of paper, or a child who starts throwing leaves are all signs the session is done — hang whatever exists, celebrate it, and press the leftovers for another day.
What they're learning
Early science: noticing leaf shapes, veins, colors, and why leaves fall builds nature observation skills. Sorting and math: grouping by color, size, and shape, and counting leaves into piles, are foundational math moves — and a dedicated autumn leaf collection and sorting session turns the hunt itself into the lesson. Fine motor control: peeling, gluing, pressing, and placing small leaves strengthen the fingers writing will need. Storytelling: naming leaf people and explaining a collage grows vocabulary and narrative confidence.
Clearing up
Brush leaf crumbs into the compost or back outside under a tree — they're garden material, not trash. Rinse paint brushes and paint cups straight away; washable paint still stains if it dries on clothes. The finished crafts last one to three weeks before leaves curl and fade; photograph the gallery on day one so the artwork outlives the leaves.
Questions parents ask
What are some easy fall leaf crafts for preschoolers?
How do you preserve leaves for crafting?
Are fall leaves safe for kids to use in crafts?
What supplies do you need for leaf crafts?
How long do leaf crafts last?

save it for later
Pin this for the next rainy afternoon
Keep it on a board so it is there when you need it, rather than when you happened to find it.
Save to Pinterest

