


Christmas Handprint Crafts for Kids: Reindeer, Tree, and Santa Prints
Christmas handprint crafts turn one painted hand into three keepsakes: a reindeer with finger antlers, a green handprint tree, and a Santa with a handprint beard. This step-by-step guide covers the brush-on technique, the press, and the finishing details kids aged 3–5 can do themselves.
Make Christmas handprint crafts by brushing washable paint onto your child's hand (never dipping), pressing it onto card with fingers spread, and lifting straight up: brown prints become reindeer with finger antlers, green prints become trees, and an upside-down white-and-red print becomes Santa's beard and hat. Add marker and fingerprint details once dry.

The short version
- Brush the paint on for an even coat — dipping gives blobby palms and ghost fingers.
- Press, count to three, lift straight up; a vertical lift is the no-smear secret.
- Three classic designs: reindeer (brown, fingers wide), tree (green, fingers together, pointing down), Santa (upside-down, white fingers as the beard).
- Let prints dry flat for 20–30 minutes before adding marker and fingerprint details.
- Finish with the child's name and the year inside — that's what makes it a keepsake.
- Age
- Ages 3–5
- Prep
- 10 min
- Play time
- 30 min
- Mess
- High
- Difficulty
- Easy
- Where
- Indoor
Why kids love this
Kids are endlessly proud that the art is literally them — their hand is the reindeer, their fingers are the tree. The press moment feels like a magic trick, the reveal gets a gasp every time, and fingerprint ornaments in step 9 put the finishing touches entirely in their (small) hands.
What you'll need
- Washable, non-toxic tempera or kids' craft paint in brown, green, red, white, and a skin tone
- A wide, soft paintbrush for coating hands (the secret tool)
- 3 blank cards or heavy paper sheets per child, plus scrap paper for practice
- Markers in black, red, and gold or yellow
- A cup of water and a stack of baby wipes or a damp cloth (within arm's reach)
- Newspaper, a plastic mat, or an old tablecloth to protect the table
- An apron or old shirt per child, sleeves pushed up
- A flat drying spot where finished prints can rest untouched
Before you start
1. Cover the table completely and set out supplies in use order: scrap paper, cards, paints, brush, wipes, water cup. 2. Pre-fold the cards so pressing happens on a firm, flat front panel. 3. Roll sleeves above elbows and apron up — painted wrists on sweaters are the day's only real enemy. 4. Queue the wet wipes. Between every print, hands get wiped before they touch anything, including faces.
How to do it
-
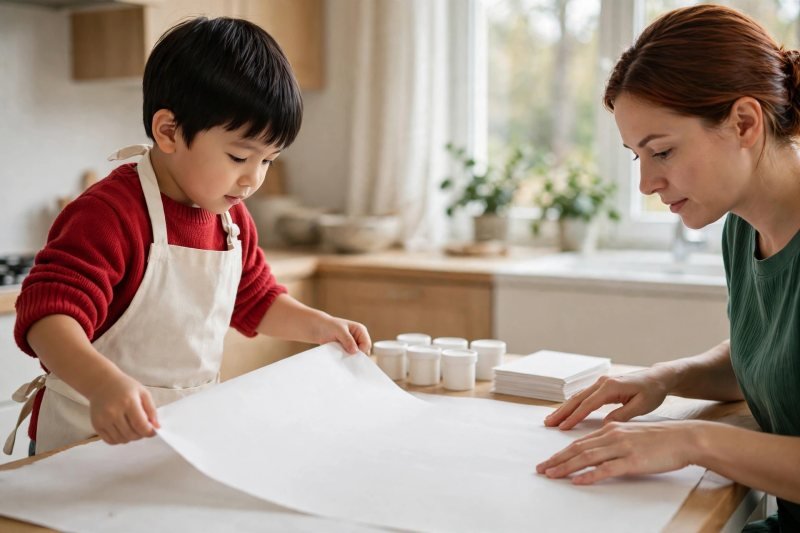
Protect the table and dress for the mess. Spread the newspaper or mat over the whole work area, apron your child, and push sleeves above the elbows. Say it like a promise: "Paint belongs on hands and paper — and our station keeps it there." Everything in this craft is washable, but a protected table and a smock turn an anxious cleanup into a relaxed one, and relaxed grown-ups let kids enjoy the squelch. Put the wipes stack where your non-brush hand can reach it. Station armored — now arrange the supplies in the order your hands will need them.
-
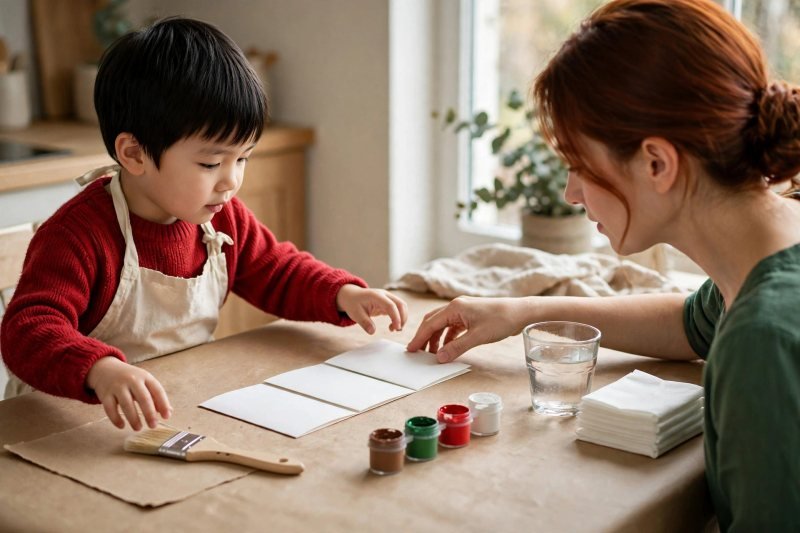
Lay out the supplies in reach order. Line up the scrap paper, the folded cards, the paint colors, the wide brush, the water cup, and the markers across the table, all within your arm's reach while you hold a painted hand. Say: "Everything has its spot before the paint opens." This order matters because the middle of this craft involves one adult hand holding a child's painted hand in the air — there is no free hand to go hunting for the card. Cards stacked in press order: reindeer first, tree second, Santa third. Paints open, brush in hand — it's time for one rehearsal print.
-
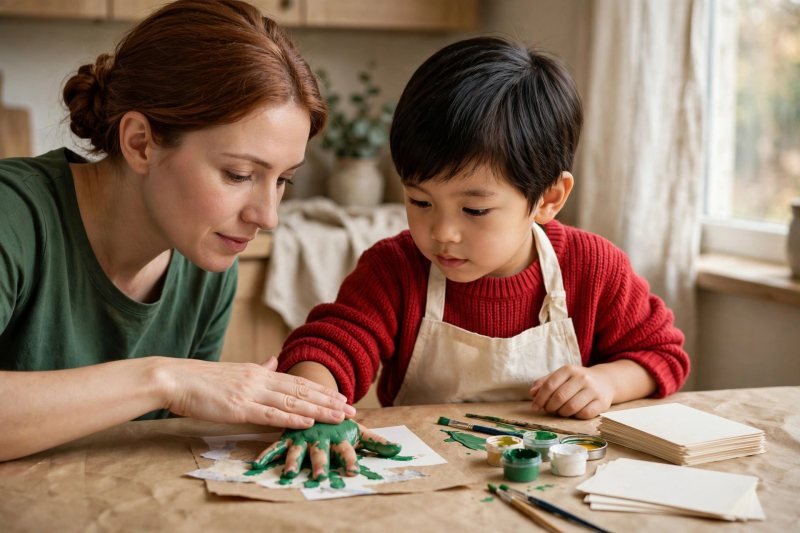
Warm up with a practice print on scrap paper. Brush a coat of any color onto your child's palm and fingers and press the hand onto scrap paper, fingers spread, then lift straight up. Say: "Practice first — this one teaches our hands the trick." The practice print teaches everything: how much paint feels right, how firm the press is, and how the lift must be vertical to avoid a smear. It also burns off the wiggles — the first print is always the squirmiest. Wipe the hand clean with a wipe. Hands trained, the real cards begin, starting with the reindeer.
-
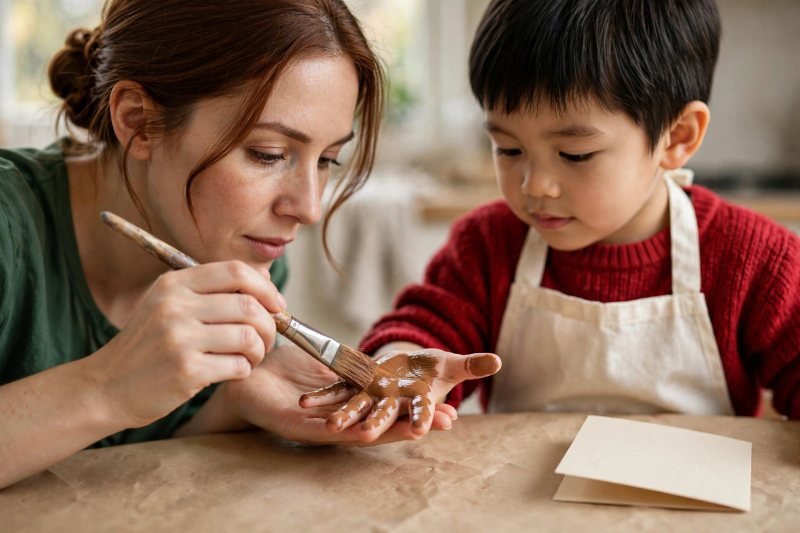
Paint the hand evenly — brush it on, never dip. For every real print, brush the paint onto the palm and fingers in a smooth, even coat rather than pressing the hand into a paint puddle. Say: "I paint your hand like a little wall — smooth and covered." Dipping overloads the palm (a blobby print) and starves the fingers (ghost antlers), while brushing gives an even layer edge to edge. Work fairly quickly so the paint stays wet, and keep the painted hand hovering over the table, fingers spread, while you slide the first card into place with your free hand. Coated and hovering — the reindeer press is next.
-
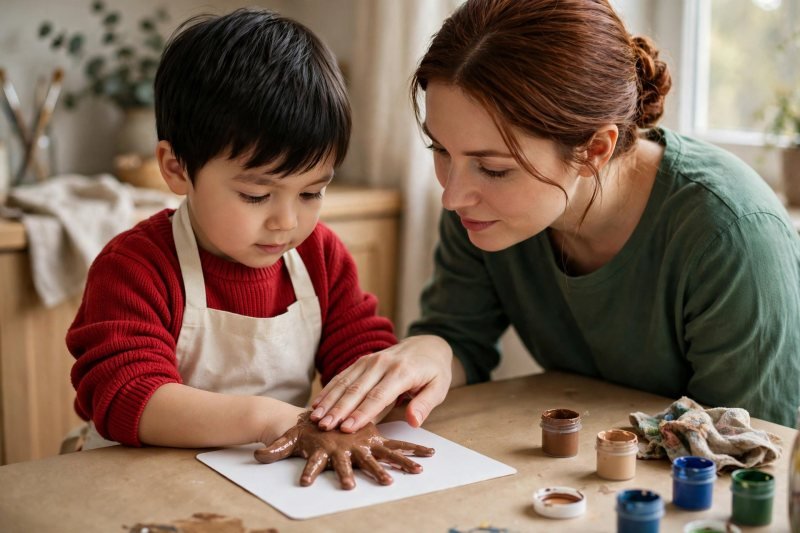
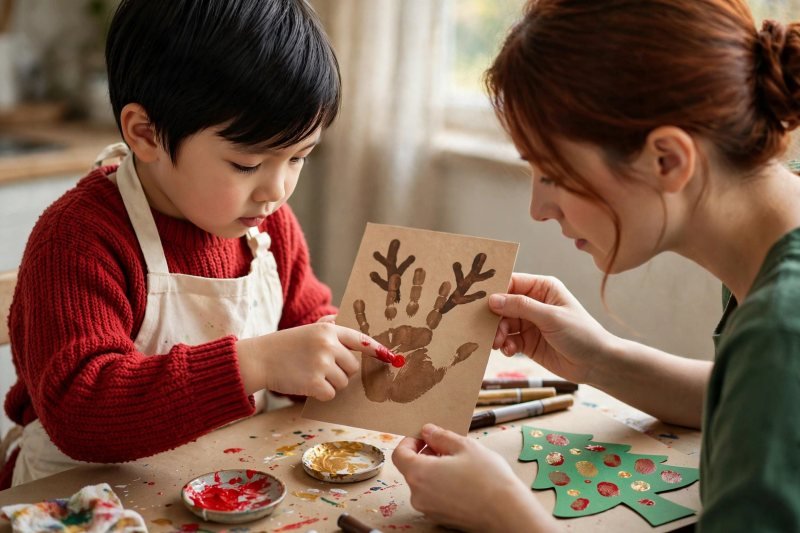
Press the reindeer: brown hand, fingers wide. Slide the first card under the painted hand — palm down, fingers spread wide and pointing up, thumb out to the side. Press gently over the whole hand with your free palm, count "one, two, three," then lift the hand straight up in one motion. Say: "Press… and lift! Look — antlers!" The fingers print as antlers, the palm as the reindeer's face, the thumb as an ear. If a print smudges, flip the card and reprint the back — handprint crafts forgive. Wipe the hand. One design down, and the reveal grin is the fuel for the next two.
-
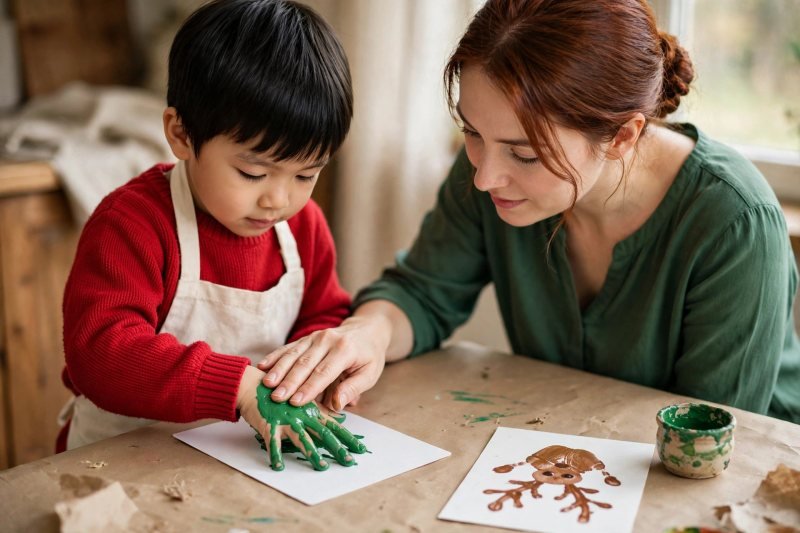
Print the tree: green hand, fingers together. Brush green paint over the whole hand, then press it onto the second card with fingers together and pointing downward, so the fingers print as layered branches and the palm as the tree's crown. Say: "Fingers together this time — branches, not antlers." Press, count, lift straight up. Then your child dips one fingertip in brown paint and stamps a short trunk under the palm. The tree looks plain for now — that's correct; its ornaments arrive in the detail step, and plain-then-decorated is the rhythm of the whole craft. Wipe the hand green-free. Two cards printed — Santa is the finale.
-
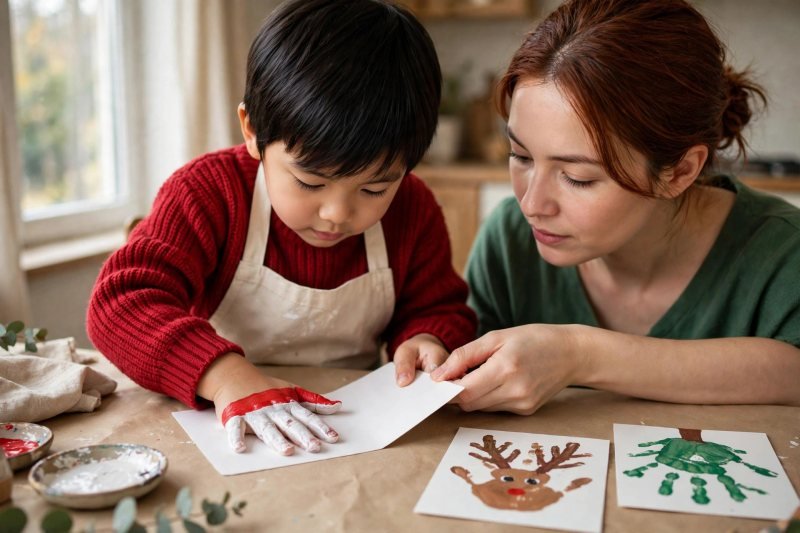
Make Santa: white beard, red hat. This print turns the hand upside down: brush white paint over the four fingers only, and a band of red across the top of the palm and the thumb. Press it onto the third card fingers-down, so the white fingers print as Santa's beard and mustache, the red palm band as his hat brim, and the red thumb as the hat's tip. Say: "Upside-down hand, Santa appears." Press, count, and lift straight up — the beard strands are thin, so this lift is the gentlest of the three. There will be a blank oval in the middle: that's Santa's face, waiting for the detail step. All three prints are down.
-
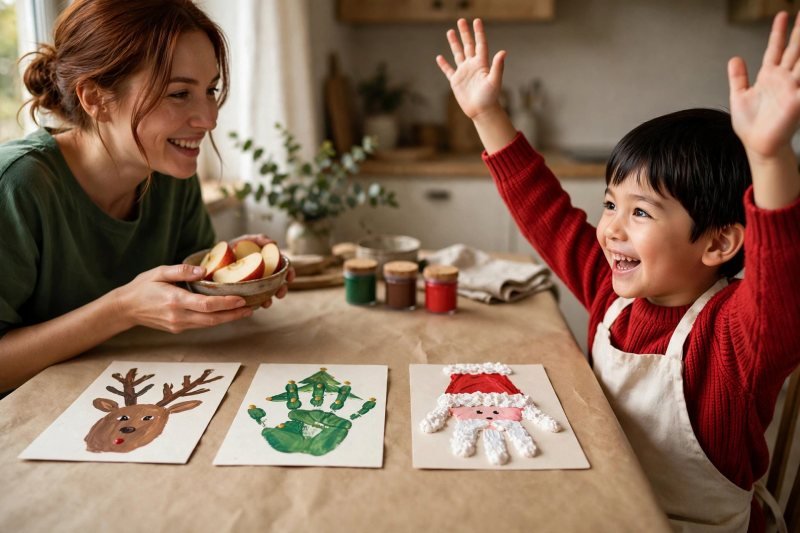
Let the prints dry flat and untouched. Move the three cards to the drying spot, laid flat and not stacked, and leave them for at least twenty to thirty minutes — tempera on card needs it. Say: "Wet paint is sleeping paint — hands off till it's dry." This is the natural snack break in the session, and resisting the poke-test is genuine self-control practice for a four-year-old. Test readiness by touching one corner of the reindeer card: cool and tacky means wait; room-temperature and matte means go. Dry cards in hand — the markers and fingertips come out for the best part.
-
Add the details that make each design. With markers and fingertip dots, your child finishes each card: the reindeer gets two eyes and a big red fingerprint nose; the tree gets fingerprint ornaments in red and gold and a drawn star on top; Santa gets two eyes and a rosy fingerprint cheek pair in the blank face oval, plus a white fingerprint pompom on his hat tip. Say: "Now they wake up — eyes, noses, ornaments." Details are deliberately fingertip-sized so small hands do them all; you just hold the card steady. Three cards, three characters, all unmistakably made by one small hand.
-
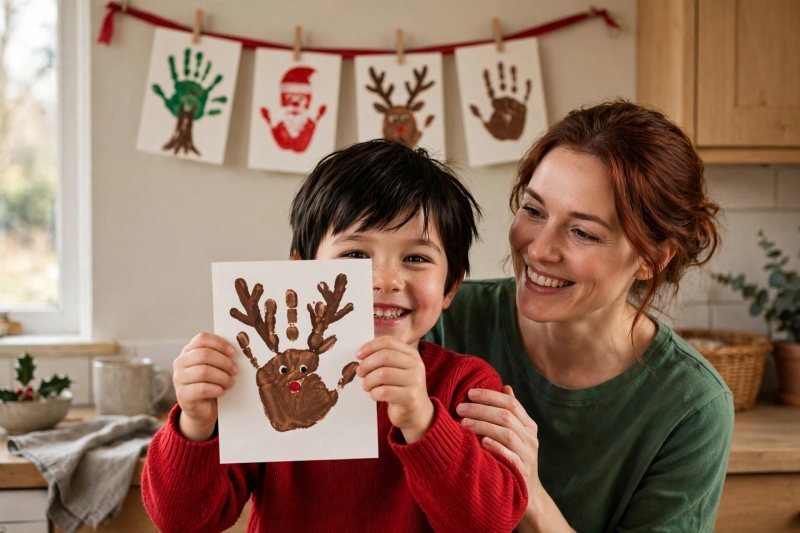
Finish, display, and gift the cards. Fold each card (the prints are already on the front), and inside, your child dictates or writes their name with your hand-over-hand help if needed — a dated name is what turns a craft into a keepsake. Say: "Your hand, your name, this Christmas — saved forever." Photograph the set before gifting, because grandparents will keep theirs and you will want the record. The extras make a perfect mantel garland: clip them along a ribbon with the practice print at the end, so the whole story — rehearsal to masterpieces — hangs in order. Craft complete; the cleanup is a warm-water, two-minute affair.


Make it easier
One design only: the reindeer is the most forgiving (antlers hide many sins) — do a matching set of reindeer cards and stop there. For very wiggly three-year-olds, press the paper onto the hand instead: lay the card over the painted palm and press the paper down — fewer moving parts. Pre-draw Santa's face oval lightly in pencil so the detail step is a join-the-dots job.
Make it harder
Add a fourth design: a handprint wreath — green prints in a circle on a big sheet, red fingerprint berries — as a door poster. Let your child write their own greeting inside with chunky markers; invented spelling is part of the charm at this age. Mix your own greens and browns from primary paints first — the color mixing activities for preschoolers sequence turns prep into a science mini-lesson.
Other ways to play it
- Keepsake ornament version: print on round wooden discs or air-dry clay circles instead of cards; seal when fully dry and hang them yearly. For more ornaments that keep for years, see our homemade Christmas ornaments for kids guide.
- Family version: everyone's handprint goes on one big sheet — parents as reindeer, kids as trees — the classic mantle photograph.
- Low-mess version: paint the hand with a sponge brush and press onto fabric tote bags with fabric paint (adult heat-sets later) for gift bags.
How it changes by age
- Ages 2–3: doable with total adult control: you paint, you press, they gasp and do the fingerprint details. One design per session is a victory; expect the practice print to be the favorite part. For more toddler-friendly Christmas makes, see our Christmas crafts for toddlers guide. The hand-strength and press-and-hold stillness here are exactly the fine motor activities for preschoolers skills in festive disguise.
- Ages 3–5: this guide's design age. Children choose colors, count the press, place ornaments, and write their names. Give them the detail step entirely — wobbly eyes are the charm.
- Ages 5–7: hand over the brush: older kids can paint their own hands evenly (the real skill), plan a five-card set with two new designs of their own invention, and write full greetings inside. Older crafters who want a bigger Christmas project can try our Christmas crafts for preschoolers ideas next.
What they're learning
Printmaking basics: coat, press, lift — the foundational sequence behind stamps, relief printing, and half of art class. Fine motor control: holding still for the press, then placing fingertip dots precisely, trains both stillness and accuracy. Symbolic thinking: a hand IS a reindeer — representation and metaphor, the root of drawing and writing. Sequencing and patience: wet work before dry work, snack while paint dries — process order matters and waiting has a payoff.
Clearing up
Warm soapy water takes washable tempera off hands in one sink session — make the hand-scrub a bubble game and it's done. Brush rinses clean in the water cup; caps go back on paints before the cards are admired (dried-out paint is next year's disappointment). Newspaper and mat roll up together with the splatters inside. Cards stay flat in the drying spot until tomorrow's gifting, and the practice print goes in the memory box — it's the first draft of a family tradition.
Questions parents ask
What paint is best for Christmas handprint crafts?
How do you get a clear handprint from a wiggly child?
What Christmas designs can you make from a handprint?
How long do handprint crafts take to dry?
Are handprint crafts safe for toddlers?

save it for later
Pin this for the next rainy afternoon
Keep it on a board so it is there when you need it, rather than when you happened to find it.
Save to Pinterest

