


Toddler Boy Haircut at Home: Clippers and Scissors Basics
To cut toddler boy hair at home, work in one order: dampen, clip the back bottom-up, clip the sides, blend the top with a longer guard, scissor the fringe, tidy the neckline. Guard sizes and a calm setup do most of the work for you.
To cut a toddler boy's hair at home, seat him in a high chair with a show on, let him feel the clippers buzz first, then work damp hair in order: back bottom-up with a #3–#4 guard, sides with the ear folded down, top blended with a guard two numbers longer, fringe scissored last, and the neckline tidied.

The short version
- Guard numbers are lengths: #1 leaves 1/8 inch, #4 leaves ½, #8 leaves a full inch — bigger is longer.
- Order is the technique: back, sides, top — clip against the growth in slow strips.
- Fold the ear down as you clip past it; it is the whole safety trick for sides.
- Blend by jumping two guard numbers between sides and top.
- When in doubt, go one guard longer — you can re-clip, never re-attach.
- Age
- Ages 2–3
- Mess
- Low
- Where
- Indoor
Why kids love this
Toddler boys do not hate haircuts; they hate new places, strange chairs, and being held still by strangers. When you cut toddler boy hair at home, the whole event shrinks to his own high chair, his own show, his own kitchen, and your hands — the ones he trusts with everything else. Clippers that he has already held, heard, and felt buzzing against his palm are just a noisy toy that happens to shorten hair. Most home cuts for boys this age are maintenance anyway: the back and sides growing shaggy three weeks after the last cut, the fringe reaching eyebrows. A parent who can run a guarded clipper confidently turns haircuts from appointments into a fifteen-minute kitchen routine with a rinse and a high-five at the end.
What you'll need
- Clippers with a full guard set (the snap-on combs numbered #1 through #8) — cordless is easier around a chair
- Haircutting scissors for the top and fringe (not kitchen scissors)
- A comb, a spray bottle of plain water, and a soft neck brush or towel
- A cape or towel that fastens at the neck, and his high chair or booster
- A favorite show or video for the chair (screen content is his business)
- A small trimmer, if you have one, for the neckline
Before you start
1. Before the first-ever clipper cut, let him hold the clippers, switch them on and off, and feel the buzz on his palm and the back of his hand (step 2 formalizes this) — familiarity kills the fear. 2. Set the chair, cape, show, and tools up completely before he sits; a toddler's cooperation clock starts at seating, not at the first snip. 3. Read the Safety notes: guarded blades only on a moving toddler, one hand tracking his head at all times, and stop rules that end any session that stops being calm.
How to do it
-
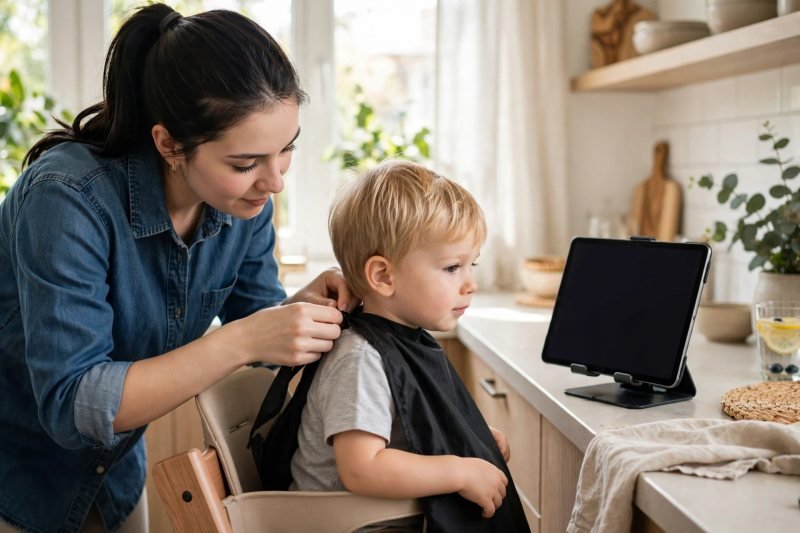
Set up the high chair, cape, and show before he sits down. Pick a fed, rested, good-mood window, strap him into his high chair or booster in the kitchen (hard floors sweep clean), fasten the cape, and start the favorite show before a single tool appears. Say, "Haircut time — your chair, your show, and I'll be quick." This is the same chair-plus-show ritual that makes a toddler's first haircut at home or in a salon go smoothly: the setup is the strategy. Bare feet and a shirt that comes off afterward beat a dressed-up cut — loose hair itches through clothes, so many parents cut in just the cape and diaper or undies, then go straight to the rinse.
-
Lay out the tools — and let him meet the clippers first. Arrange everything on a towel: clippers, the row of guards, scissors closed, comb, spray bottle, brush. Then do the step that decides whether this haircut is easy: hand him the switched-off clippers to hold, let him press the button, and let him feel the buzz hum against his palm and forearm while you say, "It tickles — it doesn't bite; it only eats hair." A toddler who has played with the sound and vibration for two minutes files the clippers under "toy," and a toddler meeting them cold at the back of his neck files them under "threat." Keep scissors closed and out of reach — clippers are the demo toy, scissors never are.

-
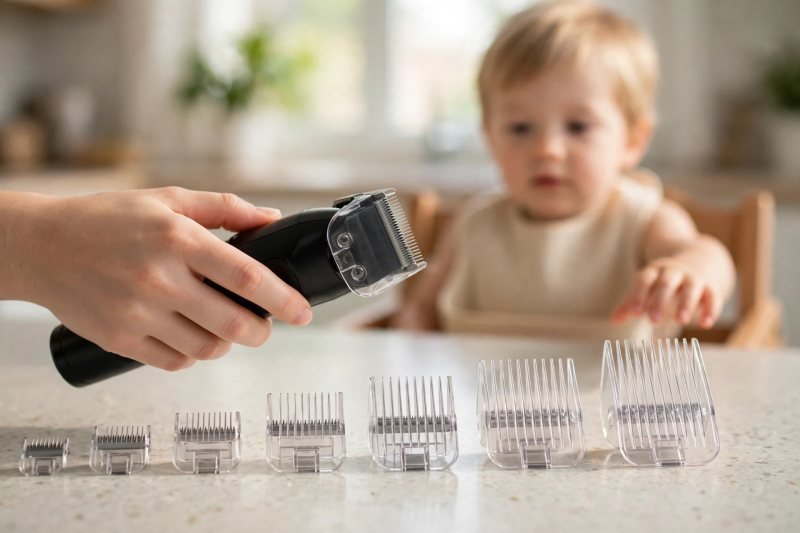
Learn the guard numbers once — they are the whole sizing system. The guards are snap-on combs, and the number is the length of hair LEFT behind, in eighths of an inch: #1 leaves 1/8 inch, #2 leaves ¼, #3 leaves 3/8, #4 leaves ½, #5 leaves 5/8, #6 leaves ¾, #7 leaves 7/8, and #8 leaves a full inch. Say it as the rule it is: "Bigger number, longer hair — and the guard is the training wheel that makes a bad cut nearly impossible." For most toddler boys, a #3 or #4 on the back and sides with a #6 or #8 on top is the classic starter cut: tidy but still soft. When in doubt, go one number LONGER than you think — you can re-clip shorter; you cannot re-attach.
-
Dampen his hair and comb it all into its natural direction. Spray evenly until the hair is damp — damp hair clips evenly and doesn't fly into static clouds — then comb everything the way it grows: down at the back and sides, forward on top if his hair falls forward. Say, "Spritz, comb — now your hair shows me its map." The comb-out also finds the cowlicks, and every toddler boy has at least one, usually at the crown: note which way his swirls, because clipping against its grain at the crown is where home cuts get their mysterious short spot. Fifty seconds of spraying and combing is what makes the clipping itself boring, and boring is the goal.

-
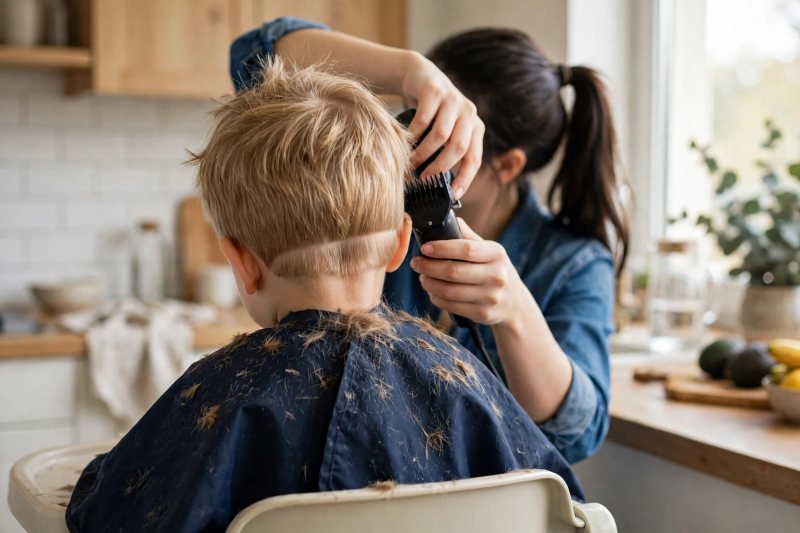
Clip the back first, bottom to top, against the growth. Snap on your back-and-sides guard (#3 or #4), switch on, and start at the nape: lay the guard flat against his head and glide up slowly, letting the clipper do the work, finishing each pass by rocking the tip slightly outward at the top so no hard line forms. Say, "Up like an elevator — vroom — all the way to the top floor." Work in overlapping strips across the whole back before moving on. Toddlers move most at the beginning of new sensations, so the big flat back is the safest place to start; by the sides, he's bored, which is exactly the state you want near his ears.
-
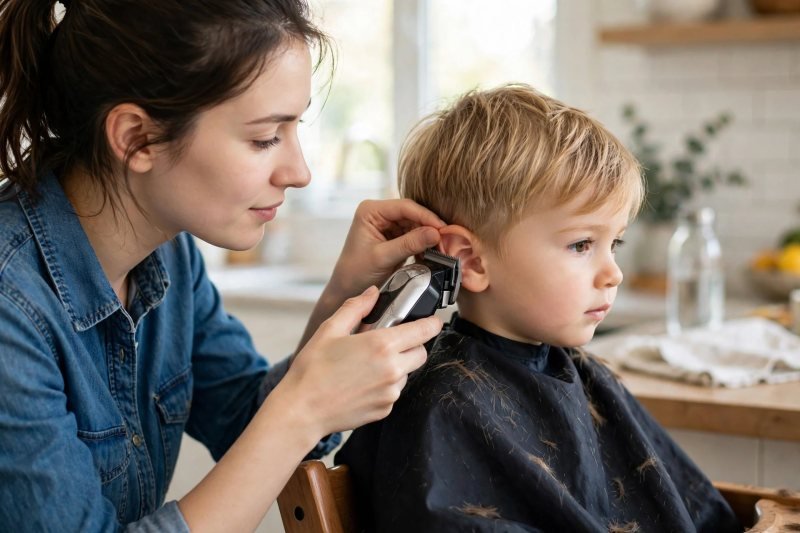
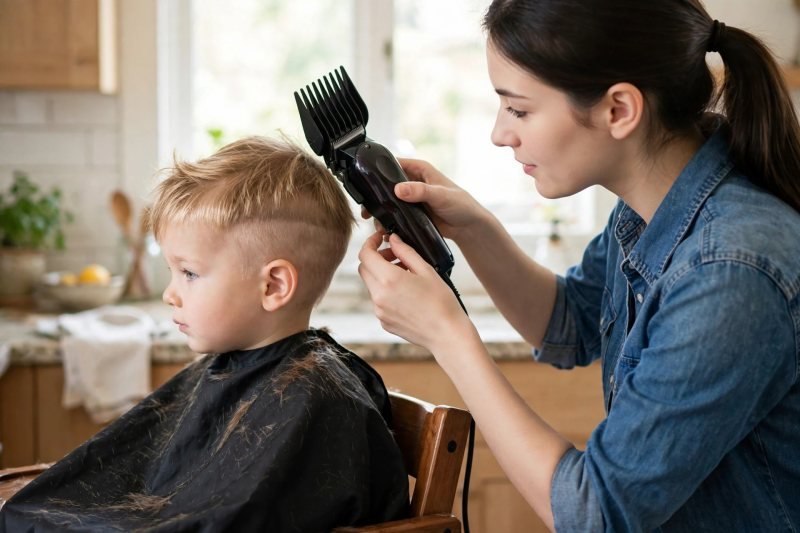
Clip the sides, folding his ear down as you pass it. Work one side at a time with the same guard, gliding up from the sideburn to the temple in the same slow strips. When you reach the ear, use your free hand to fold the top of his ear gently DOWN and clip past it — the folded ear can't meet the blade, and the hair hiding behind the ear (the first place home cuts go feral) actually gets cut. Say, "Ear goes sleepy — fold — now the clipper sneaks past." Keep your free hand aware of his head at all times: if he turns suddenly toward a sound, your hand knows before the clippers arrive anywhere unintended. Short, patient passes beat one heroic sweep on a moving target.
-
Blend the top with a guard two numbers longer. Swap to a guard about two sizes up from the sides (#6 if the sides were #4) and clip the whole top, going front to back or back to front — whichever direction his hair resists (against the growth cuts most evenly). Say, "New number, longer hair — the top stays soft." The two-number jump is the home barber's blending trick: the transition from a #4 side to a #6-#8 top softens the line where they meet without any fading skill. Where the top meets the sides, run the longer guard over the boundary once more, angled slightly outward, and most of the blend takes care of itself.
-
Scissor-trim the top front and fringe for a natural finish. Clippers give you even; scissors give you soft. Comb the front hair forward, hold small sections between two fingers, and trim just the ends — a quarter inch — with the scissors angled slightly for a broken, natural edge rather than a ruler line. Say, "Scissors just kiss the ends — snip, snip." Across the fringe, cut LESS than looks necessary: eyebrows are the limit, and hair bounces up shorter as it dries. If his top is meant to stay scissor-long overall, this step is the main event; work in small sections, combing down between snips to check true length, and stop early — tidy beats short.

-
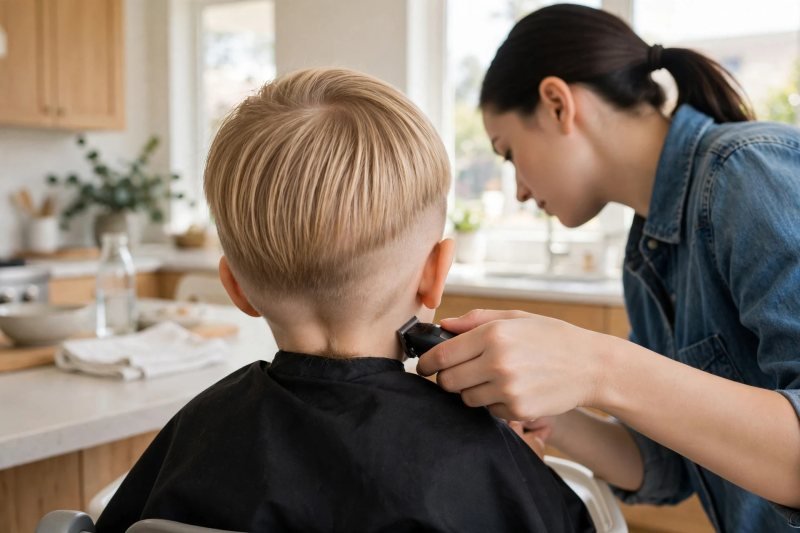
Tidy the neckline and do the mirror evenness check. With the small trimmer, clean up the hairline: straight across or softly rounded at the nape, and the little points in front of the ears. Say, "Last bit — drawing the edges neat." Then comb everything down and check in the mirror together: sides even in length, fringe level, no missed tuft behind an ear or at the crown cowlick. Fix only true strays, one pass each; the evening-up loop (a little more here, now a little more there) is how tidy becomes too short.
-
Brush off the clippings, rinse, and log the guards you used. Loose clippings itch ferociously, so brush his neck and shoulders with the soft brush, whip the cape off folded hair-inward, and go straight to a rinse or bath before pajamas. Praise the specific bravery — "You held so still for the ear part!" — because the review he hears now buys next month's cooperation. Then write the winning formula in your phone: date, guard for the sides, guard for the top, anything to change. That note is the difference between a haircut and a SYSTEM — the same write-it-down habit the first haircut guide recommends — and next time you'll start at step 5 with total confidence.



Make it easier
Do the whole cut with one guard everywhere (#4 or #5): a single-length buzz-and-soften is tidy, fast, and un-mess-up-able, with scissors only for the fringe. Split the cut across two sittings — back and sides today, top and tidy tomorrow. Let him hold a spare (switched-off) clipper or his own comb "to help" — occupied hands don't grab at yours. If the buzzing sound is the problem rather than the cut itself, our easing haircut anxiety guide has desensitization steps that pair with step 2.
Make it harder
Practice a simple fade: sides in the shorter guard, a mid guard at the boundary worked with an outward flick, then the long guard on top. Scissor-cut the entire top for a longer, softer style, using the clippers only for back and sides. Let your 3-year-old choose between two sane lengths by showing him the two guards — autonomy inside guardrails. Once the full cut is calm, the fringe-only version in our trimming toddler bangs guide is the natural next skill.
Other ways to play it
- The summer buzz: one guard (#3 or #4) everywhere, fringe tidied, done in five minutes — the beach-season special that grows out evenly.
- The surfer top: clippered back and sides with a genuinely long scissor top he can spike or flop; the fringe stays soft and the crown cowlick is worked with, not against.
- Curly-haired boys: keep everything one to two guards longer than the straight-hair plan — curls shrink dramatically as they dry, and clipped-too-short curls take weeks to forgive. Comb gently, clip on the longer guard, and let the curls keep their bounce.
How it changes by age
- Age 2: At two, speed and the guard system are everything: one or two guards total, ten minutes maximum, and full permission to finish tomorrow. Buzz desensitization (step 2) matters most at this age, and the scissor work stays minimal — fringe only, and only if he's calm.
- Age 3: Threes hold opinions and sit longer: the full back-sides-top blend works in one sitting, he can watch in a hand mirror, and guard "choices" between two numbers make him a collaborator. Scissor work expands to a proper top trim with patience on both sides.
What they're learning
Body stillness on request: holding still for a buzzing tool near his ears is serious self-regulation, practiced in a safe container. Numbers with jobs: guard numbers mean lengths — bigger number, longer hair is real, touchable math. Sensory confidence: mastering the sound and vibration of clippers turns an alarming sensation into a known one — bravery that transfers to vacuums, dentists, and hand dryers. Cause and effect: watching shaggy become tidy in a mirror teaches that small maintained efforts keep things working.
Clearing up
Shake the cape outside or straight into the trash, then sweep the kitchen — clipper hair is fine and travels on socks to every room in the house. The rinse or bath comes before clean clothes, always. Brush the cut hair out of the clipper head, snap the guards back in their case in number order (future-you says thanks), and store the kit — shears included — out of reach in one bag. Update the phone note with the date and guard numbers if step 10's log didn't happen mid-high-five. The rinse after the cut doubles as hair-wash night — our guide to how often to wash a toddler's hair keeps the routine honest. If rinsing turns into a battle, our washing toddler hair without tears guide covers the calm-water tricks.
Questions parents ask
What size guard should I use on my toddler boy's hair?
Are clippers or scissors better for a toddler boy's haircut?
How do I cut around my toddler's ears without nicking him?
How do I blend the top into the sides?
My toddler is scared of the clippers. What should I do?
How often does a toddler boy need a haircut?

save it for later
Pin this for the next rainy afternoon
Keep it on a board so it is there when you need it, rather than when you happened to find it.
Save to Pinterest


