


Easter Egg Decorating Ideas for Kids
Simple easter egg decorating ideas for kids ages 3–5: classic dyeing, crayon resist, stickers, washi tape, marbled eggs, and tissue decoupage, plus clear food-safety rules for refrigerating dyed eggs.
Easter egg decorating ideas for kids ages 3–5 include classic spoon dyeing, white-crayon resist, stickers, washi tape bands, water-and-oil marbled eggs, and tissue decoupage. Wash hands before and after, let an adult do all boiling, display eggs briefly for photos, then refrigerate promptly — eggs left out for hours are for display, not eating.

The short version
- An adult boils and cools the eggs; children count, order dye cups, and decorate only fully cooled eggs with clean hands.
- Layer the methods: classic dip first, then crayon resist, stickers, and tape on fully dry shells, with marbling as the showpiece.
- Keep hands busy while eggs dry with potato-stamped paper eggs for a garland or spring cards.
- Refrigerate promptly after a brief display — eggs left at room temperature for hours are display-only and should not be eaten.
- Cracked, glued, or tissue-decorated eggs are never eating eggs; uncracked dyed eggs kept refrigerated should be eaten within the week.
- Age
- Ages 3–5
- Prep
- 15 min
- Play time
- 65 min
- Mess
- High
- Difficulty
- Easy
- Where
- Indoor
Why kids love this
These easter egg decorating ideas for kids work so well for ages 3 to 5 because every egg is a small, satisfying transformation a child can control. An egg goes into pale water white and comes out pink; a scribble made with a white crayon stays hidden until dye reveals it like a secret; a plain shell becomes speckled, striped, or shiny with stickers and tape. Nothing has to look perfect to feel triumphant — a wobbly stripe, a half-pink egg, or a sticker placed right on the crack is still proudly held up for a photograph. The session moves in short, varied bursts — dipping, drawing, peeling, wrapping, stamping — so short attention spans stay engaged, and the waiting time while eggs dry becomes its own craft with paper egg shapes to stamp and hang. Best of all, children finish with a carton of eggs they made themselves, bright enough to display for a photo and then tuck safely into the refrigerator, which gives the morning a clear, proud ending instead of a slow fade.
What you'll need
- White eggs for hard-boiling — one dozen is a comfortable batch for one child, plus a few spares for cracks; all cartons and packaging kept blank, with no printing showing
- Food coloring and white vinegar for dye, plus warm water and small cups or bowls in pastel shades
- Spoons, a slotted spoon, and a wire rack or folded paper towels for drying eggs
- A washable table mat or old tray to contain drips, plus aprons or smocks and a damp cloth for hands
- White crayons — for resist designs drawn before dyeing
- Plain stickers in spring shapes — large enough for small fingers to peel, with no small detachable parts
- Washi tape in plain colors and simple patterns — torn or pre-cut into short strips for little hands
- A shallow tray, water, and a small amount of cooking oil for the marbled eggs; an adult handles the oil
- Potatoes cut in half by an adult, plus washable paint and plain paper cut into egg shapes — for stamping while real eggs dry
- Tissue paper in bright colors, child-safe glue diluted with a little water, and soft brushes — for decoupage eggs
- Paper, string, and clothespins for a simple garland of the stamped paper eggs
- Soap and a towel at the sink for hand-washing before and after handling eggs
Before you start
The day before or early that morning, an adult hard-boils the eggs, cools them completely, and refrigerates them until decorating time — children never handle hot water or a hot pan. Cover the table with a washable mat, set out aprons, tear washi tape into short strips, cut paper into egg shapes, and halve the potatoes — all cutting and boiling done by an adult in advance. Mix the dyes just before you start: warm water, vinegar, and food coloring in each cup, made by an adult, then wash hands together with soap before anyone touches an egg.
How to do it
-
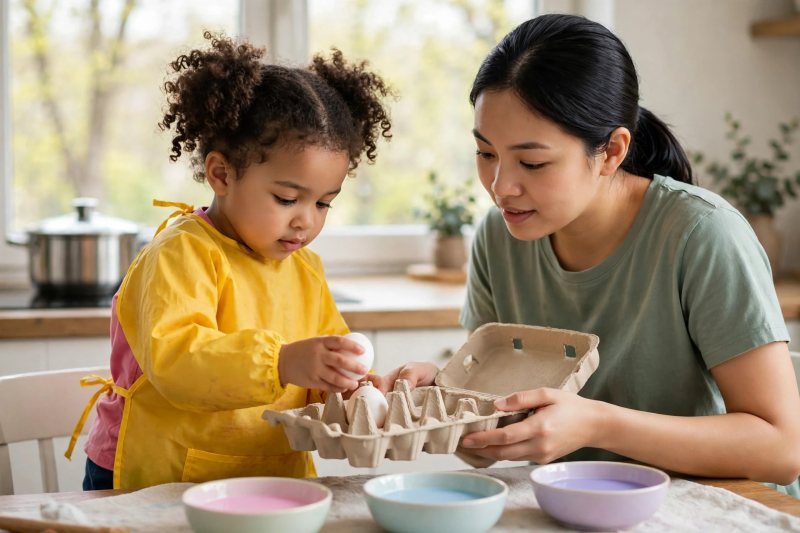
Plan the decorating session and boil the eggs. Start by choosing your batch together — one dozen white eggs is plenty for one preschooler, with two spares in case of cracks — and let your child count the eggs into the carton one by one, touching each shell gently as she counts, which turns the planning into real early math like the counting woven through preschool learning activities. An adult — and only an adult — boils the eggs in a covered pan, moves them to cold water to cool, and refrigerates them until they are fully cold; your child's jobs during this grown-up part are counting, choosing the dye colors in order, and laying the drying rack with paper towels. Wash hands with soap before handling the cooled eggs and again after, and agree the house rule out loud: eggs we decorate today are handled with clean hands and go back into the refrigerator promptly when we finish. Say, "You count the eggs, I do the hot part — then the colors are all yours."
-
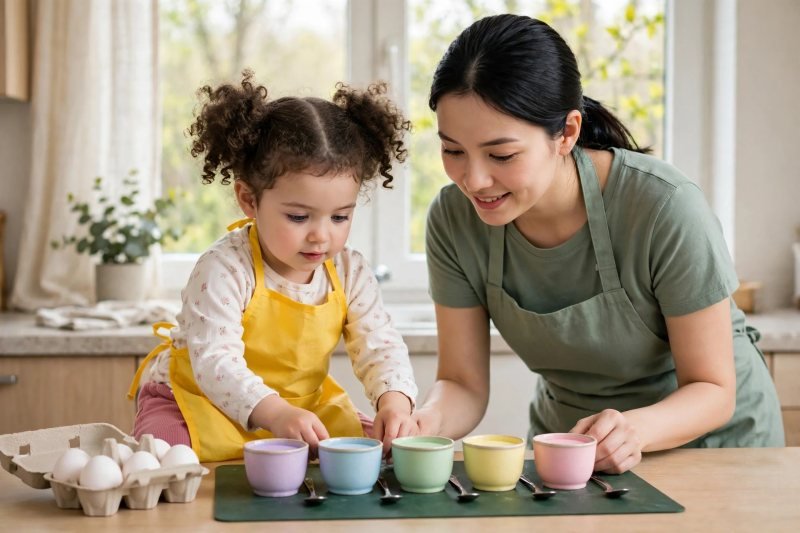
Set up the dye station. Arrange the station so a small child can succeed without reaching or rushing: a washable mat flat on the table; cups of dye in a single row from palest to deepest; a spoon resting beside each cup; the carton of cooled eggs at one end; and the drying rack at the other. Put aprons or smocks on before any cup is filled, roll sleeves up past elbows, and set a damp cloth in the middle for quick hand wipes between colors. Invite your child to order the cups herself — light to dark, favorite first, or rainbow order — and to carry one empty cup at a time with two hands while an adult pours the warm dye mixture. Keep cups only half full so a spoon dip does not slosh, and keep the vinegar and coloring bottles, with all containers blank and unlabelled in any photo, at adult height between uses. Say, "Cups in a row, sleeves up, spoons ready — now we are real egg artists."
-
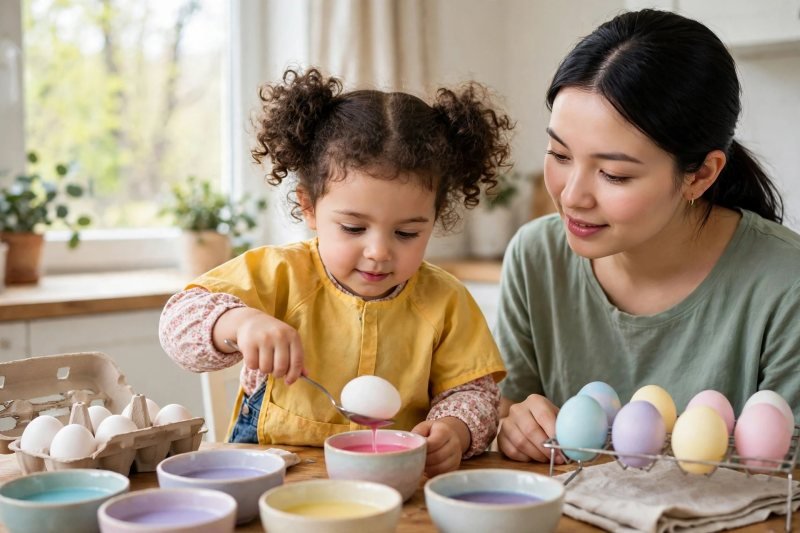
Dye eggs the classic way. Show the classic dip once, slowly, then hand over the spoon: your child lowers a dry, cooled egg into the cup on the spoon — counts to ten with you for a pale shade or to thirty for a deeper one — then lifts it out, lets the drips fall back into the cup, and sets it gently on the rack. Work one egg at a time so each color gets its moment, and turn the egg once with the spoon if she wants the color even all over. Expect the first egg to be the practice egg — a little patchy, a little thrilling — and name that as part of the fun rather than a mistake. If an egg cracks in the dye, lift it out, set it aside for display only, and move on without fuss; cracked eggs are not for eating. Say, "Down on the spoon, count together, up to dry — look how the color climbed on."
-
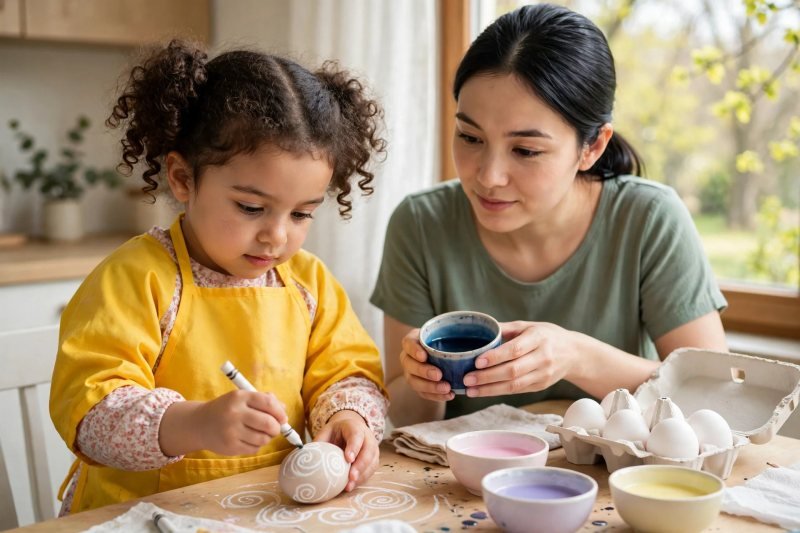
Add crayon-resist designs before a second dip. Once a batch of dyed eggs is fully dry to the touch, bring out the white crayons for the magic trick of the morning: your child draws directly on a dry egg — dots; zigzags; a wobbly flower; her favorite scribble — pressing firmly so the wax lays down thick, even though the drawing is nearly invisible on a pale shell. Then she lowers the drawn egg into a second, deeper dye color on the spoon and watches the hidden picture appear as the dye colors everything except the wax. This works on a white egg dipped once into a strong color just as well as on a pale egg dipped again, so let her choose. Keep crayons for eggs only during the session, work over the mat because wax crumbs travel, and remind her that drawn eggs still need gentle hands — the shell under the art is still a real shell. Say, "Draw a secret picture, dip it, and watch the dye tell us what you drew."
-
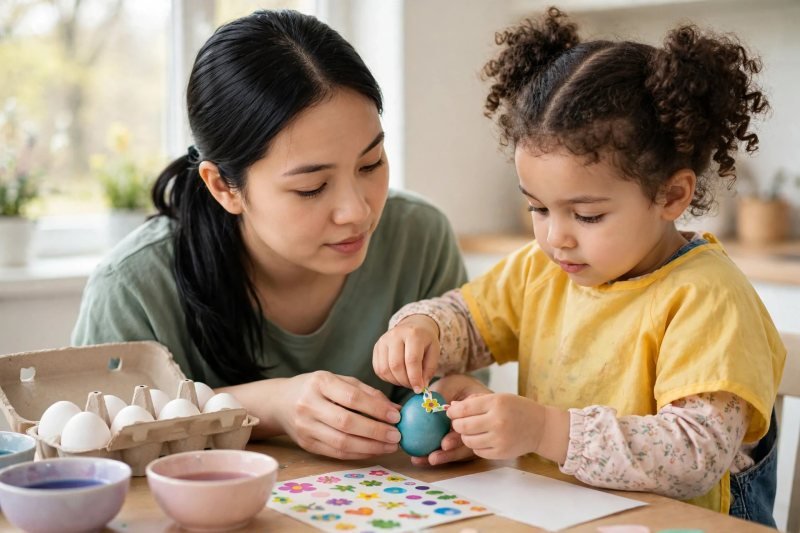
Decorate with stickers. When dyed eggs are completely dry — damp shells shed stickers within minutes, so patience here saves tears — open the sticker sheets and let your child peel and place entirely at her own pace: a row around the middle; a cluster on one side; one proud sticker right on top. Peeling a sticker backing, pinching the edge, and pressing it smooth without tearing the shell is exactly the kind of joyful hand work tucked inside fine motor activities for preschoolers, and it gives children who are tired of wet dye a dry, calm station to land at. Offer large, flat stickers only, press each one down together with a fingertip, and skip any sticker with small raised gems or detachable parts that could come loose. If a sticker refuses to stick, that egg becomes a tape or decoupage egg instead — no egg is a failure, it just changes teams. Say, "Peel it, place it, press it smooth — that egg is wearing your design."
-
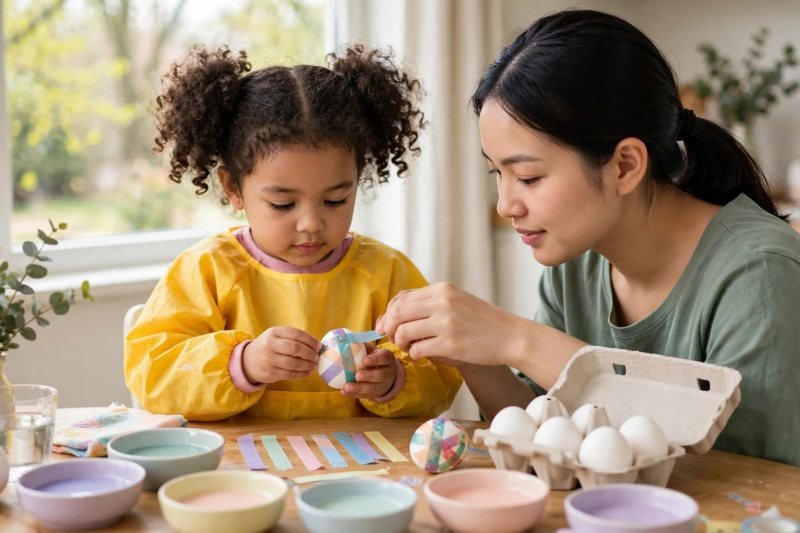
Wrap eggs in washi tape patterns, then dye or leave taped. Pre-tear or pre-cut washi tape into short strips — long tape tangles around small fingers and frustrates fast — and show two simple ways to use it: wrap one strip around the middle of a dry white egg like a belt, then dye the egg so the taped band stays pale when the tape is peeled away after drying; or wrap a fully dyed, dry egg in crisscross strips and leave the tape on as the decoration itself. Press each strip smooth with a fingertip as she places it, because tape that lifts at the edge lets dye creep underneath — which, honestly, makes a pretty feathery edge if she likes it. Stripes, a single band, or a wrapped mummy egg are all complete designs at this age; resist the urge to straighten her lines. Say, "Wrap it, press it, dip it — then we peel and see the stripe you saved."
-
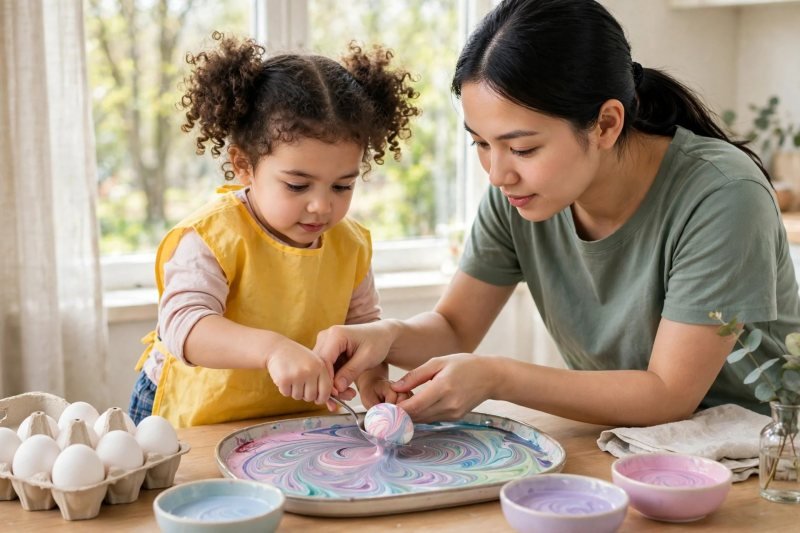
Make marbled eggs. For the showpiece eggs, an adult leads while your child directs the colors: fill a shallow tray with a thin layer of water, add drops of two or three dye colors, and let an adult drizzle in just a few drops of cooking oil — then your child swirls the surface once, gently, with a spoon handle so the colors stretch into veins. Wearing the smock and working over the mat, she rolls a dry white egg slowly across the surface with a spoon so the swirl wraps around the shell, lifts it to the rack, and leaves it completely alone while it dries — marbled eggs smudge if they are handled early. Watching colors float, stretch, and refuse to fully blend is a hands-on color lesson in the same spirit as color mixing activities for preschoolers, with the surprise that oil and water keep their boundaries. One swirl per egg is the rule; a second roll muddies the pattern. Say, "One gentle swirl, one slow roll — the colors will do the painting for you."
-
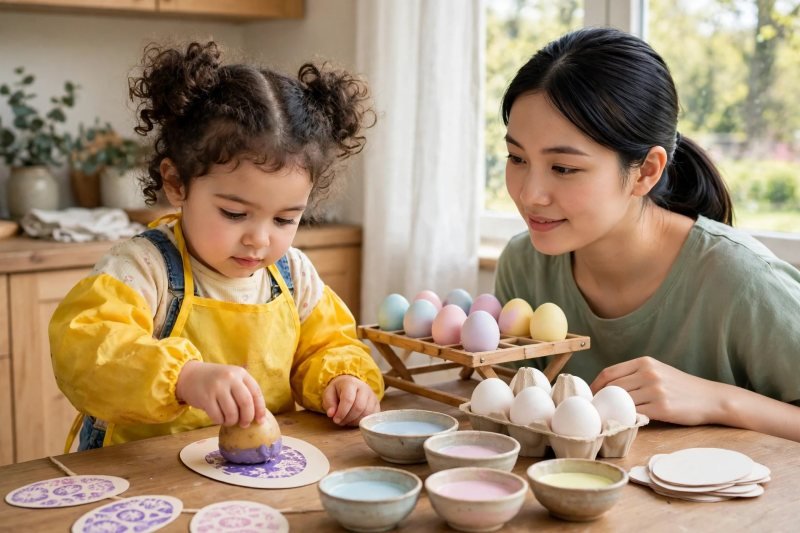
Stamp paper egg shapes with potato halves for cards and a garland. While the real eggs dry untouched on the rack, keep busy hands happily occupied and away from the wet shells: an adult has already halved the potatoes and blotted the cut faces dry, and your child presses a potato half into washable paint — then stamps it onto plain paper cut into egg shapes, lifting straight up to keep the oval crisp. She can stamp rows of plain ovals, press a fingertip dot pattern around the edge, or stamp a second color over a dry first layer; thread the finished paper eggs onto string with clothespins, with adult help, for a garland, or keep the best ones as spring cards with a drawing added by hand — the same paper egg shapes turn up in plenty of spring crafts for kids. The potato halves are tools, not snacks — once a potato has touched paint it never goes near food — and hands get washed when stamping ends. Say, "Press, lift, look — a whole row of paper eggs while our real eggs rest."
-
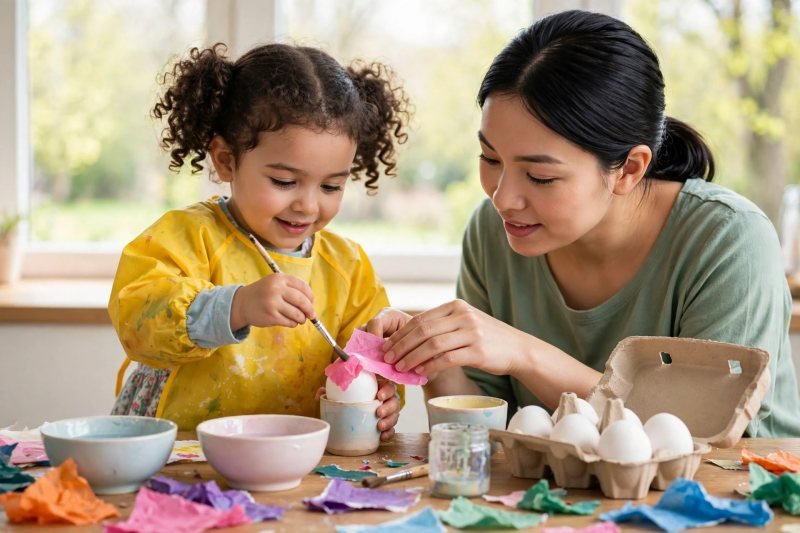
Add tissue-paper decoupage eggs. For the last decorating pass, tear bright tissue paper into small pieces together — tearing is the job preschoolers love most — then brush a dry egg with a thin layer of glue wash, lay tissue pieces over it one at a time, and brush gently over the top to smooth them down. Work on one side, set the egg in an egg cup or bottle-cap ring to hold it steady, and turn it only when the first side feels dry to a light touch. Overlapping colors glow where they cross, torn edges look softer than cut ones, and a slightly wrinkled finish is the charm of the method, not an error. These decorated shells are best treated as display eggs; if your child wants an egg she can eat later, keep one classic-dye egg aside, undecorated with glue, and refrigerate it promptly with the rest. Say, "Tear, brush, lay it down — the colors will shine through each other."
-
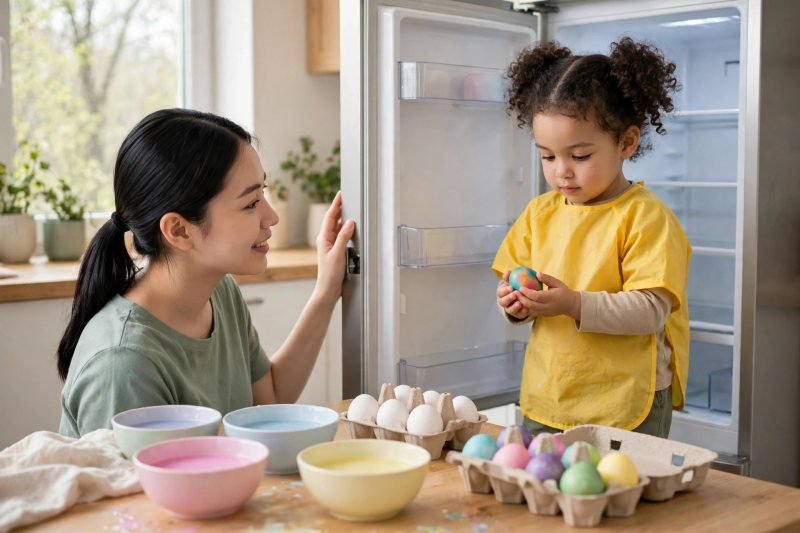
Dry, display and refrigerate. Finish with the routine that keeps decorated eggs safe and the morning feeling complete: let every egg dry fully on the rack; line the finished eggs up for a brief display — photographs, a turn on the table centerpiece, a proud show to family — and then move promptly to the refrigerator, because eggs left out at room temperature for hours are for display, not eating. Wash hands together with soap one last time, peel off smocks, and let your child carry one egg at a time in two hands to the fridge carton while you hold the door. Eggs that stayed refrigerated, were handled with clean hands, and have uncracked shells are the eating eggs, eaten within the week; cracked, glued, or long-displayed eggs are thanked for their beauty and thrown away. Wipe the mat, rinse cups and spoons, and hang the paper garland where everyone can see it. Say, "A quick photo, then into the fridge they go — beautiful and safe."


Make it easier
Dye fewer colors well: two cups — one pale, one deep — plus stickers is a complete session for a just-turned 3-year-old, with far less waiting and tipping. Use an egg cup or ring to hold each egg steady during sticker, tape, and decoupage work so small hands only have to manage one moving thing at a time. Pre-tear the tissue, pre-cut the tape strips, and pre-peel one corner of each sticker sheet before you start — removing the fiddly first step keeps the joyful part flowing. More table-top making at this age: art and craft ideas for preschool use the same peel, press, and tear skills in short sessions.
Make it harder
Plan a two-dip design: dye pale first, add crayon-resist or a tape band, then dip deeper — and let your 5-year-old predict what each layer will do before it happens. Set a pattern challenge: stripes on one egg, dots on another, and a marbled egg using exactly three colors she chooses and orders herself. Add a sorting finish: line the dried eggs from palest to deepest, count them into the carton in order, and choose which one to display first and why.
Other ways to play it
- Whipped-topping marble variation: for families who prefer a food-only method, spread a thick layer of whipped topping in a tray, dot it with food coloring, swirl once with a spoon handle, roll a cooled egg through it, and let it sit before wiping gently — adult-led, and the egg is refrigerated promptly afterward like any dyed egg.
- Natural color variation: simmer dye baths from kitchen ingredients with an adult doing all hot work — onion skins for amber, red cabbage for blue, turmeric for yellow — cool the baths fully, then dye exactly as in the classic step and refrigerate promptly.
- Plastic egg variation: repeat every decorating step on reusable fillable plastic eggs for a classroom or allergy-aware setting — stickers, tape, and decoupage all work, with no food-safety clock and eggs that can be displayed all season.
How it changes by age
- Age 3: Three-year-olds do best with the boldest, simplest jobs: one classic dip with a spoon they guide with your hand nearby, large stickers they peel with a started corner, and tissue tearing, which needs no precision at all. Keep their session shorter — four to six eggs is a triumph — seat them where cups cannot be reached across, and expect dye on the smock, the mat, and at least one sleeve. Hand-washing, gentle carrying in two hands, and choosing colors are real contributions at three, even when an adult steadies every spoon.
- Age 4: Four-year-olds can run most of the session with supervision: counting eggs into the carton, ordering the dye cups, timing a dip out loud, drawing a crayon-resist picture, and wrapping a tape band with only the tearing done for them. Give fours the marbled swirl to direct and the garland to arrange — choosing, ordering, and explaining their design are where the pride lives at four. They still need an adult for anything hot, for the oil in the marble tray, and for the refrigerate-promptly finish.
- Age 5: Five-year-olds can plan a small collection on purpose: a pale set, a resist set, and one marbled showpiece, predicting each result before dipping. They can manage two-dip eggs, neater tape patterns, potato stamping in layered colors, and the palest-to-deepest sorting line at the end. Keep the same safety frame — adult-only boiling, clean hands, prompt refrigeration — but let fives lead the tidy-up: rinsing cups, wiping the mat, and carrying eggs to the refrigerator one careful trip at a time.
What they're learning
Fine motor control: spoon-lowering eggs, peeling stickers, pressing tape smooth, tearing tissue, and stamping potato halves — varied hand work that builds strength, pinch control, and two-hand coordination. Color and cause and effect: watching white shells take dye, hidden crayon drawings appear, and oil-and-water marbles refuse to blend — early science learned by doing, with results they can hold. Counting and ordering: counting eggs into the carton, ordering cups palest to deepest, timing dips out loud, and sorting finished eggs in a line — numbers attached to a project they care about. Care and food safety habits: washing hands before and after handling food, carrying eggs gently in two hands, and refrigerating them promptly — kitchen routines practiced at exactly their size.
Clearing up
Work from the table outward while the last eggs dry: carry dyed eggs to the refrigerator first, one careful trip at a time, then pour dye cups into the sink with running water so pastel splashes do not set, rinse cups, spoons, and brushes, and wipe the mat and table before dye dries into speckles. Tissue scraps, tape ends, and potato halves go straight into the trash — painted potatoes never return to food use — sticker backings get one sweep of the table and floor, and smocks hang to dry after a shake over the sink. Wash hands one final time together, hang the paper egg garland, and photograph the tidy kitchen with the garland in frame: the session is done when the fridge holds the eggs and the table is ready for lunch.
Questions parents ask
How long can dyed Easter eggs stay out of the refrigerator?
What is the easiest way for a 3-year-old to decorate Easter eggs?
How do you make marbled Easter eggs with kids?
Can kids eat the Easter eggs they decorated?
How do you keep egg dyeing from making a huge mess with preschoolers?
After the session, the finished display eggs can star in a gentle egg hunt that scales with age — hide them briefly, hunt, then refrigerate promptly.

save it for later
Pin this for the next rainy afternoon
Keep it on a board so it is there when you need it, rather than when you happened to find it.
Save to Pinterest


