


Cutting Toddler Hair at Home: A Safe Step-by-Step Guide
Learn how to cut toddler hair at home safely: blunt-tip scissors, small sections, guarded ears, and a calm step-by-step trim for ages 2–3 — plus when to stop and book a salon instead.
To cut toddler hair at home safely, use blunt-tip hair scissors, seat your child securely with a cape on, mist the hair damp, and work in small clipped sections. Guard ears and neck with your fingers flat between skin and scissors, cut less than you think you need, and stop right away if your child gets distressed.

The short version
- Blunt-tip hair scissors only — never kitchen or craft scissors — and store them out of reach before and after.
- Work in small clipped sections with tiny snips, and check the length dry — damp hair springs shorter as it dries.
- Guard ears, neck, and face with your fingers flat between the skin and the scissors on every cut.
- Pick a calm, fed, rested moment, keep a favorite toy in their hands, and stop if your child is distressed.
- A home trim is for tidying fringe, ears, and ends — shaped styles belong with a stylist.
- Age
- Ages 2–3
Why kids love this
Cutting toddler hair at home happens in the room your child already trusts, with no waiting room, no stranger, and no strange chair. Toddlers love the ceremony of it — the cape swooshing on, their face in the mirror, tiny snips they can hear, and a big reveal at the end. When the pace is theirs and a favorite toy is in their hands, a trim feels like a game they are winning, not something being done to them. When you're ready for more than a trim, our toddler hairstyles for fine hair shows simple styles you can do at home.
What you'll need
- Blunt-tip (rounded-end) hair scissors made for cutting hair — never kitchen or craft scissors
- A fine-tooth comb and a spray bottle of plain water
- A haircut cape or a large towel with a soft clip
- A booster seat or a sturdy chair your child sits in safely
- Hair clips or small sections clips to hold hair up and out of the way
- A favorite small toy, book, or comfort item for busy hands
- A soft brush and a damp cloth for itchy clippings afterward
Before you start
1. Choose a calm, fed, rested moment — mid-morning after breakfast works far better than the hour before dinner or a nap. 2. Set up in a bright room with a hard floor you can sweep; lay the booster seat, cape, comb, spray bottle, and scissors within your reach, not your child's. 3. Read the timing signs first — if this is a very first trim, our guide to a toddler's first haircut and when to go helps you decide whether home or a salon suits this round.
How to do it
-
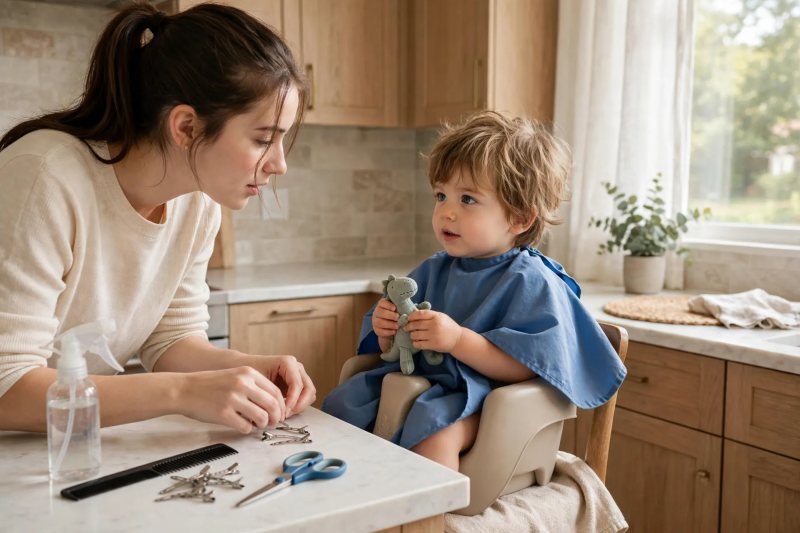
Set up the kitchen salon together. Put the booster seat in the brightest spot, lay a towel under it for falling hair, and set the comb, spray bottle, clips, and blunt-tip scissors on the counter where only you can reach them. Say, "Today we are playing salon at home! Your job is to sit tall and hold your toy." Let your child touch the cape, look in a hand mirror, and watch you snip the air once so the sound is familiar. A setup they helped build feels safe, and safe is what keeps a toddler still.
-
Put the cape on and settle your child in. Drape the cape or towel around your child's shoulders and fasten it loosely — snug enough to catch clippings, never tight at the neck. Say, "Cape on — whoosh! Now you look like a salon superstar." Hand over the favorite toy, sit them tall in the booster seat, and check that feet are supported and the seat cannot tip. Sit or kneel at their eye level for the front work. If they are already wriggling hard or upset before you begin, stop here — a trim can always wait for a calmer day.

-
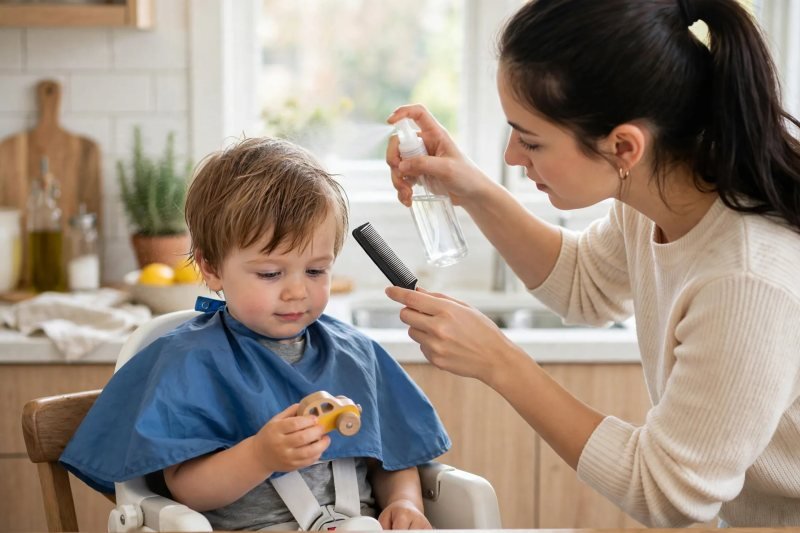
Mist and comb the hair smooth. Fill the spray bottle with plain water, mist the hair lightly until it is damp but not dripping, and comb it gently in the direction it naturally falls. Say, "Sprinkle, sprinkle — now we comb it smooth like this." Damp hair is far easier to cut evenly than dry, flyaway hair, and combing shows you the true length. Work out tangles with your fingers first, holding the hair above the tangle so it does not pull. Smooth hair, combed flat, is the map for every snip that follows.
-
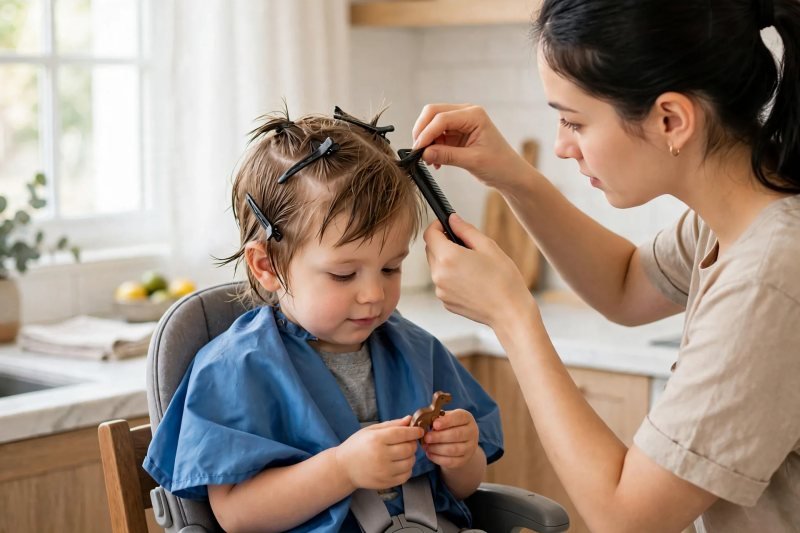
Clip the hair up into small sections. Divide the hair into small sections — top, sides, and back — and clip each section up and out of the way, leaving only the first small area down. Say, "We are making little hair bundles so we only cut a tiny bit at a time." Small sections are the core safety habit, because a small section can only lose a small amount of length. Start with the back or a side, where a wobbly first snip shows least, and keep the rest clipped safely away from the scissors.
-
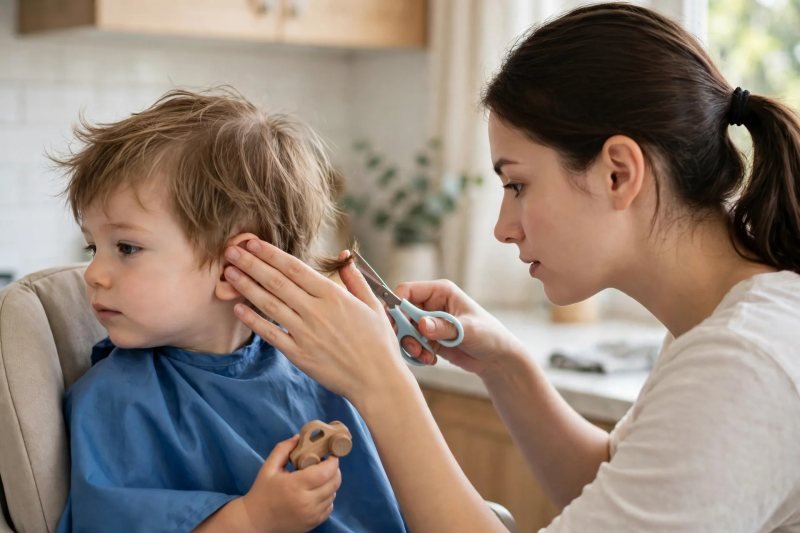
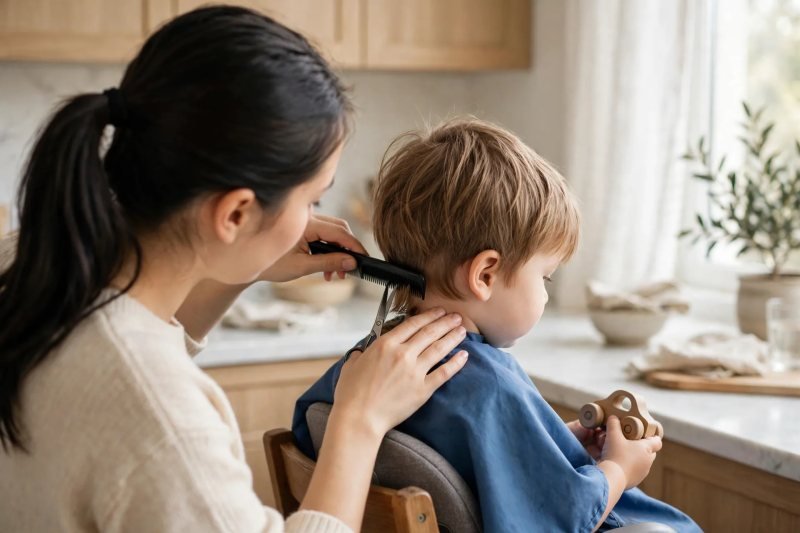
Guard the ears and cut the sides first. For each side section, slide your fingers flat against your child's head with your hand between the scissors and the ear — your fingers are the guard the ear never cuts past. Hold a small section between two fingers, comb it down, and snip a tiny amount below your fingers, cutting less than you think you need. Say, "My fingers keep your ears safe. Snip — just a tiny bit!" Never cut close to skin, never cut a section you cannot see clearly, and re-mist if the hair dries out and starts to spring up.
-
Trim the fringe straight across, slowly. Comb the fringe forward so it falls over the forehead, then hold a small section flat between two fingers just above the eyebrows. Cut in tiny snips along a line well above the eyes, leaving the fringe longer than your goal — damp hair shrinks up as it dries, so a fringe cut to eyebrow length wet can sit much shorter dry. Say, "Look up at the ceiling star! Snip, snip — tiny bits." Keep scissors pointing away from the face, work in the middle first and then each side, and step back to check both sides match before taking any more off.

-
Tidy the back and check for evenness. Move to the back last, combing each small section down and trimming the ends in line with the sides you have already cut, guarding the neck skin with your fingers flat beneath the hair. Say, "Almost done — now the back gets tidy too." Then comb everything down all over, look from the front, both sides, and the back, and fix only obvious longer pieces with one small snip at a time. Holding scissors correctly and making these tiny controlled snips is real hand-strength practice. These fine motor activities for preschoolers build the same careful hand control through everyday play.
-
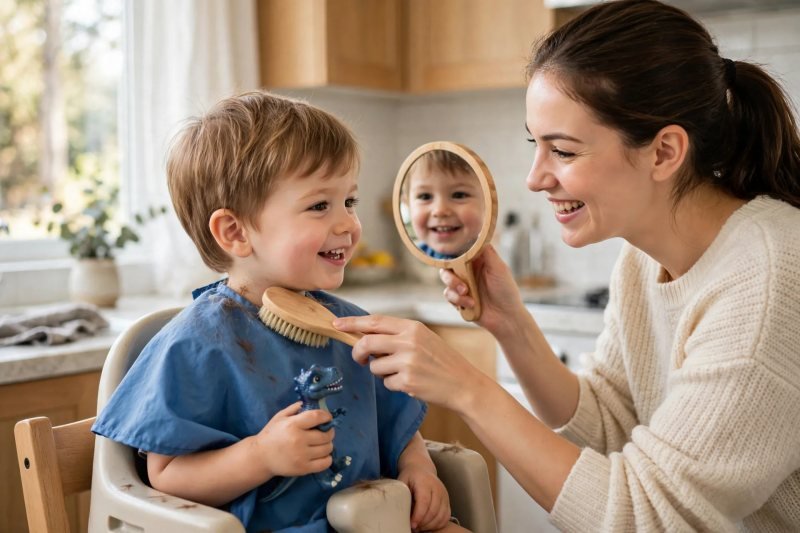
Brush off, reveal, and celebrate. Take the cape off outside or over the towel, brush loose clippings off the neck and shoulders with the soft brush, and wipe with the damp cloth so nothing itches. Say, "Cape off — ta-da! Look at your tidy hair!" Hold up the mirror and let your child admire the result, then praise the sitting still as much as the haircut — "You sat so tall and helped so much." Put the scissors straight away in a closed drawer out of reach, sweep the floor, and finish with a small celebration, a photo, or a favorite snack.


Make it easier
Trim only the fringe and around the ears this time; save a fuller cut for when you both feel confident. Cut in two short sittings on different days instead of one long session. Let your child watch a short, calm favorite video or listen to a beloved song during the back sections. Practice the whole routine first on a doll or on your own fringe so your hands learn the motions.
Make it harder
Let an older three-year-old choose between two simple styles from photos you have pre-approved. Teach them to say "pause, please" and honor it instantly — asking for a break is a skill worth rewarding. Add a gentle tidy of longer layers on top, still in small clipped sections, once the basic trim feels easy.
Other ways to play it
- Curly hair: mist lightly and cut curl by curl, dry or barely damp, taking off far less than you think; curls spring up as they dry.
- Very wiggly toddler: a second adult sits facing the child as the official toy-holder and song-singer while you cut.
- Only the ears need it: skip the full routine — one small guarded section over each ear is a complete, valid trim.
How it changes by age
- Age 2: expect a short window of cooperation. Plan for the fringe and ears only, keep every snip small, and treat stopping early as success, not failure. Most twos cannot sit through a full cut, and they do not need to. For more ideas that suit short attention spans, browse our 2-year-olds hub.
- Age 3: threes can usually manage the full routine, hold the mirror, and tell you if something tickles or pulls. Give them real jobs — holding the comb between sections, counting snips — and they will sit longer for being part of the team. More activities for 3-year-olds build on the same independence.
What they're learning
Patience and stillness: sitting tall through small, calm steps builds waiting skills that transfer everywhere. Body awareness: naming ears, fringe, nape, and neck while you guard them builds the body map. Trust and communication: saying "pause, please" and being heard teaches them adults listen. Cause and effect: damp hair looks longer, dry hair springs shorter — a tiny science lesson in the mirror. Independence: helping with setup, holding the toy, and choosing the celebration snack makes the trim theirs.
Clearing up
Sweep the floor right away while your child is safely out of the chair — tiny clippings migrate everywhere and itch in socks and pajamas. Shake the cape and towel outside, then wash them. Brush your child's neck and change a shirt that caught clippings. Store scissors in a closed drawer or high cabinet immediately, not "in a minute" on the counter. A quick rinse or bath that evening washes away the last itchy bits and makes a cozy end to haircut day.
Questions parents ask
Is it safe to cut toddler hair at home?
What scissors should I use to cut my toddler's hair at home?
How do I cut my toddler's fringe without making it too short?
How can I keep my toddler still during a home haircut?
What if I cut my toddler's hair unevenly at home?
When should I take my toddler to a salon instead of cutting at home?
How often does my toddler need a haircut?
A home trim tidies; it does not replace a stylist for shaped styles, thick or very curly hair, or a child who cannot sit safely. Write the date on a small envelope with a saved curl if this is a milestone trim — future you will thank present you.

save it for later
Pin this for the next rainy afternoon
Keep it on a board so it is there when you need it, rather than when you happened to find it.
Save to PinterestTry this next
-
Nursery Rhymes for Toddlers: 20 Classics That Build Early Reading Skills
Ages 1–3
-

Easy Science Experiments for Toddlers: 10 Safe First Experiments (Ages 2–3)
Ages 2–3
-

Counting to 10 Activities: Your Toddler's First Big Math Milestone
Ages 2–3
-

Why Nursery Rhymes Matter for Reading: What the Research Says for Parents
Ages 2–3


