


Easy Christmas Crafts for Toddlers
Easy Christmas crafts for toddlers ages 2–3: ten simple makes — a paper plate Santa, handprint reindeer, cotton snowman and more — with washable supplies and a tidy-up routine.
Easy Christmas crafts for toddlers use washable, non-toxic supplies and one simple action per craft: glue cotton balls for a paper plate Santa and a snowman, stamp fingerprint lights, tear and stick a paper tree, press a painted handprint reindeer, and scrunch tissue for a star. Adults prep and cut; toddlers stick, stamp and shine.

The short version
- One craft, one action: glue, stamp, tear, stick or scrunch — that's what makes a craft toddler-possible.
- Adults prep and cut everything; toddlers do the making actions that produce the picture.
- Order matters: glue crafts first, paint in the middle, calm crafts to finish, gallery walk to celebrate.
- Loose bells are a choking hazard — they live only inside an adult-sealed, tape-checked shaker.
- Everything washable and non-toxic; sessions end when fun ends, even mid-list.
- Age
- Ages 2–3
Why kids love this
Christmas crafts for toddlers succeed when every project asks for exactly one toddler-sized action — and delivers a finished, displayable result within minutes. Gluing cotton makes a beard appear; one press makes a reindeer; one scrunch makes a star shine. This session is built as a gentle arc: low-mess glue crafts first, paint in the confident middle, a musical shaker for energy, and a golden star to finish — then the gallery walk, where your toddler presents ten finished pieces like the artist she now is. Everything is washable, everything is non-toxic, and every single make was designed for hands that are still learning.
What you'll need
- Paper plates (several) and colored card and paper — red, green, brown, yellow, dark blue
- Cotton balls (a big bag — two crafts use them)
- Glue stick or a small pot of glue; washable paints in brown, red, yellow, green, blue
- Large dot stickers; tissue paper in yellow and gold
- A small sponge piece and a clothespin; ribbon or string and clothespins for hanging
- A clear sturdy bottle with a screw lid, 2–3 large jingle bells, strong tape (adult use)
- Table cover, a smock or old shirt, a damp cloth and a water pot for brushes
Before you start
1. Cut adult-only pieces beforehand: the wreath ring (paper plate center), the Santa hat triangle, reindeer card pieces and the star outline. 2. Cover the table, fill small dishes with paint, and set out only the first craft's materials. 3. Put the tabletop tree or a string line where finished crafts will gather — the gallery is part of the motivation.
How to do it
-
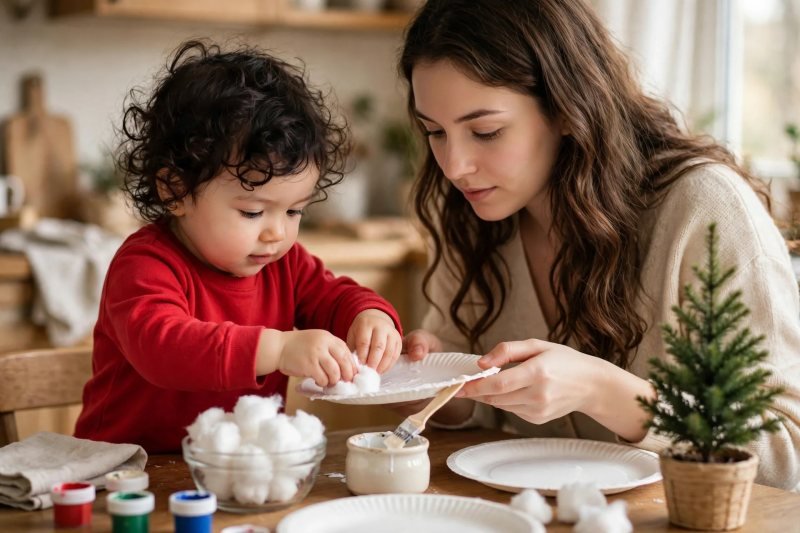
Set up the craft station and make a paper plate Santa. Cover the table, put a smock or old shirt on your toddler, and lay out one craft at a time — christmas crafts for toddlers work when the table holds today's project, not the whole craft store. For Santa: give her a paper plate, a pot of glue and a bowl of cotton balls. Say, "Santa needs his beard — stick, stick, stick!" and let her glue cotton all around the plate's edge while you hold the plate steady, then add a red paper hat triangle on top and draw the eyes on yourself. Gluing cotton is exactly the kind of squeezing-and-placing practice in fine-motor activities for preschoolers, sized down for two-year-old hands. Prop Santa by the tabletop tree: the gallery has begun.
-
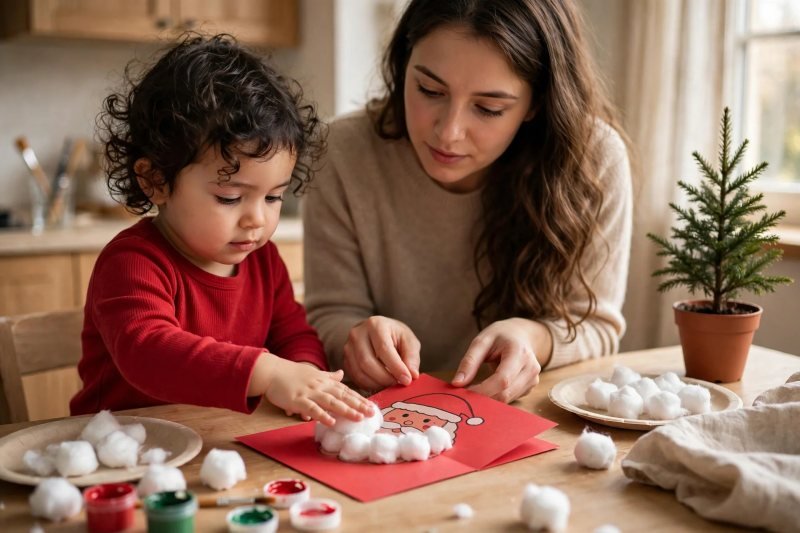
Make a cotton-ball beard card. Fold a sheet of red or green card. Draw a simple Santa face outline yourself — a circle face and a hat — then hand over the glue and cotton balls. Say, "Beard time! Fill the whole chin — more fluff!" and let her cover the beard area edge to edge; toddlers judge success by fluffiness, and they are right. Press each cotton ball down together — "Pat, pat, stay!" Cards are the friendliest toddler craft because a grandparent receives them as treasure regardless of beard geometry. Stand the finished card on the table edge to dry, write the name and date on the back for her, and move to the sink for a quick hand rinse before paint appears.
-
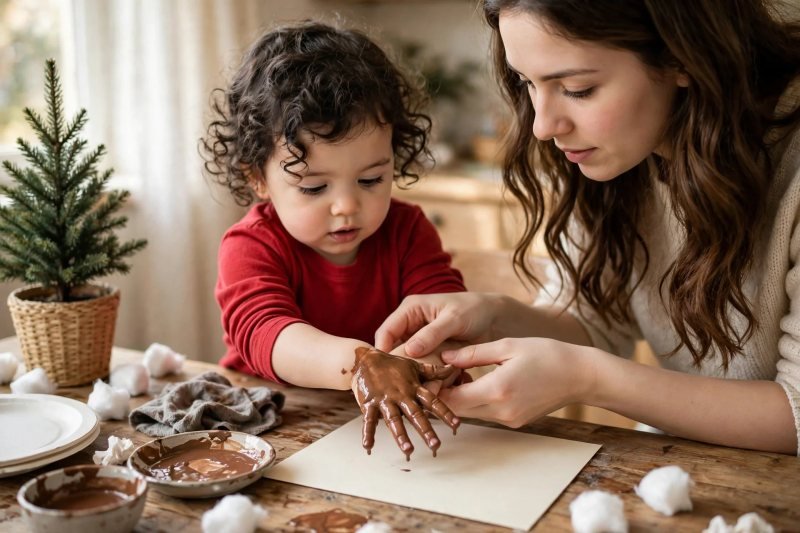
Paint a handprint reindeer. This one is paint, so it anchors the session's middle, once she is warmed up. Brush brown washable paint onto her palm and fingers yourself — painting the hand for her keeps the dose right — and say, "Open your hand like a star… press!" Guide the hand down onto card, fingers spread: fingers become antlers, the palm becomes the face. Lift straight up together and count the reveal: "One, two, three — reindeer!" Let her add a red fingerprint nose with one fingertip and stick on nothing else; you dot the eyes with a fingertip too. Wash hands immediately after, while the print dries flat where small feet cannot step on it.
-
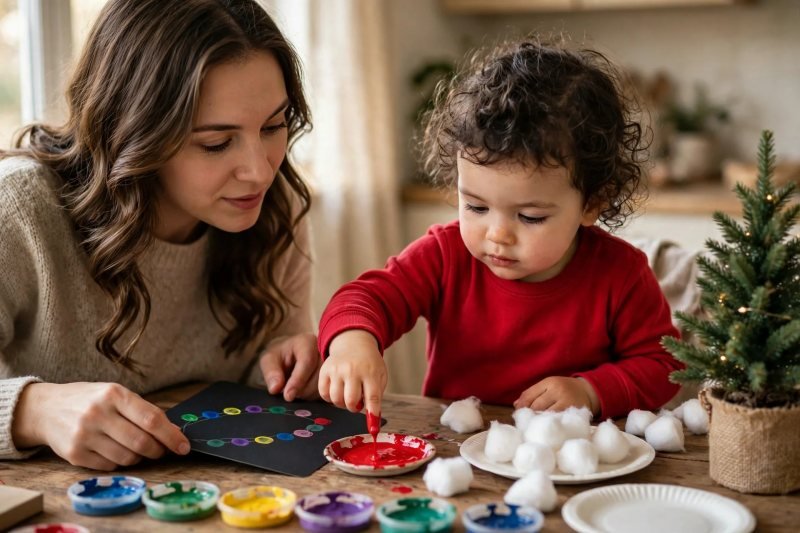
Stamp fingerprint Christmas lights. Draw a gentle curving line across dark card yourself — the wire. Set out small dishes of washable paint in red, yellow, green and blue. Say, "Dip one finger… dot a light on the line!" and guide her fingertip from dish to line, one color at a time, wiping the finger between colors on a damp cloth. The dots wander off the line; that is the charm, and the squishy color discoveries are the same joy as color mixing activities for preschoolers in miniature. Stop while it is still fun — a card with nine lights is finished, whatever the plan said. Set it beside Santa in the gallery to dry.
-
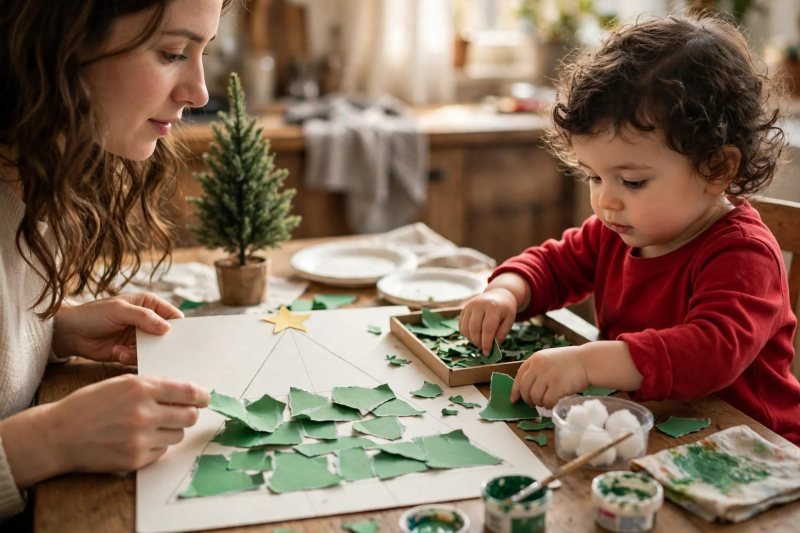
Tear and stick a paper strip Christmas tree. Toddlers tear better than they cut, so lean into it: give her green paper — two shades if you have them — and let her tear it into strips and bits over a tray. Say, "Rip! Rip! Little pieces for our tree!" Draw a big triangle outline on card, fill it with glue a section at a time, and let her press the green pieces inside the lines, overlapping freely. A brown rectangle becomes the trunk, added by you or stuck by her at the bottom. Finish with a yellow paper star on top, glued together. The tearing is real hand-strength work disguised as destruction, which is the best kind of work there is at two.
-
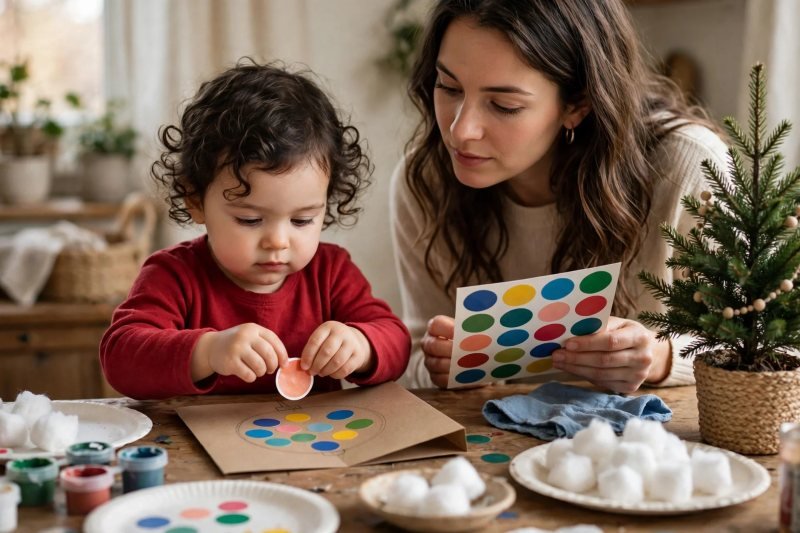
Decorate sticker ornament cards. The lowest-mess craft in the session, perfectly placed after two paint projects. Draw big round ornament outlines on folded cards yourself — or cut circles and glue them on — and give her a sheet of large dot stickers. Say, "Decorate the bauble — stickers anywhere you like!" Peeling stickers is a genuine skill at two: hold the sheet flat for her, lift one edge of a sticker with your nail to start it, and let her pull and place it. If peeling defeats her today, hand her the stickers pre-peeled and let placement be the job. A row of sticker-covered ornaments makes a card any relative would frame, produced with zero paint and total independence.
-
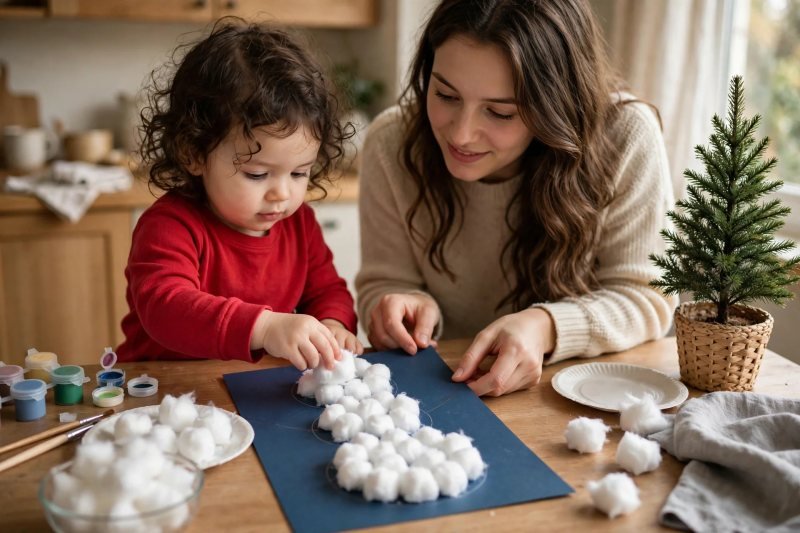
Build a cotton-ball snowman. Glue three big circles in a snowman stack on blue or dark card — draw them yourself as a guide. Say, "Snowballs! Fill the circles — pat them flat!" and let her glue cotton balls inside each circle until the snowman is plump. Flattening the cotton slightly makes them stick and covers more ground. You add the details a toddler cannot: a tiny orange triangle nose, two dot eyes, and stick arms drawn or glued at the sides. She can press on a paper hat or scarf strip if she wants a say in the outfit. Cotton crafts reward small hands immediately — every ball visibly changes the picture — which is why two appear in this session, at a comfortable distance apart.
-
Shake up jingle bell shakers. This craft is sound-first and needs your closest supervision: bells are small parts. Put two or three large bells inside a clear, sturdy plastic bottle or a sealed container yourself, add a handful of dry rice or big beads for extra sound if you like, and screw the lid on tight — then seal it with strong tape around the lid edge yourself. Only then hand it over: "Shake, shake — jingle bells!" and dance together for a full song. The bottle lives in the music basket afterwards and never gets opened by little hands; check the seal before every use. Any shaker whose lid loosens is retired on the spot — a small loss for a safe rule, and the same careful at-home approach as in our toddler learning activities at home.

-
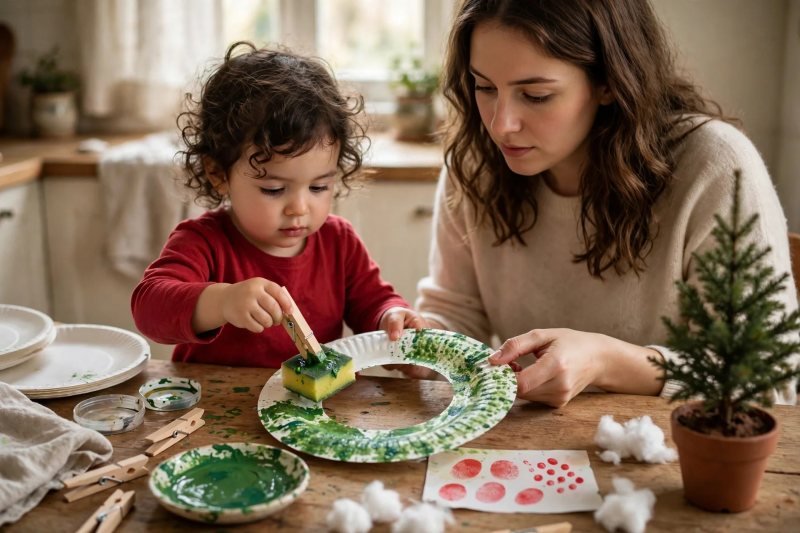
Sponge-paint a paper plate wreath. Cut the center out of a paper plate yourself, before the session — the ring is the wreath. Clip a small sponge piece in a clothespin for a handle she can grip, set out green washable paint in two shades, and say, "Dab, dab, dab — all around the circle!" Let her stamp the ring green edge to edge; overlapping shades look like foliage without any skill requirement. While it dries, she can press red fingerprint berries around the wreath with one fingertip — the session's second fingerprint moment, now with practiced confidence. You tie a ribbon bow at the top when dry. Wreaths are the most giftable make here: light, flat and proudly displayable on any door or fridge.
-
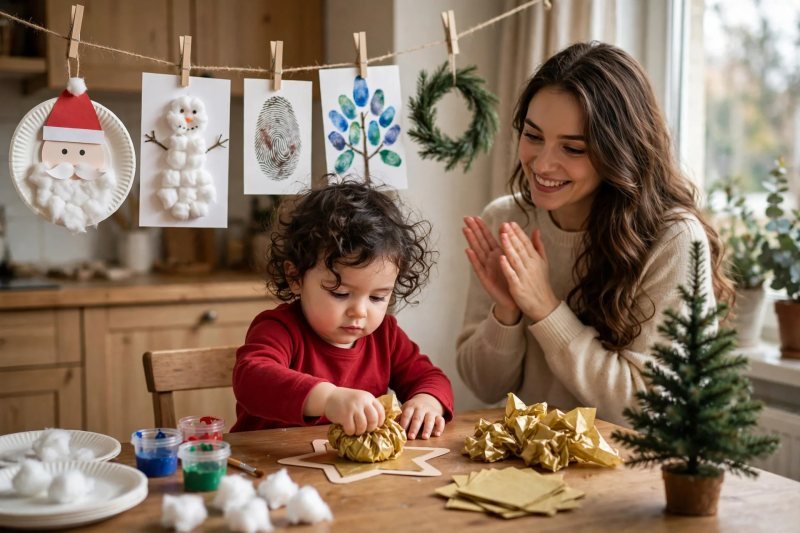
Make a tissue-paper star, hold the gallery show, and tidy up. For the finale, give her a card star outline, glue, and pre-torn squares of yellow and gold tissue paper. Say, "Scrunch and stick — make our star shine!" and let her crumple each square into a ball and press it onto the glue; scrunching is the last fine-motor workout of the session. Then the show: walk the table gallery together — Santa, cards, reindeer, lights, tree, ornaments, snowman, shaker, wreath, star — and applaud each one by name. Hang favorites with clothespins on a string, pop the cards in envelopes for posting, and tidy up together: lids on, brushes in the water pot, scraps in the bin, with a job for her in every step. Ten crafts, one table, one very proud artist.


Make it easier
Do one craft per day across ten days — the session arc works just as well spread out. Pre-peel stickers and pre-tear tissue pieces so placement is the only job. Use a glue stick instead of a glue pot if squeezing and spreading is still hard.
Make it harder
Let her tear her own tissue squares and sort cotton balls by size before gluing. Add a second color decision to the fingerprint lights — she picks the pattern order. Have her carry each finished craft to the gallery string and clip it on with help.
Other ways to play it
- Hanukkah-friendly swap: fingerprint candles on dark card with yellow dots, and a tissue-star in blue and silver — same actions, different colors.
- Keepsake version: do the handprint reindeer on a canvas board or the inside cover of a family Christmas book, dated yearly. For another keepsake that hardens and hangs, salt-dough Christmas ornaments use the same press-and-paint actions.
- Group version (playdate): sticker ornament cards and cotton crafts scale best — one sticker sheet and one cotton bowl per child, paint crafts rotate through one adult-supervised spot.
How it changes by age
- Age 2: twos glue, tear, stamp and scrunch beautifully, and finish fast. Expect sessions of 10–20 minutes, pieces placed gloriously off-outline, and total ownership of the cotton bowl. You do every cut, every lid and every detail (eyes, noses, trunks); her job is the action that makes the picture appear.
- Age 3: threes can hold a plate steady for a partner, place stickers with a plan, choose color orders and clip finished work to the gallery string with help. Give threes the comparison jobs — "which circle needs more snow?" — and let a three-year-old lead the tidy-up; the routine matters as much as any single craft.
What they're learning
Fine motor control: gluing, peeling, tearing, scrunching, stamping and pressing — the whole hand-strength toolkit. Sequencing: prep → make → dry → display — a project arc she can follow and predict. Color and shape language: naming colors, circles, stars and triangles while using them. Cause and effect: press a painted hand, get a reindeer; dip a finger, get a light. Pride and presentation: the gallery walk teaches that made things are shown, celebrated and gifted. Care routines: lids on, brushes washed, scraps binned — crafting includes the tidy-up.
Clearing up
The common mix-up is choosing crafts by how they look on a blog instead of by the action they ask for. A toddler craft works when the hero action — glue, stamp, tear, stick — is one she can already almost do; the Christmas shape around it is just dressing. The other mix-up is doing the paint first. This session runs glue → paint → stickers → music on purpose: confidence first, mess in the middle when energy and attention peak, and a calm, scrunchy star to land the plane. Whatever order you choose, end with the gallery walk — the showing is half the learning. If ten makes leave her asking for more, 25 easy Christmas crafts for kids extends the same one-action-per-craft idea for the next session.
Questions parents ask
What Christmas crafts can a 2-year-old actually do?
What supplies do I need for toddler Christmas crafts?
How do I keep Christmas crafting with a toddler from becoming a mess disaster?
Are jingle bells safe for toddlers?
How long should a toddler craft session last?
What can we do with the finished Christmas crafts?

save it for later
Pin this for the next rainy afternoon
Keep it on a board so it is there when you need it, rather than when you happened to find it.
Save to Pinterest

