


Homemade Christmas Ornaments Kids Can Make
Homemade Christmas ornaments kids can make need no special kit: salt dough shapes they mix and paint themselves, clear baubles they fill, and cheerful toilet-paper-roll bells. One kitchen session, three keepsakes, and a tree decorated by small hands.
Homemade Christmas ornaments kids can make include painted salt dough shapes they mix, cut, and thread themselves, clear shatterproof baubles filled with pom-poms and tinsel, and jingle bells built from painted cardboard rolls. Adults handle the oven and knots; children do the mixing, painting, filling, and the final tree hanging.

The short version
- Salt dough is flour, salt, and warm water — children mix, roll, cut, and paint it; adults bake it.
- Poke the hanging hole before baking and thread the string after painting for the cleanest finish.
- Use shatterproof fillable baubles, never glass, and choose big fillings for younger children.
- Cardboard-roll bells need only paint, ribbon, and a large securely tied jingle bell.
- Salt dough is not food — supervise young children and store finished ornaments away from pets.
- End by hanging everything together so children see their whole collection on the tree.
- Age
- Ages 4–5
- Prep
- 15 min
- Play time
- 60 min
- Mess
- Some
- Difficulty
- Medium
- Where
- Indoor
Why kids love this
Homemade Christmas ornaments kids make themselves turn the tree into their own gallery. Dough they mixed becomes a painted star, a plain bauble fills with color in seconds, and a bell they built actually rings. Every ornament carries a story they can retell each year.
What you'll need
- Plain flour, fine salt, and warm water for the dough, plus a mixing bowl and spoon
- A rolling pin, cookie cutters in simple shapes, a straw or skewer for hanging holes, and baking paper
- Clear fillable plastic baubles that open in two halves (shatterproof, not glass)
- Pom-poms, tinsel strands, sequins, and small beads for filling the baubles
- Empty toilet-paper rolls, washable paint and brushes, ribbon, and large jingle bells
- String, ribbon, or ornament hooks for hanging, plus a tray for drying painted pieces
- Aprons, a covered table, and a damp cloth for floury and painty hands
Before you start
1. Cover the table and set out the dough ingredients in the order you will use them. 2. Line a baking tray with baking paper and preheat the oven only when an adult is ready to bake. 3. Open the baubles and check each half fits back together snugly before small hands start filling. 4. Put a small tray by the tree so finished ornaments wait together for the hanging finale.
How to do it
-
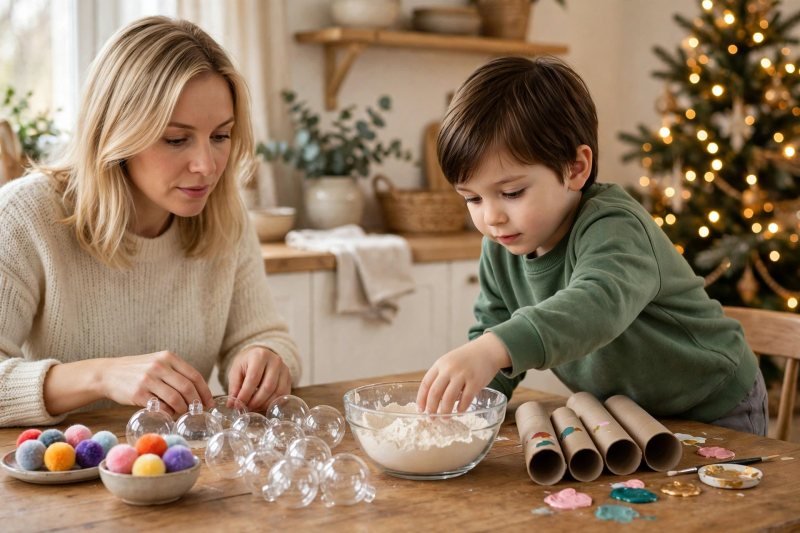
Set up the ornament station. Cover the table, put on aprons, and line up the three projects in order: a bowl and flour for dough; clear baubles and a dish of fillings; cardboard rolls and paint. Say: "Today we are making real ornaments for our tree — three kinds, made by you." Let your child touch each material and guess what it becomes. A clear station keeps the session flowing, the way good preschool learning activities at home always start with everything in reach. Station ready — flour comes out first.
-
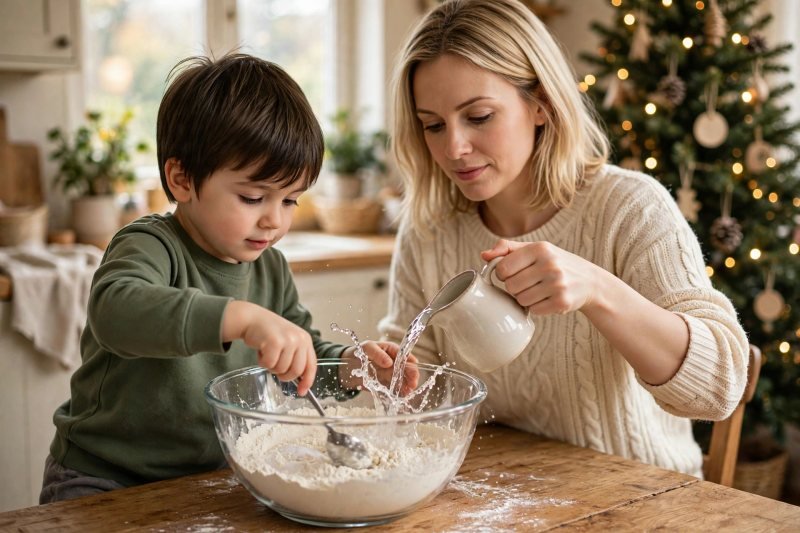
Mix the salt dough together. Pour one cup of flour and half a cup of salt into the bowl and let your child stir the dry mix with a spoon. Say: "Slow water now — we want dough like play dough, not soup." Add warm water a splash at a time while your child stirs, then tip the dough out and knead together until smooth, about two minutes of pushing and folding. If it sticks, dust with flour; if it cracks, wet your fingertips and knead again. Dough smooth and springy — time to roll it flat.
-
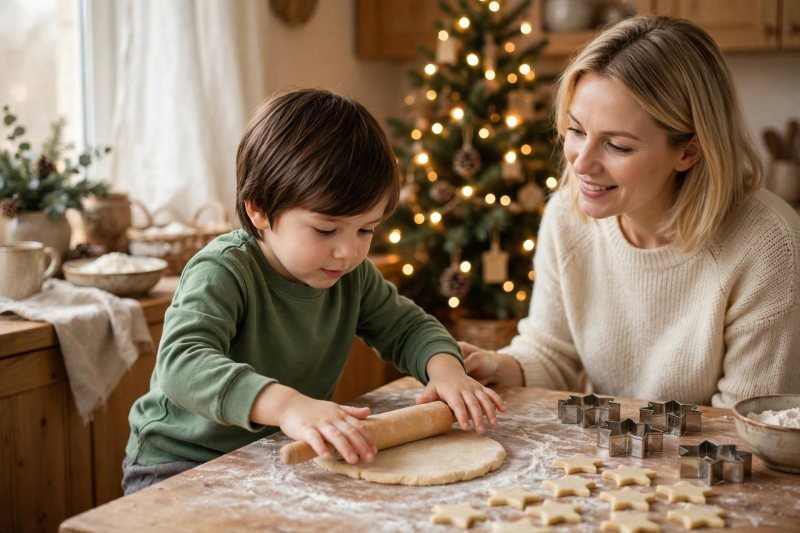
Roll and cut the dough shapes. Dust the table with flour, hand over the rolling pin, and show your child how to roll from the middle outward until the dough is about as thick as two stacked coins. Say: "Pick your favorite cutters — press straight down, wiggle a tiny bit, lift." Your child cuts stars, trees, and circles, and you help lift each shape onto the lined tray with a spatula. Poke a hanging hole near the top of every shape with a straw before baking. Tray full of shapes — an adult takes over for the heat.
-
Dry the shapes with adult help. An adult slides the tray into a low oven and sets a timer; your child watches through the closed door only if your oven door stays cool, otherwise they draw a gift tag while waiting. Say: "Heat is grown-up work — your job starts again when they are cool." Bake low and slow until the shapes feel hard and dry, then let them cool completely on the tray — warm dough crumbles and hot trays burn. While they cool, start the baubles so no one has to just wait. Shapes cooling — open the baubles.

-
Fill the clear baubles with color. Pop a bauble half open and set out pom-poms, tinsel, sequins, and beads in small dishes. Say: "You are the designer — fill it until it looks like a party inside." Your child pinches and drops fillings in, which is quiet, focused work just like these fine-motor activities for preschoolers build. Press the halves together firmly — an adult checks the seal — and tie a ribbon loop through the top. Shake it gently to hear and see the filling move. Bauble sparkling — back to the cooled dough shapes.

-
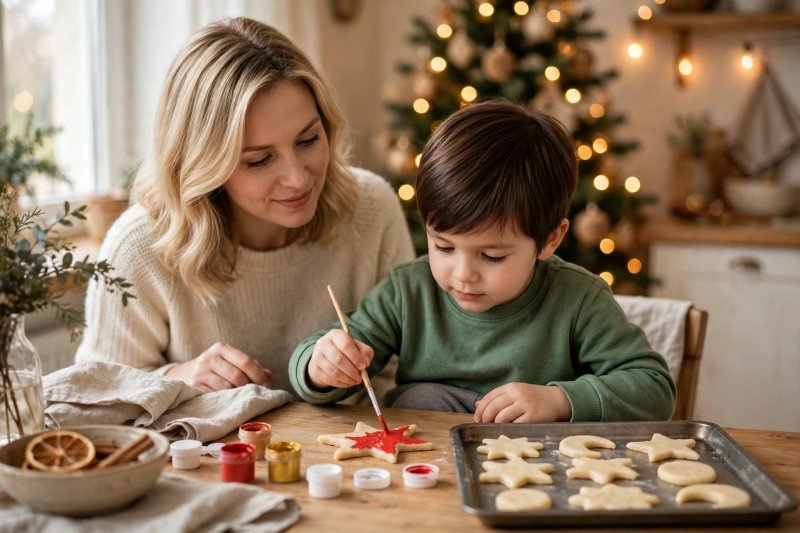
Paint the cooled dough ornaments. Set out washable paints and fine brushes over a covered tray. Say: "Paint the whole shape, edges too — these are yours, any colors you love." Your child paints each shape, trying stripes, dots, and color blocks; mixing a new shade on a saucer is a tiny science moment, much like color mixing activities for preschoolers explore. Lay painted ornaments flat on the drying tray and wash brushes while they set. Colors dry to the touch — they still need their strings.
-
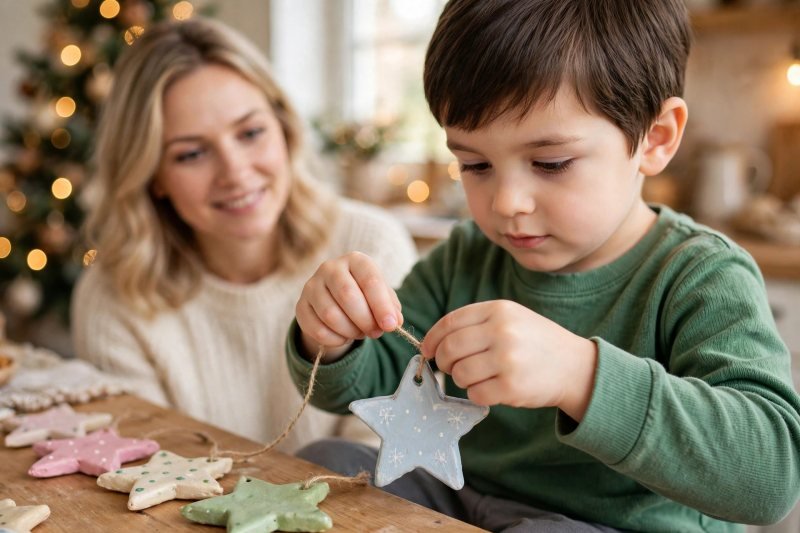
Thread string through the dough ornaments. Cut short lengths of string or ribbon and show your child how to push one end through the hole, pull it even, and tie or loop it — an adult ties secure knots for younger hands. Say: "Every ornament needs its hanger before it can live on the tree." Your child threads while you knot, and each finished ornament goes straight onto the waiting tray by the tree. Line them up and count them together: cutting, threading, and counting all in one calm step. Dough ornaments ready to hang — bring out the cardboard rolls.
-
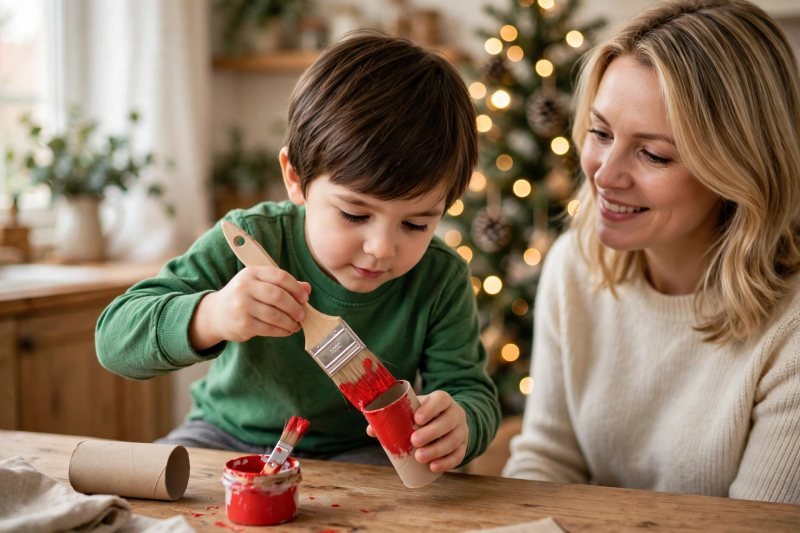
Make toilet-paper-roll bells. Flatten one end of a cardboard roll slightly and paint the whole roll in a bright color, inside the rim too. Say: "This plain roll is secretly a bell — paint will wake it up." Your child paints, rolls the brush around for full coverage, and stands the roll upright on the drying tray. Paint a second roll a different color while the first dries. A strip of ribbon glued around the top edge once dry makes the bell look finished. Bells painted — they need their rings and ribbons.
-
Add ribbons and jingle bells. Thread a ribbon through the top of each roll — an adult punches the two small holes — and tie a large jingle bell inside the roll so it hangs just below the rim. Say: "Shake it gently — does your bell sing?" Your child shakes, listens, and adjusts with you until the bell swings freely and rings clearly. These are big, safe bells, not tiny ones, and they stay tied in with a double knot. Bells ringing — everything is ready for the tree.

-
Hang every ornament on the tree. Carry the tray to the tree and hang ornaments one at a time: dough shapes on sturdy lower branches your child can reach, baubles where light shines through them, and bells where a passing sleeve will make them ring. Say: "You made every single one of these — which spot is best for your favorite?" Step back together, turn on the tree lights, and give the bells one last gentle shake. Tree decorated entirely by small hands — take the photo while the pride is fresh.



Make it easier
Buy ready-made plain wooden or ceramic ornaments and skip straight to painting and hanging. Fill baubles with big pom-poms only — easier to pinch, easier to clean up, nothing tiny to spill. Do one ornament type per day instead of all three in a single session.
Make it harder
Let your child press patterns into the dough with a fork, leaf, or lace before baking. Ask for a color plan — all ornaments in two family colors — and let them mix paints to match. Have them make one extra ornament as a gift and dictate the gift tag while you write it.
Other ways to play it
- Photo baubles: slip a small printed photo inside a clear bauble with the fillings for a family keepsake.
- Scented dough: add a little cinnamon to the dough for ornaments that smell like the holidays.
- Nature bells: paint rolls, then glue on a ring of tiny pinecone scales or leaves collected on a walk.
- More Christmas crafts: when the tree is full, 25 easy Christmas crafts for kids offer the next afternoon of making.
How it changes by age
- Ages 4–5: the sweet spot — most can stir, knead, cut, fill, thread, and paint with an adult managing heat and knots. Expect flour everywhere and ornaments with real character.
- Ages 3 and under: join for kneading, filling baubles with big pom-poms, and shaking finished bells; skip small sequins and beads, and keep them away from the oven entirely.
- Ages 6+: hand over the whole dough process except the oven, and let them design sets — matching baubles, patterned dough, and bells in family colors. For a salt-dough-only session, see salt dough Christmas ornaments.
What they're learning
Measuring and mixing: cups, halves, and splash-by-splash water show early math and cause-and-effect in real time. Fine motor control: kneading, pinching fillings, threading string, and brush work strengthen hands for writing. Patience and process: dough must dry and paint must set — good things take stages, not seconds. Pride and tradition: ornaments they made return to the tree every year, carrying the memory with them.
Clearing up
Brush flour into the bin before wiping the table, rinse brushes and bowls in warm soapy water, and gather leftover fillings with a slightly damp paper towel so nothing sparkly escapes. Store dried spare dough shapes flat in a box — they make instant gifts later. Wipe the tree-side tray and keep it: it becomes the ornament tray every year.
Questions parents ask
How do you make salt dough ornaments with kids?
How long do salt dough ornaments need to dry?
What can kids put inside fillable baubles?
Are homemade salt dough ornaments safe around young children and pets?
How do you make bells from toilet paper rolls?

save it for later
Pin this for the next rainy afternoon
Keep it on a board so it is there when you need it, rather than when you happened to find it.
Save to Pinterest

