


Build a Wormery: Worm Observation for Kids
How to make a wormery: kids layer sand and soil in stripes in a jar, add a few gentle earthworms, and watch them tunnel and eat dead leaves for a week or two.
Start with a large clear jar with an adult-poked vented lid. Layer damp garden soil and pale sand in stripes, tuck in torn dead leaves, sprinkle with water, and gently place two to four earthworms on top. Wrap the jar in a dark cloth, keep it in a cool, shady spot, and peek in daily. Return the worms to the garden after one to two weeks.

The short version
- Use a large clear jar with a vented lid — an adult pokes 6 to 8 air holes so the tunnels stay visible and the worms can breathe.
- Alternate layers of damp garden soil and pale sand, stopping about an inch below the rim.
- Add torn dead leaves for food and sprinkle water until the soil feels like a wrung-out sponge.
- Wrap the jar in a dark cloth — worms live in darkness and have no eyes or legs.
- Peek daily, keep the soil damp, and return the worms to the garden after one to two weeks.
- Age
- Ages 4–5
- Prep
- 20 min
- Play time
- 25 min
- Mess
- Low
- Difficulty
- Easy
- Where
- Both
Why kids love this
A wormery is a real peek at the world under their feet. Most kids have found a worm on the sidewalk and dropped it with a squeal — this turns that squeal into a two-week science story. The layers start out neat and stripey like a layer cake — then the worms tunnel through, mix everything up, and drag dead leaves underground. Watching stripes turn to swirls is weirdly thrilling when you are five.
What you'll need
- A large clear jar or container with a lid — at least a quart, so tunnels show
- A small hammer and nail, or a pushpin — adult use only, for air holes
- 4 to 5 cups garden soil from outside, 2 cups play sand, torn dead leaves, and a cup of water
- A dark cloth or towel and a rubber band, to wrap the jar
- A tray to work over, and hand soap for the wash-up
- 2 to 4 earthworms — dug gently after rain, or red wigglers from a garden center or bait shop
Before you start
1. **Pick your jar.** Wide and clear shows tunnels best, and the lid should rest on loosely so air reaches the holes you will poke. 2. **Gather soil a day ahead if you can.** Dig from a garden bed where the soil is loose and dark — skip potting mix with fertilizer pellets. 3. **Find worms the gentle way.** After rain is perfect: lift a stone, scoop under it with a trowel, and let your child spot the wiggling. Take only two to four — the rest stay in the garden. 4. **Set up a build tray outside.** Do all soil work over the tray on the porch or patio — it keeps the mess in one place.
How to do it
-
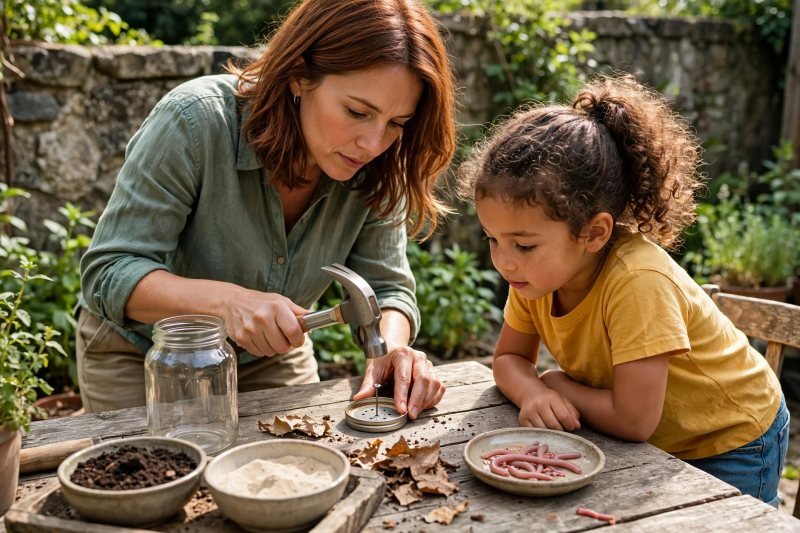
1. **Poke air holes in the lid.** This is the adult's job. Punch 6 to 8 small holes with the nail and hammer — earthworms breathe through their skin, and their skin needs moist air.
-
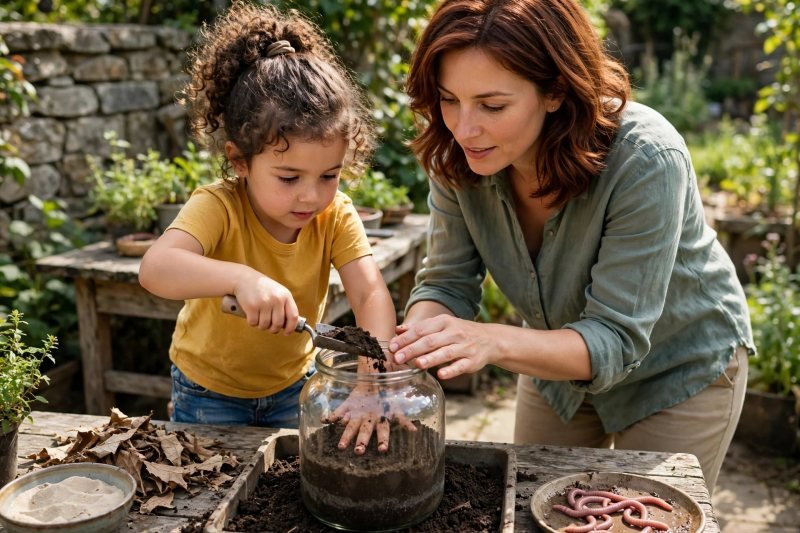
2. **Start with a layer of soil.** Your child scoops damp garden soil into the jar to about two inches deep, then pats it gently flat. This is the bottom of the worms' new world.
-
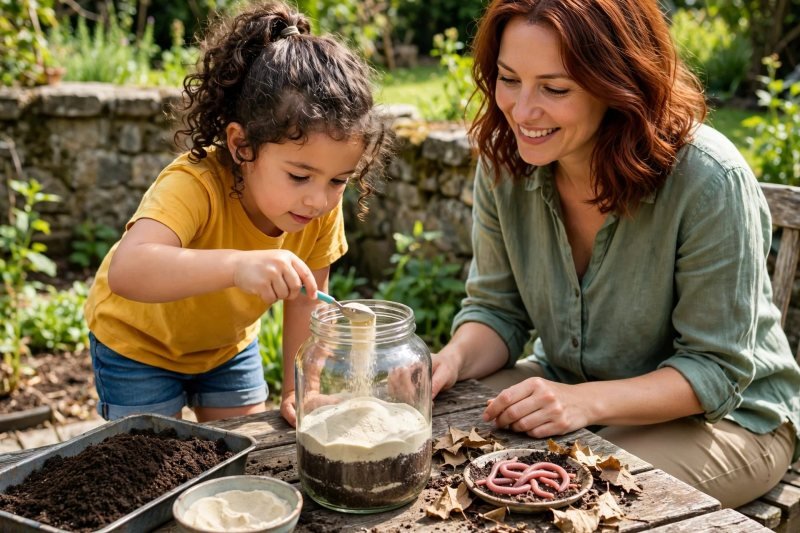
3. **Add a contrasting layer of sand.** A half-inch layer of pale sand goes over the soil. The light-and-dark stripes make every tunnel the worms dig visible — that is the whole point.
-
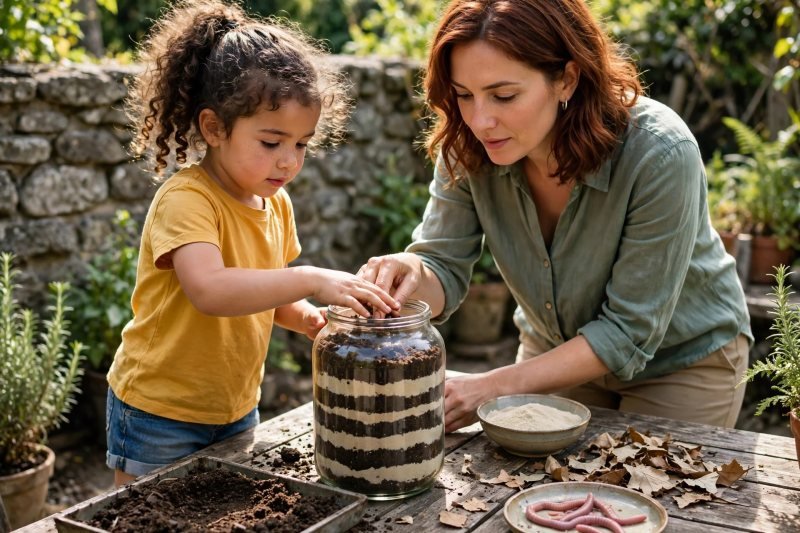
4. **Keep layering until the jar is nearly full.** Alternate soil and sand, with your child doing the scooping and smoothing. Stop about an inch below the rim.
-
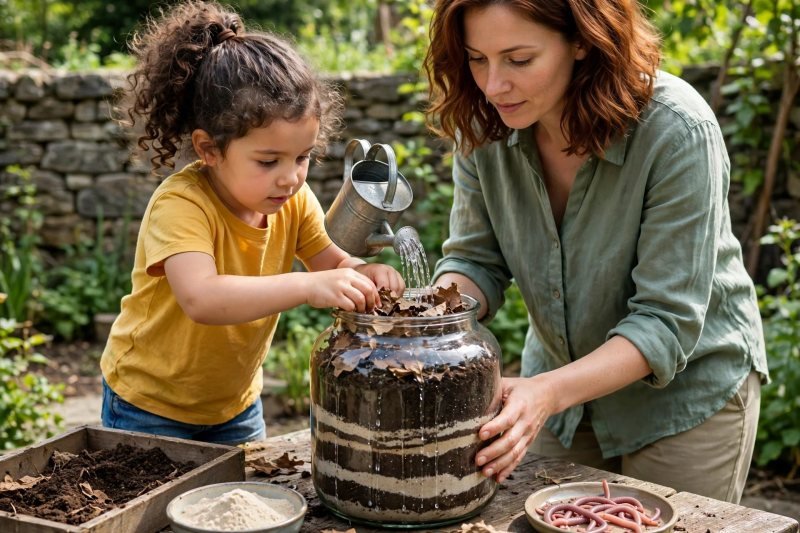
5. **Tuck in dead leaves and sprinkle with water.** Your child presses the torn leaves into the top layer, then drizzles the water over everything. The soil should feel like a wrung-out sponge: damp, not dripping.
-
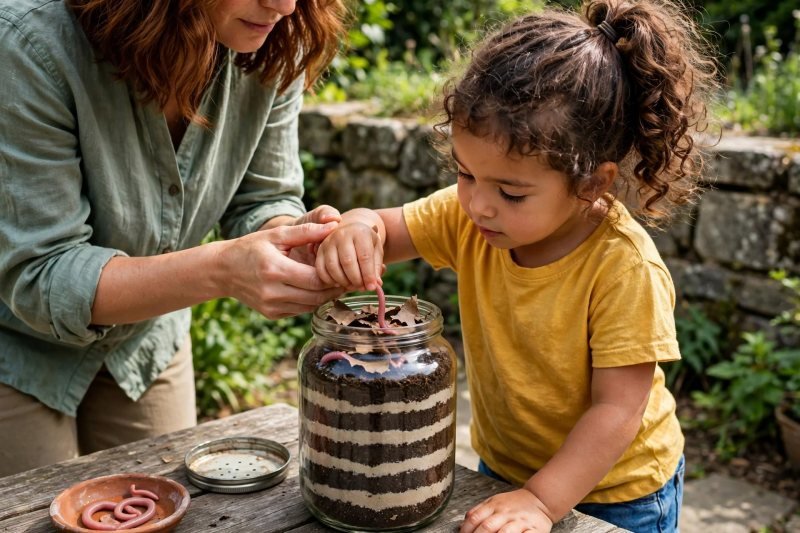
6. **Gently place the worms on top.** Lay each worm softly on the surface — no dropping, no pulling, no stretching. Earthworms have no legs, no eyes, and no bones, so every touch should be gentle. The worms will start burrowing on their own.
-
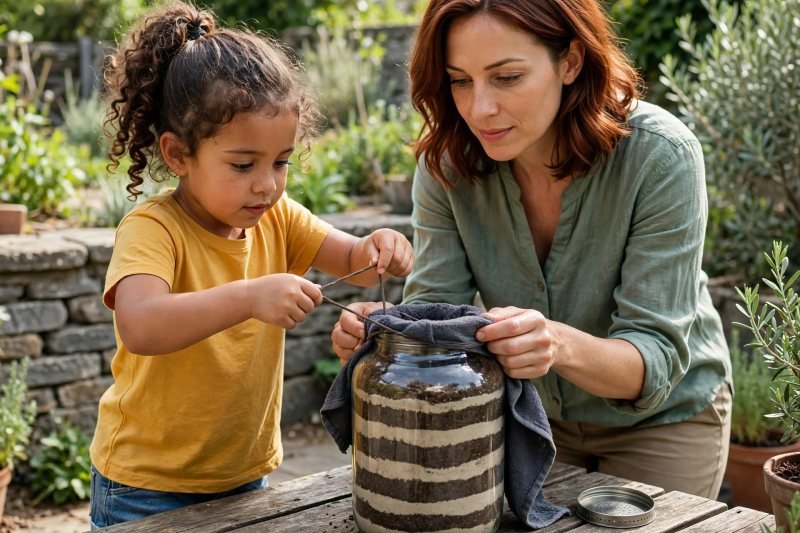
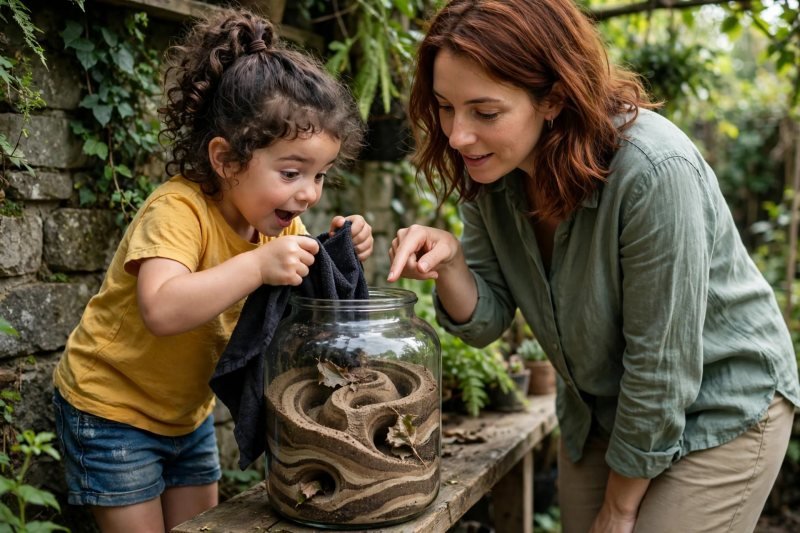
7. **Wrap the jar in the dark cloth.** Secure the towel or paper bag around the jar with the rubber band, vented lid resting on top. Worms live underground where it is dark, and since they have no eyes anyway, the dark cover makes them feel at home.
-
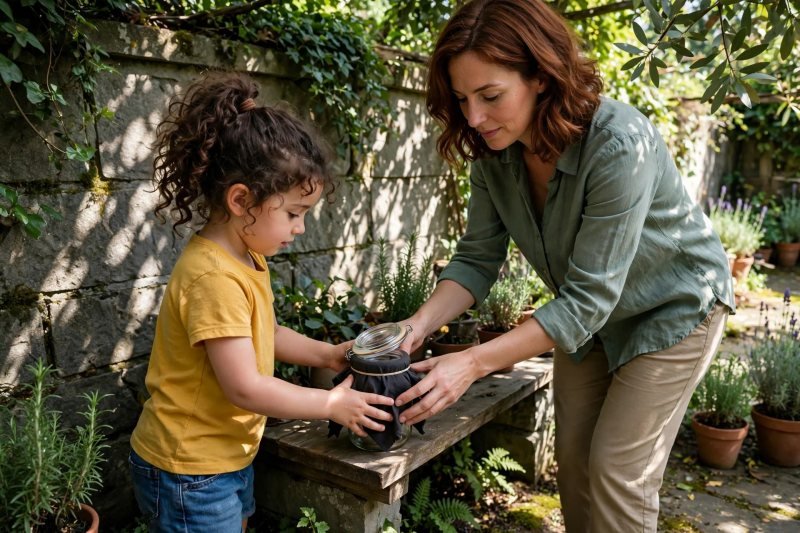
8. **Set the wormery in a cool, shady spot.** A garage shelf, basement step, or shaded porch works — anywhere cool and out of direct sun, which would heat the soil and hurt the worms.
-
9. **Observe a little each day.** Each morning, lift the cover and watch the stripes turn to swirls as tunnels appear. In the evening, lay a few fresh dead leaves on the surface — by morning they may be dragged underground, which is how worms eat.
-
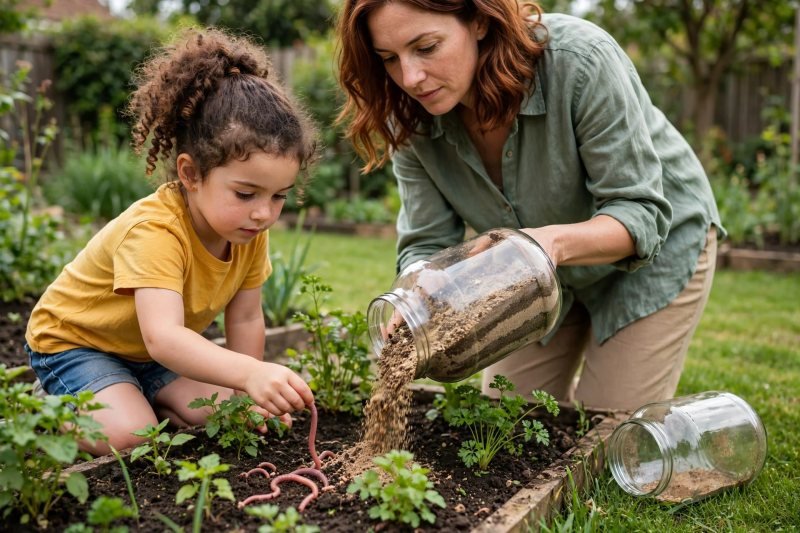
10. **After one to two weeks, return the worms to the garden.** Together, tip the soil into a garden bed and set the worms gently onto the earth where you found them. Saying goodbye matters — the worms were guests, and the garden is their home. Everyone washes hands well with soap afterward.


Make it easier
You do the soil scooping and hole-poking; your child handles the leaf tearing, worm placing, and daily checks. One jar and two worms are plenty — the tunnel show starts in a day or two either way.
Make it harder
Make one side of the jar's soil wetter and ask your child to predict where the worms will hang out. Each day they draw the tunnel map — where the worms are, where the leaves went. After a week, compare the prediction with the drawing.
Other ways to play it
- **Flashlight race in a dark room.** Unwrap the jar in a dark room, shine a flashlight at one end, and watch the worms inch toward the dark end — they avoid light. Time how long the slowest one takes.
- **Two-jar taste test.** Build a second wormery with dead leaves on one side and tiny apple or banana peel bits on the other; each day your child notes which food disappears first.
- **Garden connection day.** Pair it with [Bean in a Bag: Watch Seeds Sprout](https://brightplaydays.com/activities/bean-in-a-bag-seeds-sprout/) — then talk about how worm tunnels let air and water reach plant roots, which is why gardeners love worms.
How it changes by age
- Adult-led for 4–5-year-olds. Four-year-olds can scoop soil, tear leaves, place worms gently, and handle the daily peeks with supervision; the hole-poking, soil digging, and garden release need adult hands. Five-year-olds can build most of it and run the observation routine on their own.
What they're learning
Early life science, hands-on: living things have needs (darkness, damp soil, dead leaves), worms eat dead leaves, and their tunneling loosens and aerates the soil so air and water reach plant roots. Change happens slowly — tunnels appear over days, not minutes — and that slowness is the lesson: patience becomes part of the science. Your child practices gentle handling, sharpens observation ("the stripes are gone!"), and tries out simple predicting ("the worm will eat the leaf tonight"). The [butterfly life cycle](https://brightplaydays.com/activities/butterfly-life-cycle-preschoolers/) adds more outdoor observing.
Clearing up
Tip the layered soil into a garden bed (great for plants), rinse the jar and tray, and return the sand to the yard. Everyone washes hands one last time.
Questions parents ask
How do you make a wormery for kids?
What kind of worms should I use in a wormery?
What do worms eat in a wormery?
How long can you keep a wormery?
Why are my worms not digging into the soil?
Is it safe for children to handle worms?
Spring and fall are ideal — the garden is full of worms and cool air keeps the soil from drying out. If the soil looks dry, sprinkle on a little water; if the jar ever smells bad, the soil is too wet or the food is wrong — tip it into the garden and start fresh.


