


Build a Weather Station with Kids
A real weather station for kids is a backyard project worth a week of mornings: build a rain gauge, a wind sock, and a thermometer stand from household bits, then run the station together and record what the sky does.
To build a weather station for kids: an adult cuts the top off a clear plastic bottle and flips it as a funnel to make a rain gauge, taped with a centimeter scale. Add a painted fabric wind sock on a garden cane, a plastic thermometer hung in shade, and a weather journal. Take readings each morning for seven days, then review the week for patterns.

The short version
- - Four instruments from household bits: bottle rain gauge, fabric wind sock, plastic outdoor thermometer, and a weather journal.
- - An adult must do all cutting — scissors or craft knife on the bottle stays in adult hands; kids own everything else.
- - A full week of observations is the point: seven days of data shows real patterns; one day tells you nothing.
- - Readings happen at the same time each morning, at eye level, with the thermometer in shade for honest data.
- - Wind sock reads instantly: limp means calm, streaming horizontal means strong — visible from the kitchen window.
- - The rain gauge teaches real measurement: standard units, zero each day, and what "dry spell" means when nothing falls.
- Age
- Ages 6–8
- Prep
- 15 min
- Play time
- 60 min
- Mess
- Low
- Difficulty
- Easy
- Where
- Outdoor
Why kids love this
Six- to eight-year-olds adore being in charge of something real, and this makes them the household authority on weather. They build the instruments themselves, take readings every morning like a scientist, and after a week their journal holds real data with patterns to spot. The wind sock streaming in a gust and the rain gauge filling overnight keep them coming back.
What you'll need
- - 1 large clear plastic bottle (2-liter is ideal), rinsed and dried
- - Sturdy scissors or a craft knife (adult only)
- - Masking tape and a ruler
- - A strip of plain paper long enough to run down the bottle
- - Cardboard tube (paper-towel roll) or a rectangle of light fabric, about 40 cm square
- - Fabric paints or markers, ribbon or tissue-paper strips
- - Garden cane or long stick, string
- - Small plastic outdoor thermometer (alcohol type — never glass)
- - Terracotta pot with pebbles, or a fence post, to hold the rain gauge upright
- - Notebook, pencil, and colored pencils for the weather journal
Before you start
1. Lay everything out and pick the station's spot together: open sky above, no overhanging branches, flat ground, away from walls. 2. Fill the terracotta pot with pebbles so the rain gauge will stand upright and stable. 3. Agree on roles: the adult owns every cutting job; the child owns decorating, assembling, and all measuring.
How to do it
-
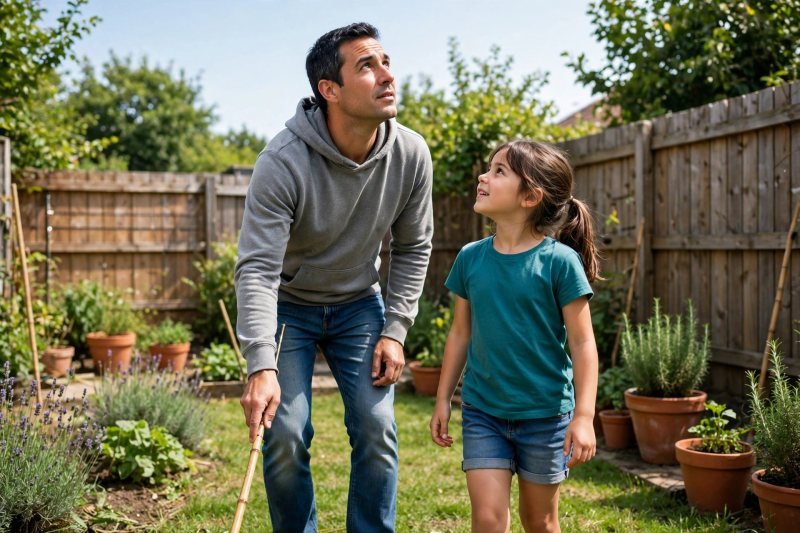
**Step 1 — Claim your station.** Walk the garden and choose the spot — open sky, no branches, flat ground. Lay the cane on the grass to mark it. All four instruments will live here.
-
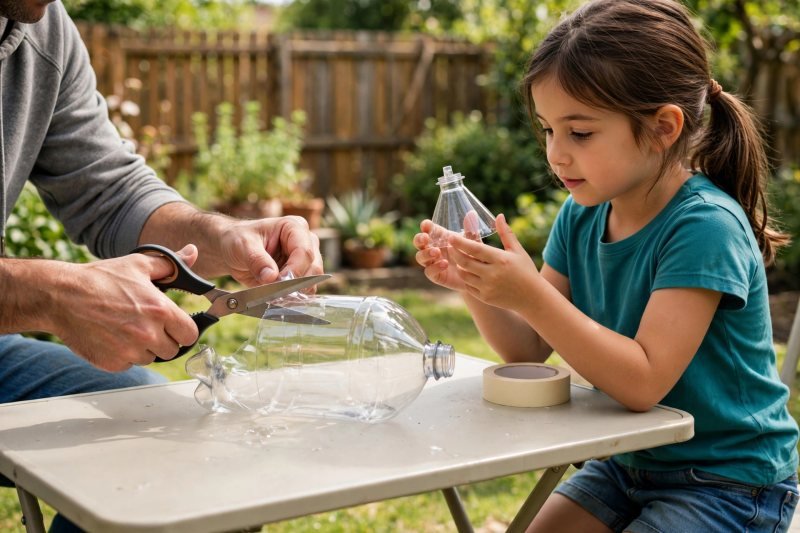
**Step 2 — Build the rain gauge (adult cuts).** The adult cuts the top quarter off the bottle and flips it upside down into the bottom half as a funnel. Smooth any sharp edge with tape.
-
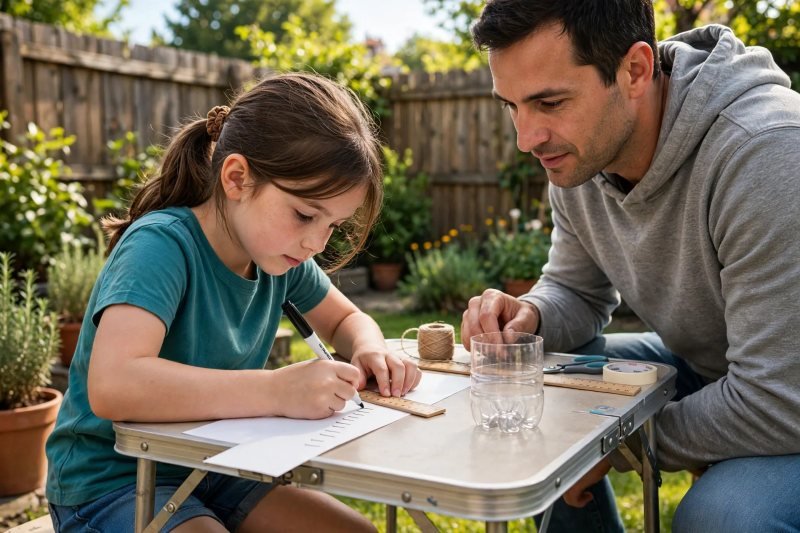
**Step 3 — Add the measuring scale.** Your child draws centimeter tick marks down the paper strip and tapes it inside the bottle, zero at the bottom. Straight sides and a level scale keep readings honest.
-
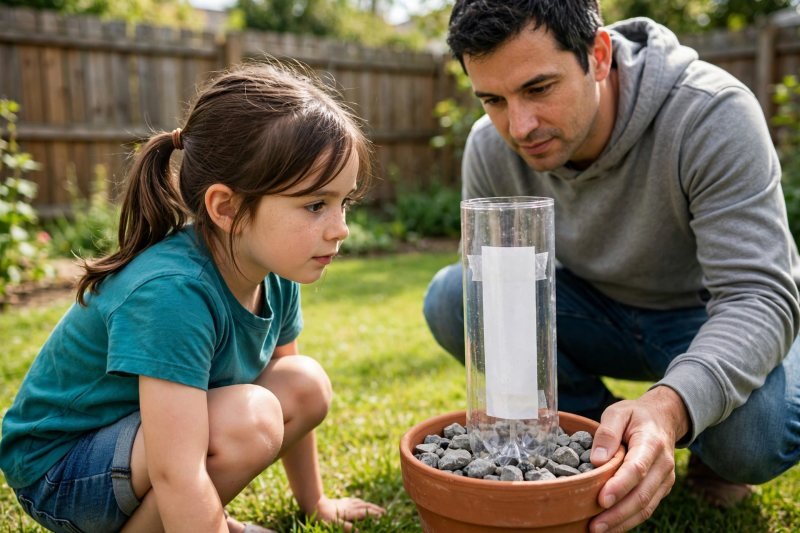
**Step 4 — Stand the rain gauge up.** Sink the bottle upright into the pebble pot, or tie it to the fence post. Crouch so your eyes are level with it — that is how every reading gets taken.
-
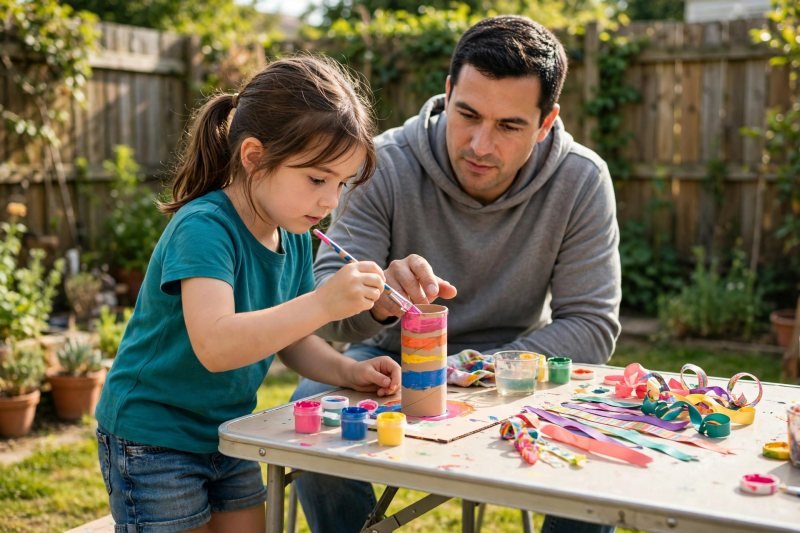
**Step 5 — Decorate the wind sock.** Paint bold stripes on the tube or fabric, then fix long ribbons to the narrow end. Bright colors make the wind easy to read from a window.
-
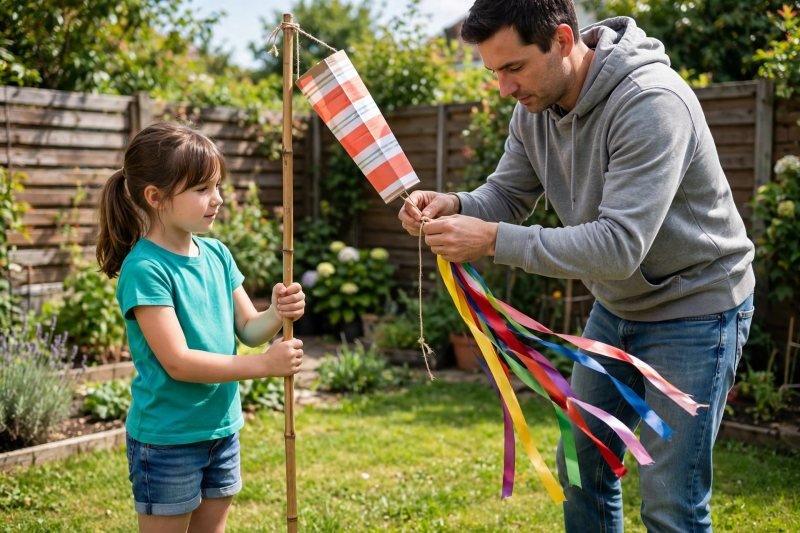
**Step 6 — Hang the wind sock.** Tie the wide end to the top of the cane with string loose enough to swing freely, then push the cane into the ground. Watch it catch the first breeze.
-
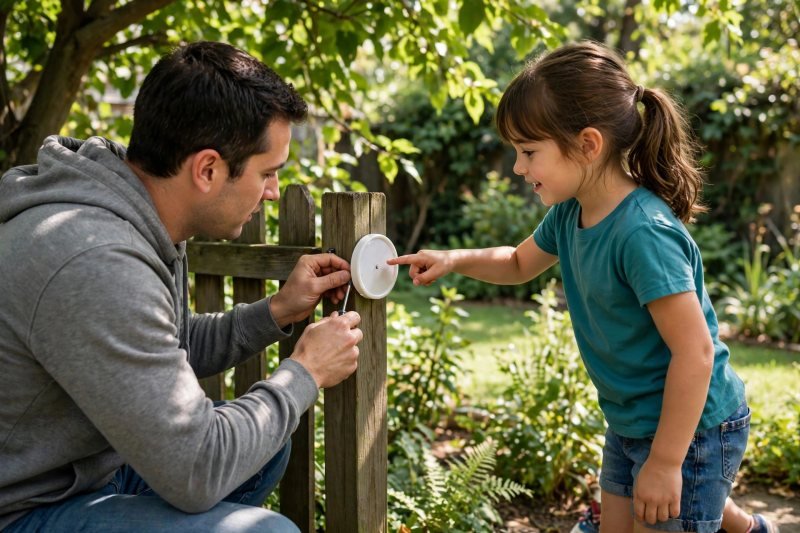
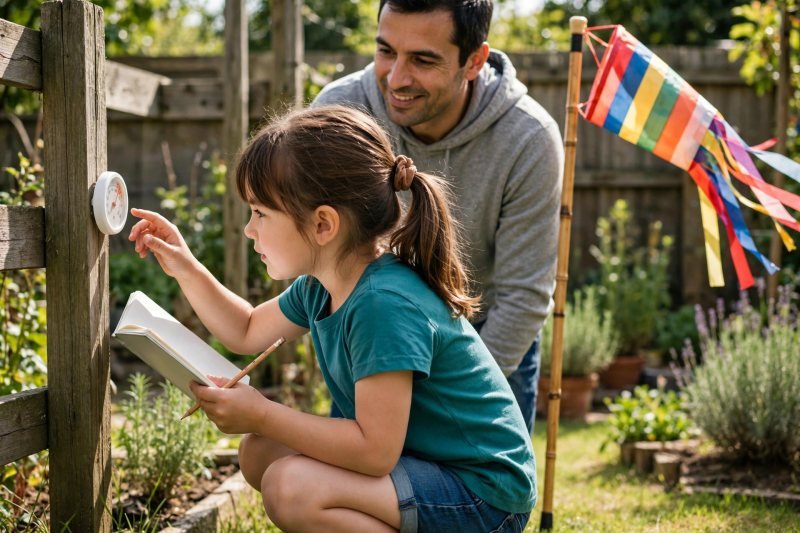
**Step 7 — Hang the thermometer in the shade.** Fix the plastic thermometer to a fence post or wall on the station's shaded side, about chest height. Direct sun gives false highs — shade is the rule.
-
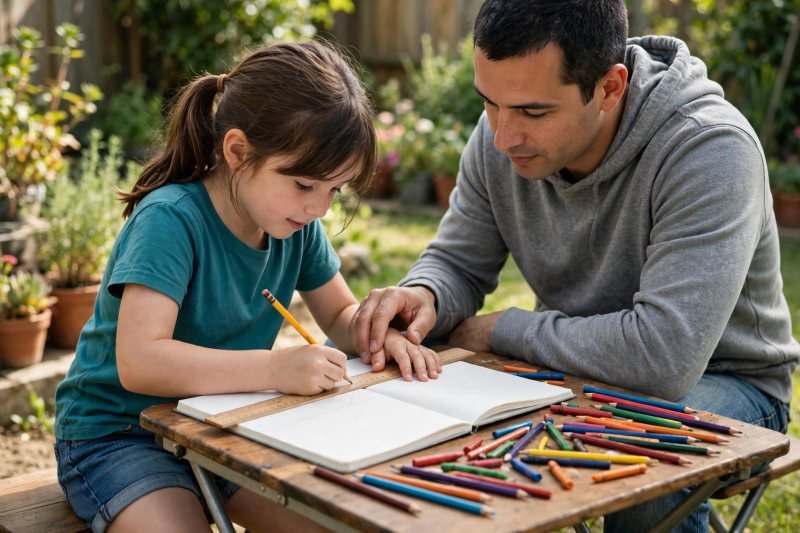
**Step 8 — Start the weather journal.** Your child rules up seven columns with rows for date, temperature, rainfall, wind, and sky, then decorates the cover. A real meteorologist's log — theirs.
-
**Step 9 — Take the first readings.** Read the thermometer at eye level, check the gauge (zero to start), note whether the sock hangs still or streams, describe the sky, and record it all. Repeat at the same time each morning.
-
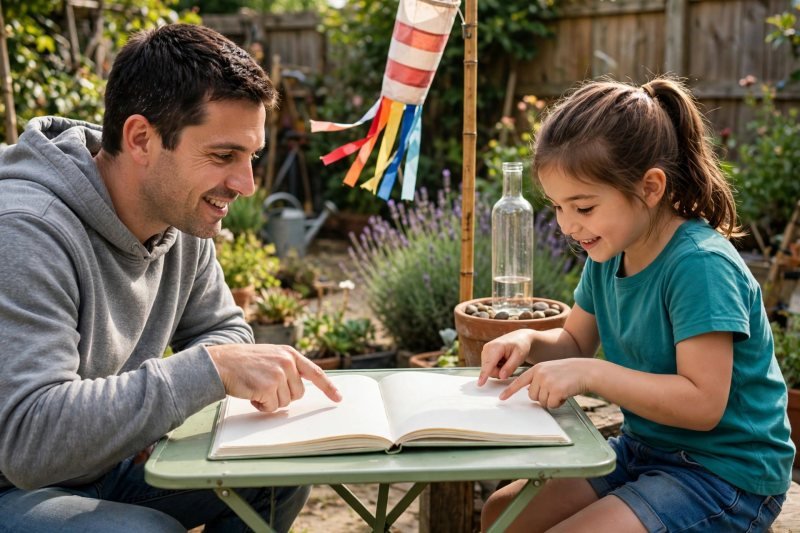
**Step 10 — Review the week.** After seven days, sit down with the journal: find the hottest, rainiest, and windiest days. Did rain and wind arrive together? That is their week's weather story.


Make it easier
- Skip the funnel flip: just use the bottom half of the bottle with the scale taped inside. It still catches rain honestly. - A paper-towel tube with tissue-paper strips makes a good wind sock with no painting and no drying time.
Make it harder
- Track wind direction: write the eight compass points in the journal and note where the sock points each morning, then look for patterns over the week. - Add a balloon barometer: stretch a balloon over a jar, tape a straw to it, and mark its position daily. Compare with the weather journal.
Other ways to play it
- - **Mini station:** shrink all four instruments onto a tray by a window — the rain gauge still works in any rain that reaches it.
- - **Weather words:** add a "word of the day" row — precipitation, humidity, gust — and use it in a sentence at breakfast.
- - **Neighborhood network:** a friend builds the same station; at week's end compare journals and see how the same storm landed in two places.
How it changes by age
- Sixes can decorate, tape the scale, and read the thermometer with numbers narrated; the adult owns all cutting and the funnel flip. Sevens can run the whole daily routine solo and record in their own words. Eights can spot patterns, draw the end-of-week conclusions, and design their own additions like the barometer. Younger children can enjoy the wind sock as a craft, but the journal routine suits 6 and up — for ages 3–5, our [bean in a bag seed sprouting experiment](/activities/bean-in-a-bag-seeds-sprout/) offers a gentler daily observation to record.
What they're learning
- **How measurement works:** standard units (centimeters), reading at eye level, and keeping conditions consistent — shade for the thermometer, same time each morning. - **How wind works:** the sock turns invisible air movement into something visible and recordable — direction plus strength. - **Patterns over time:** seven days of records is the first time most children see data turn into a story — hot days clustering, temperature dipping ahead of rain. - **Fair-test thinking:** consistent timing and honest conditions are the beginning of real scientific method.
Clearing up
- **A week of observations is the point.** One day tells you nothing; seven days gives real data with findable patterns. Say this plainly at the start so daily check-ins feel like progress. - **No rain all week?** Still data. A week of zeros teaches "dry spell" and makes the first rainy reading thrilling. Never skip a dry day's entry. - **Readings look wrong?** Usually the gauge is leaning or the thermometer is in sun. Stand the gauge upright, move the thermometer to shade, and carry on. - **Wind sock tangled?** Ribbons snag after storms. Untangle together and log the weather that did it — that storm earned its journal entry.
Questions parents ask
What is a weather station for kids?
How do you make a rain gauge for a kids weather station?
How does a wind sock work for kids?
What do kids learn from a weather station?
How long should kids observe the weather?
Is a DIY weather station safe for kids?
Pairs well with nature learning: our [butterfly life cycle activities](/activities/butterfly-life-cycle-preschoolers/) give younger siblings a matching week of living observations, and [cress heads in eggshells](/activities/cress-heads-in-eggshells/) gives them another living thing to watch change day by day. Keep the station up after the week — many children keep reading the gauge for months.
