


Best Toddler Snow Boots: What to Look For and How to Test Them
The best toddler snow boots aren't a brand — they're a checklist: warm for your winters, genuinely waterproof, easy to pull on, and grippy enough for icy steps. This guide gives you the four criteria and the hands-on tests, from foot tracing to a real snow trial.
The best toddler snow boots meet four criteria: warmth matched to your winters, genuine waterproofing, closures a parent can work one-handed, and a grippy flexible sole. Measure both feet from a tracing, leave about a thumb's width of toe room, then prove the pair with a walk test and a 15-minute snow trial before you commit.

The short version
- "Best" is a checklist, not a brand: warm, waterproof, easy-on, grippy — a boot must pass all four.
- Trace both feet in winter socks and fit the bigger foot; shop the tracing, not the size number.
- About a thumb's width (~half an inch) of toe room is the target — less pinches, more trips.
- Test at home: sprinkle test for waterproofing, bend test for the sole, walk-stomp-climb-kick for the toddler's verdict.
- A 15-minute real-snow trial with a toe check afterward is the final, honest review.
- Dry boots after every outing (liners out, newspaper in) or tomorrow's feet start cold and damp.
- Age
- Ages 2–3
- Prep
- 5 min
- Play time
- 25 min
- Mess
- Low
- Difficulty
- Easy
- Where
- Indoor
Why kids love this
Toddlers don't read reviews; they vote with their feet. Boots chosen with this guide's tests pull on without a wrestling match, stay on through stomps, grip the icy step, and come home with warm toes inside — which means the snow play lasts longer and the "carry me" starts later.
What you'll need
- A sheet of paper and a crayon for foot tracings
- The winter socks your child will actually wear (wool-blend is ideal)
- 2–3 candidate boot pairs, tags on, receipts kept
- A small cup of water for the sprinkle test
- A low step or sturdy box for the climb test
- A timer or clock for the 15-minute snow trial
- Newspaper or old towels for the drying routine
Before you start
1. Fit boots in the afternoon or after a walk — little feet swell during the day, and morning fits lie. 2. Always test in the real winter socks; sock thickness changes the size answer. 3. Keep expectations honest: at this age, "best" means best for YOUR winters, your child's feet, and your sanity at the door. 4. Trace both feet first (step 2) so you shop the tracing, not the shoe-size number.
How to do it
-
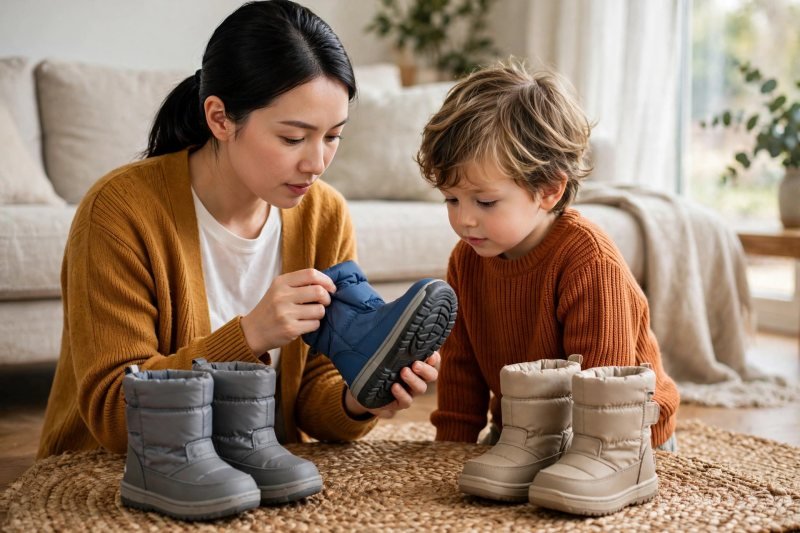
Start with the four things "best" actually means. Every roundup and recommendation collapses into four criteria: warmth matched to your winters, genuine waterproofing for slush, easy on-and-off a tired parent can manage one-handed, and a grippy sole for icy steps. Say: "Warm, dry, easy, grippy — that's our list." A boot that wins three and fails one will fail you daily on the one — beautiful boots a toddler can't walk in are decorations. Keep the four criteria in front of you through every step that follows; each test below maps to one of them. List in mind, the measuring tape comes out.
-
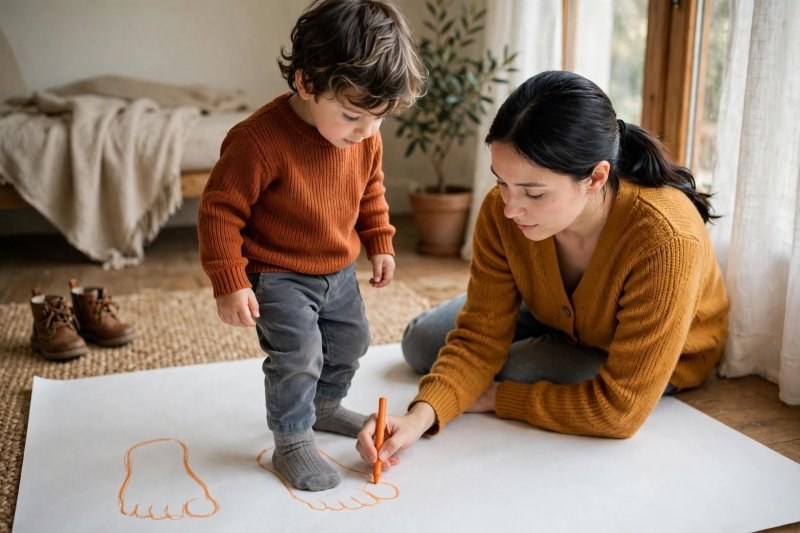
Measure both feet — and shop the bigger one. Stand your toddler, in winter socks, on a sheet of paper and trace each foot with the crayon held upright; measure heel to longest toe on the paper. Say: "Two feet, two numbers — we dress the bigger one." Most toddlers have one foot slightly larger, and boots fitted to the smaller foot pinch the bigger one all winter. Do this in the afternoon when feet are at their daily largest. Compare the tracing against each boot by sliding it inside or holding it against the insole if it removes — the tracing is the truth the size number only approximates. Feet measured, the fit rule that matters most is the gap at the front.
-
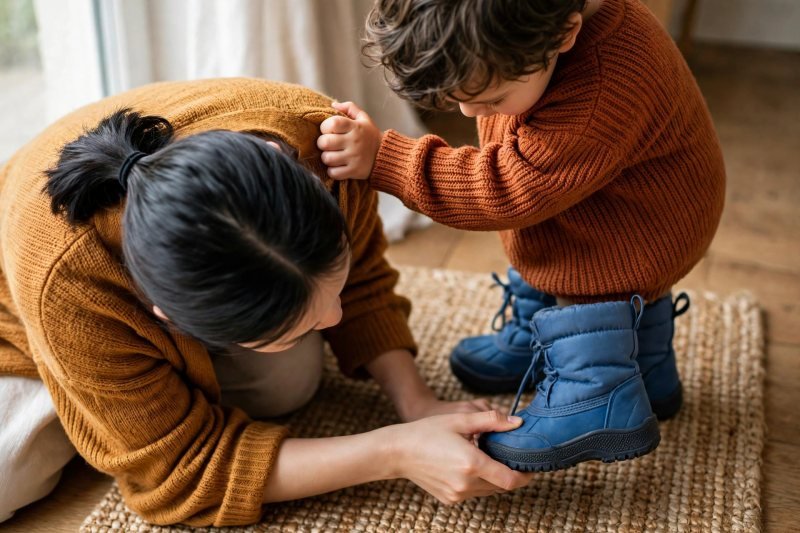
Leave a thumb's width of room — no more, no less. With boots on and your toddler standing (weight spreads the foot), press the front of the boot: you want about a thumb's width of space ahead of the longest toe — roughly half an inch. Say: "Room to wiggle, not room to swim." Less than that and toes jam cold against the front with every step; much more and the foot slides, rubs, and trips its owner. Then watch them walk: the heel should stay mostly seated, not clomping out with each step. If the length is right but the boot squeezes across the toes or the instep, the width is the problem, not the size — try a boot with a wider, rounder toe shape rather than sizing up and adding length your toddler will trip over. Space judged, warmth is the next criterion — and it's about matching, not maximum.
-
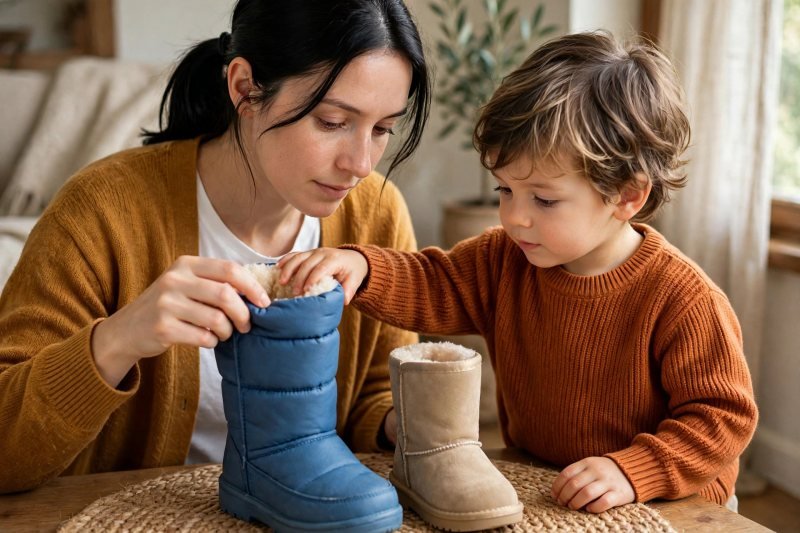
Match the insulation to your real winters. More insulation is not automatically better: a heavily insulated boot in a mild, slushy climate makes sweaty feet, and damp feet get cold faster than dry ones. Say: "Warm enough for OUR snow, not Alaska's." For deep-winter cold, look for thick insulation or a removable liner you can dry overnight; for milder winters, a lighter waterproof boot over good wool-blend socks is the smarter system. Press the boot's shaft between your fingers — you can feel the difference between a shell with a whisper of padding and a genuinely insulated boot. Warmth matched, the slush test decides the next criterion.
-
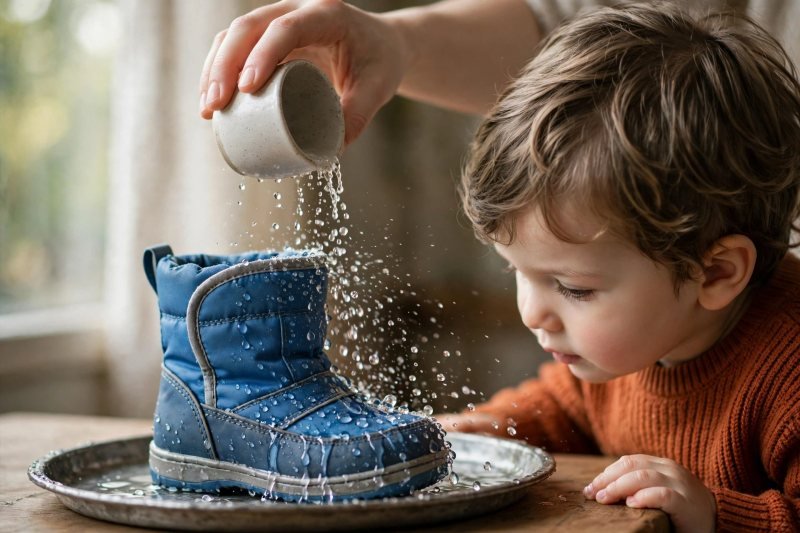
Test waterproofing like you mean it. Sprinkle water over the boot's toe and seams and watch: on a truly waterproof build, water beads and rolls off the lower boot and no moisture wicks through stitched seams near the sole. Say: "Slush is just winter water — let's see it bounce off." Rubber or molded lower shells shrug off puddles entirely; all-fabric boots need their waterproofing to be real, not a marketing word, so check that seams are sealed and the tongue is gusseted (attached at the sides so meltwater can't pour in). Any boot that dampens through in the sprinkle test will drown in February slush. Water judged — now the door test, the one you'll repeat twice a day.
-
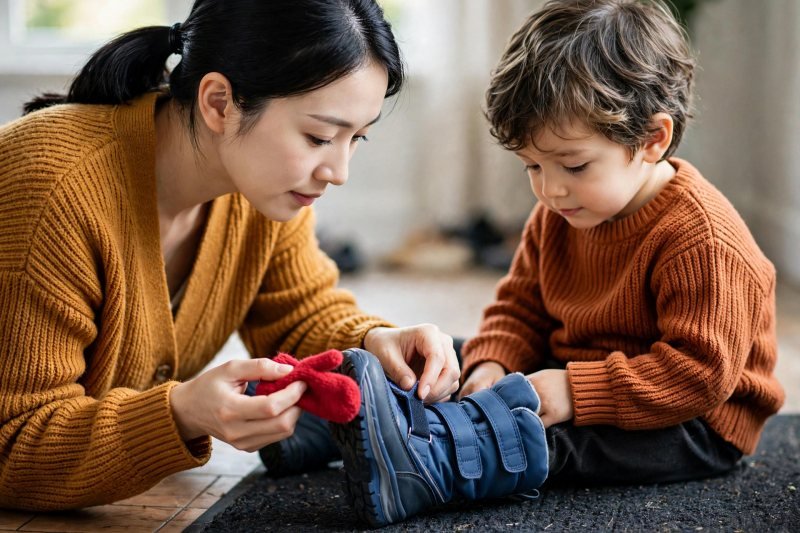
Choose closures that survive the doorway. The best closure is the one that works at 8 a.m. with mittens on your hands and a wriggler on the floor: wide hook-and-loop straps and generous pull loops win for this age; long laces lose. Say: "If I can't open it with cold fingers, it fails." Pull the boot on and off three times yourself — it should slide on with a firm push and stay put through a good shake of the leg. Then let your toddler stomp: straps that pop open under stomping will pop open in a snowbank, and a lost boot in deep snow is a cold emergency, not an inconvenience. Closures passed — the sole gets its turn.
-
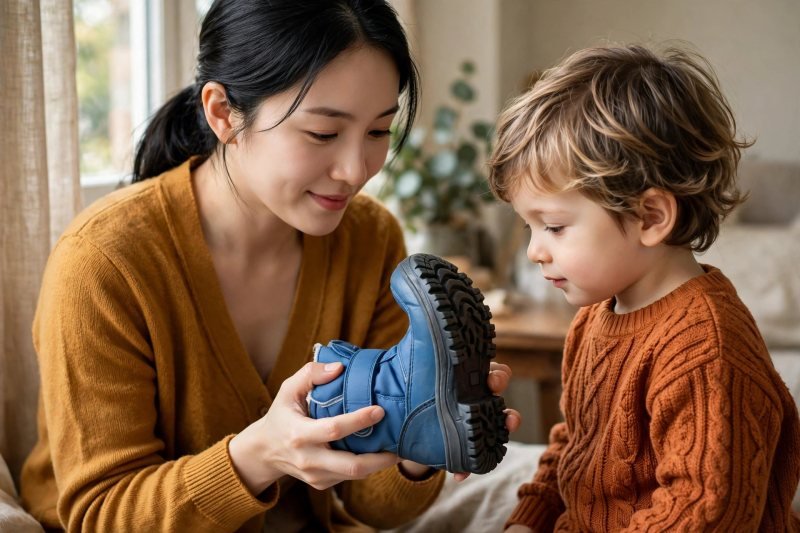
Bend and twist the sole before you trust it. Grip the boot and bend the toe upward: a toddler sole should flex at the ball of the foot — a completely rigid sole makes new walkers clomp and tire. Say: "Bendy for walking, grippy for ice." Flip it over and run your thumb across the tread: deep, chunky lugs grip snow; smooth or shallow tread skates on it. Twist gently — a little torsional give is normal; a boot that twists like a rag has no support for wobbly ankles on uneven snow. Sole approved, it's time for the only review that matters: your toddler's.
-
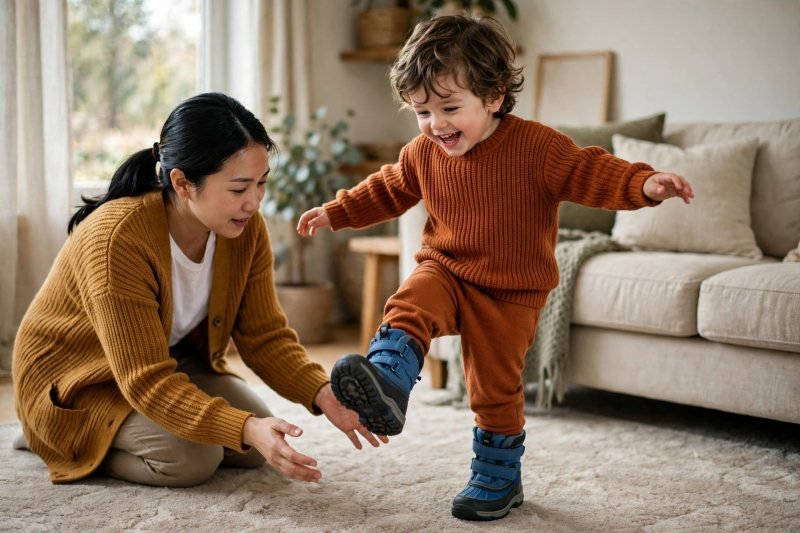
Run the walk test: stroll, stomp, climb, kick. Boots on, socks real, let your toddler walk the room, stomp in place, climb the low step, and kick a soft ball. Say: "Show me your snow moves!" Watch for the tells: shuffling instead of stepping means too heavy or too stiff; tripping means too long; stopping to sit and pull at a boot means something pinches — believe the behavior, not the size chart. This two-minute test predicts the whole winter more honestly than any star rating, because it is the winter, rehearsed. Behavior green-lit, one honest trial remains: real cold.
-
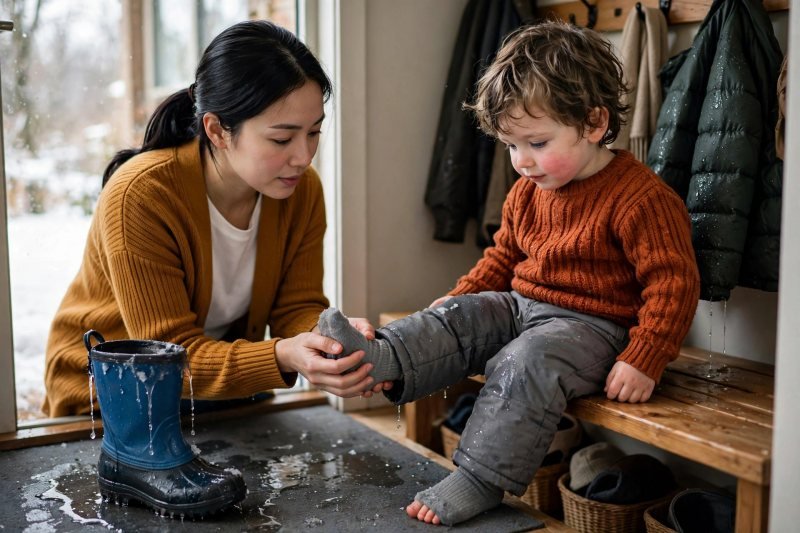
Trial them in real snow for fifteen minutes. On the first snowy day, head out for fifteen minutes of genuine play — or run the same trial with a basin of snow on the step, or borrow ideas from indoor snow and ice play — then come in and check immediately: toes should feel warm or neutral, never cold or painful, and socks should be dry. Say: "Fifteen minutes tells the truth." Cold toes with dry socks mean the warmth match is wrong; damp socks mean waterproofing or sweat is the culprit — now you know which criterion to re-shop while returns are still possible. Keep the tags and receipt until after this trial: a boot that leaks at a seam on its first real outing has failed its own test, whatever the label promised. Warm, dry toes mean you've found them: these are the best toddler snow boots for your child, whatever any list says. Last step: making them last.
-
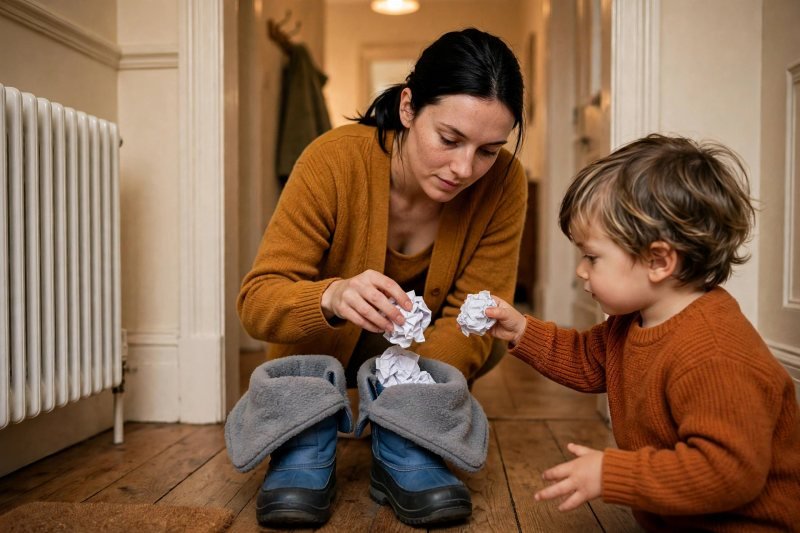
Dry and store them like gear, not shoes. After every outing, pull liners or insoles out and stand the boots open near (not on) a heat source with newspaper loosely stuffed inside — they'll be dry by morning and won't grow the dreaded swamp smell. Say: "Boots sleep with their mouths open." Never seal wet boots in a bin; check tread and straps monthly for wear; and when the season ends, wash off the grit, dry fully, and store stuffed with paper to hold their shape. Toddler boots outgrow fast but wear slow — a cared-for pair is next winter's hand-me-down or the easiest resale on your street.


Make it easier
Shop from the tracing at home and order two sizes of one boot — return the loser; parked-car fittings beat store meltdowns. One great system beats three mediocre pairs: boots + wool-blend socks + the drying routine is the whole program. Buy the boots before the first snow forecast stampede — sizes vanish exactly when the weather turns.
Make it harder
Let your toddler run the stomp test verdict with thumbs up/down per pair — their buy-in speeds up every future doorway. Pair the boots with the full dressing sequence in our winter hub: boots go on LAST, after bibs and mittens, every time. Start a growth chart inside the closet door: trace feet monthly and you'll never be ambushed by a growth spurt mid-season. Turn the snow trial into a longer outing with our winter activities for kids — the same boots, the same drying routine, a bigger adventure.
Other ways to play it
- Deep-winter version: tall insulated boots with removable liners, sized with the thickest socks — the sub-zero configuration.
- Mild slush version: lighter waterproof boots, less insulation, more breathability — built for puddle season, not polar season.
- New-walker version: the lightest, most flexible pair you can find with a low profile — early walkers need to feel the ground through the boot.
How it changes by age
- Ages 1–2: prioritize light and flexible over warm and tall; brand-new walkers do best in the shortest snow sessions, and many families start with a soft waterproof bootie for stroller-and-carry snow time.
- Ages 2–3: this guide's home turf. Full criteria apply; the walk test is the decider, and closures should start becoming something your toddler can help with. Coordinate the boots with the outfit system in our toddler winter outfits for ages 2–3 guide.
- Ages 3–5: the same four criteria scale up; kids this age can report pinch points accurately, so interview them after the trial. Outfit coordination lives in our preschool winter outfits guide.
What they're learning
For more hands-on ideas in the same spirit, browse the learning activities hub. Measurement and comparison: foot tracings and thumb-widths make abstract sizing physical and personal. Evidence over advertising: the walk test teaches that trying beats trusting — a lifelong consumer skill. Body feedback literacy: reporting cold toes and pinches builds the habit of listening to their own body. Gear care: the drying routine is early responsibility with a visible payoff tomorrow morning.
Clearing up
Boots come off at the door onto the mat, liners out, newspaper in, standing open in their drying spot — thirty seconds that save the pair. Socks go straight to the laundry (damp wool hides in boot toes if you let it). Return-rejects go back in their box by the door before they wander into the closet and become permanent. Keep the foot tracings in the junk drawer; the next pair starts from them.
Questions parents ask
What are the best snow boots for toddlers?
How much room should toddler snow boots have?
Should toddler snow boots be waterproof or water-resistant?
How do I keep my toddler's feet warm in snow boots?
Can toddlers wear snow boots all day?

save it for later
Pin this for the next rainy afternoon
Keep it on a board so it is there when you need it, rather than when you happened to find it.
Save to Pinterest


