


Parts of a Seed for Kids: The Bean Root Observation Jar
Press soaked beans against the glass of a damp-towel jar and watch roots grow — root hairs, the root cap, and roots that always find down.
To make a bean root observation jar, line a clear jar with damp paper towels, tuck 3–4 soaked lima beans between the towel and the glass, and set it on a warm windowsill. In 1–2 days the seed coats split and the first root appears; by day 5–7 kids can spot root hairs, the root cap, and roots bending downward after a sideways tip.

The short version
- A clear jar, damp towels, and beans pressed to the glass turn the hidden half of a plant into a daily show for ages 6–8.
- Soak lima beans 2–4 hours; keep towels damp like a wrung-out sponge; park the jar on a warm windowsill.
- Seed coat splits days 1–2 (radicle emerges); root hairs and root cap show with a magnifier by days 3–4; side roots and shoot by days 5–7.
- Tipping the jar sideways overnight proves gravitropism: the root tip curves back downward by morning.
- Measuring, drawing, and dating each entry turn waiting into real scientific practice.
- Age
- Ages 6–8
- Prep
- 15 min
- Play time
- 15 min
- Mess
- Low
- Difficulty
- Easy
- Where
- Indoor
Why kids love this
Learning the parts of a seed for kids usually means a diagram — seed coat, embryo, cotyledon, done. This jar makes it live. Your child presses a soaked bean against clear glass, and over the next week the bean performs: the coat swells and splits, a white root tip noses out, root hairs spread like frost. Then the showstopper — tipping the jar sideways overnight and finding the root curved back downward by morning. At 6–8, kids are ready for the real science: daily check-ins, magnifying-glass hunts, ruler measurements, dated drawings.
What you'll need
- 1 large clear glass jar (a quart mason jar is ideal) or sturdy clear cup
- 3–4 dried lima beans (or broad/fava beans)
- 3–4 paper towels, small bowl, room-temperature water
- Magnifying glass, ruler, notebook, crayons or colored pencils
- A warm, bright windowsill; a small pot and potting soil for the final step
Before you start
Soak the beans in room-temperature water for 2–4 hours, or overnight. Pick a warm, bright spot for the jar; avoid blazing afternoon sun. Keep loose beans away from under-3s.
How to do it
-
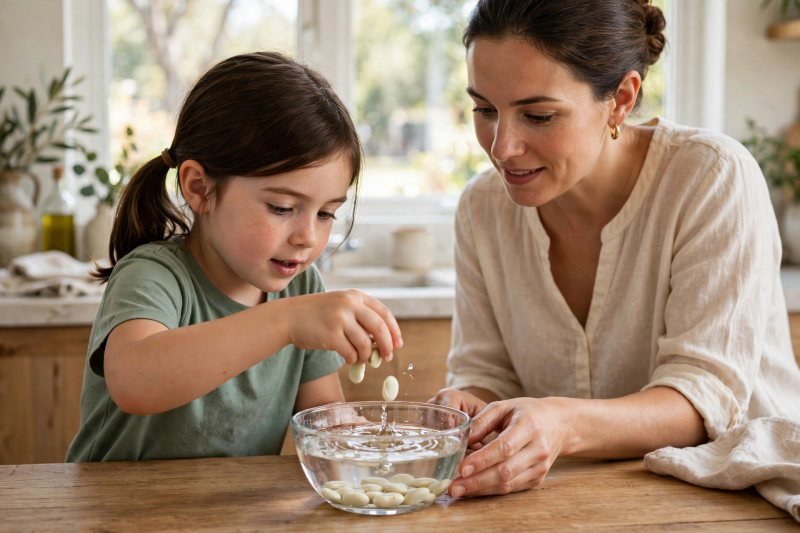
1. **Soak the beans.** Drop 3–4 dried lima beans into room-temperature water for 2–4 hours (overnight is best). They swell as the seed coat drinks in water.
-
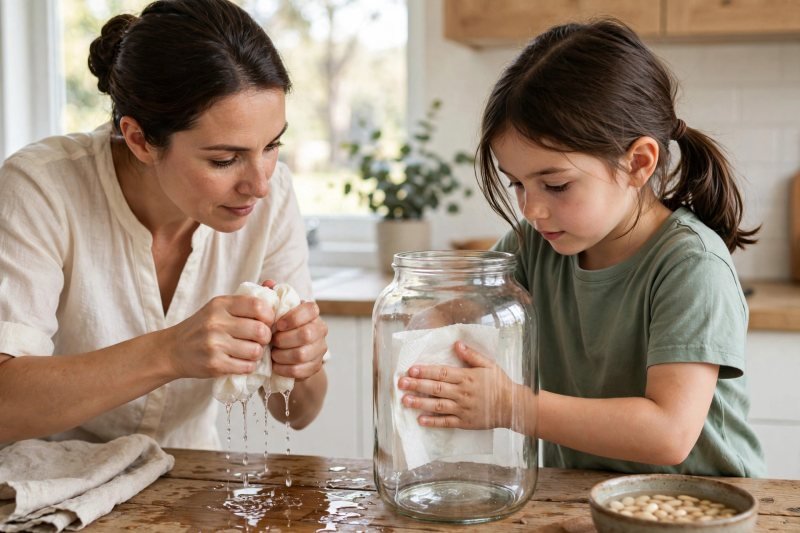
2. **Line the jar with damp towels.** Fold two paper towels into a band, wet it, wring until damp but not dripping, and press flat against the jar's inside wall.
-
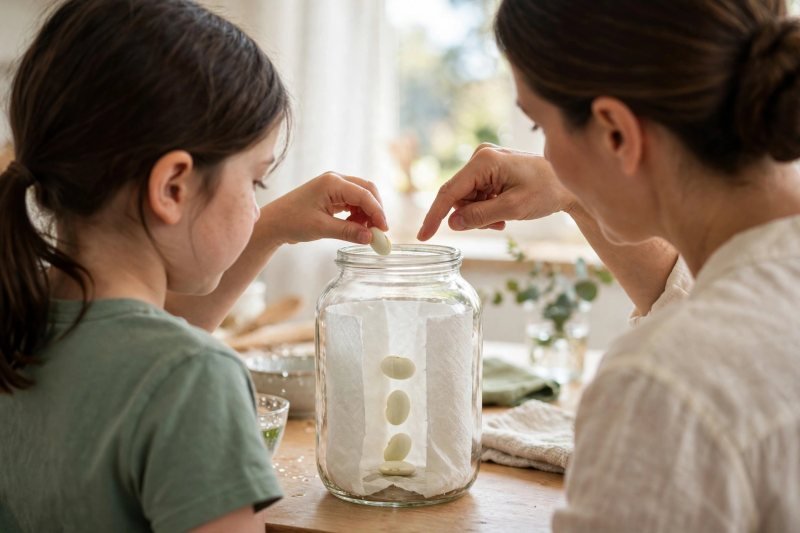
3. **Tuck the beans against the glass.** Slide the soaked beans between towel and glass, halfway down, a finger-width apart.
-
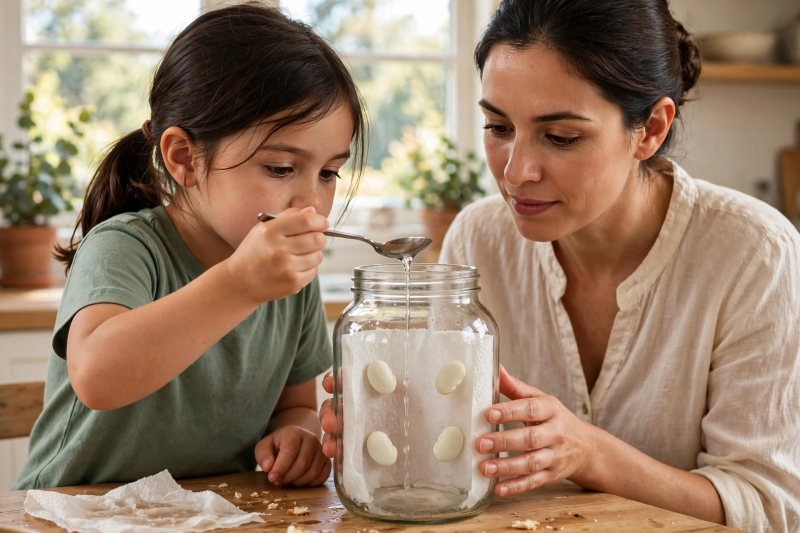
4. **Water lightly.** Add a few spoonfuls of water — towels should feel like a wrung-out sponge, never a puddle.
-
5. **Set the jar on a warm windowsill.** Pick a warm, bright spot your child can reach for daily check-ins.

-
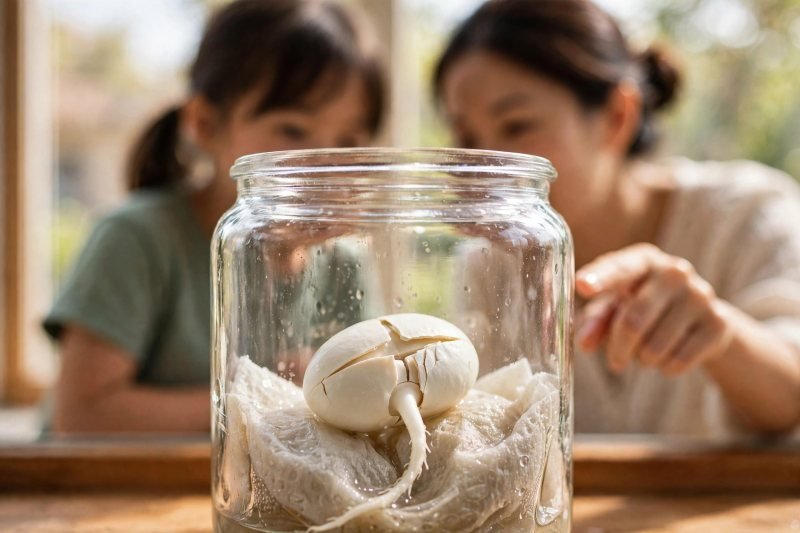
6. **Days 1–2: watch the seed coat split.** Check each morning: the bean swells, the coat splits, and a smooth white tip — the first root (radicle) — pushes out. Name the parts of a seed: seed coat, two fat cotyledons (the seed's packed lunch), and the tiny embryo.
-
7. **Days 3–4: hunt root hairs and the root cap.** Hold the magnifier to the glass: a smooth protective cap on the tip, and hair-thin white threads — root hairs soaking up water.

-
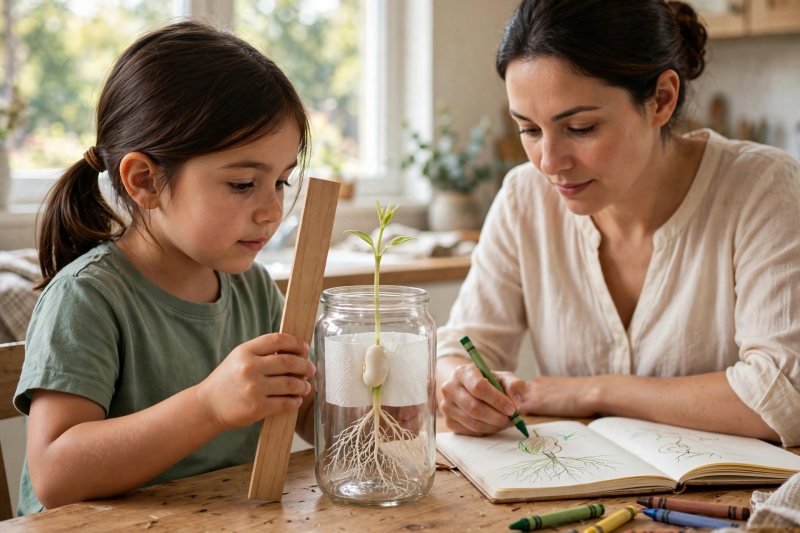
8. **Days 5–7: measure and draw.** Side roots branch, a pale shoot rises. Measure the longest root, draw the bean exactly as it looks, date the entry.
-
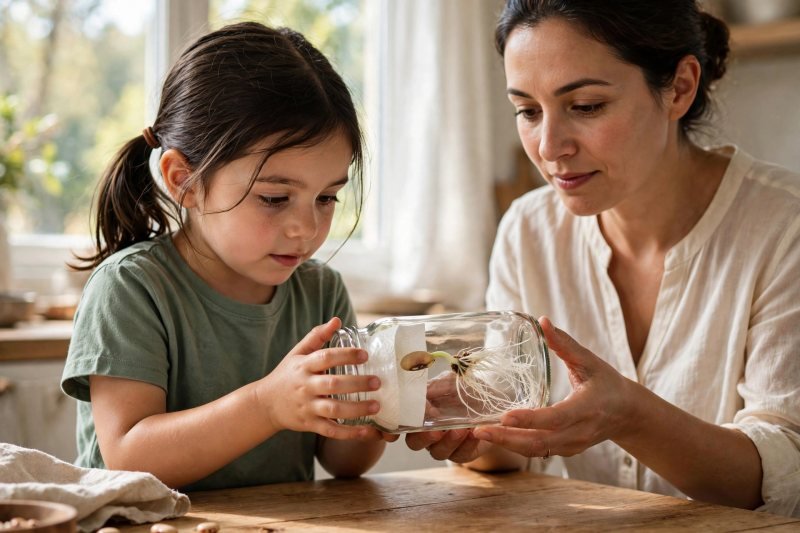
9. **Test gravity — tip the jar sideways.** One evening, lay the jar gently on its side; by morning the root tip has curved back downward (gravitropism) while the shoot bends up toward light.
-
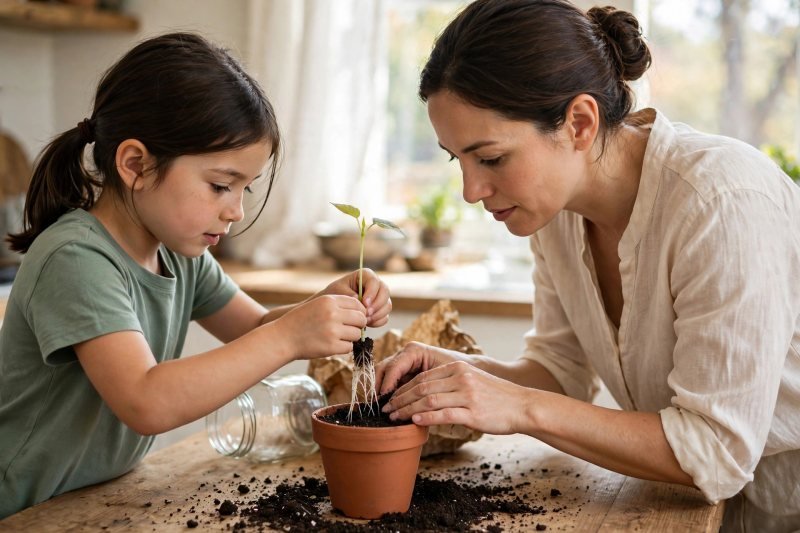
10. **Transplant the seedling.** Around day 7–10, plant it root-down in a small pot of potting soil, water gently, keep on the windowsill.


Make it easier
Use one bean for a single hero root. Dampen and line the jar yourself; your child tucks in the beans and does the daily looking. Skip the ruler and just talk through the changes each morning.
Make it harder
Keep a lab book: daily ruler measurements, a dated growth chart, and a written prediction each evening, checked the next morning. Have your child label a hand-drawn diagram of the parts of a seed from memory.
Other ways to play it
- **The great bean race.** Jar lima beans, mung beans, and black-eyed peas side by side — which seed coat splits first? (Never use raw kidney beans.)
- **Jar vs. bag.** Run the jar beside a bean sprouting in a zip bag taped to the window; which shows roots better? (See [bean in a bag: watch seeds sprout](https://brightplaydays.com/activities/bean-in-a-bag-seeds-sprout/).)
- **Warm vs. cool.** Put one jar on the warm windowsill, one in a cooler corner — does warmth speed up the roots?
How it changes by age
- Built for 6–8s, adult nearby. Six-year-olds can do the setup with guidance and own the daily observations. Seven- and eight-year-olds can measure, write predictions, lead the gravity test, and explain the parts of a seed to the family. An adult handles the glass jar; a clear plastic cup works for wobbly hands. Keep loose beans away from under-3s.
What they're learning
The parts of a seed (seed coat, embryo, cotyledon) observed growing instead of memorized. Root hairs make the root's job — absorbing water — visible; the root cap shows how a growing tip protects itself. The sideways-jar test teaches gravitropism, and kids practice observing, measuring, recording, and testing a prediction.
Clearing up
Rinse the jar for reuse; towels and unplanted beans can go in the compost or trash. A transplanted pot just needs its sunny spot and regular watering.
Questions parents ask
How long does it take for bean roots to grow in a jar?
What are the parts of a seed for kids to learn?
Why do roots always grow downward?
What are the fuzzy white hairs on the roots?
Why is my bean getting moldy or not sprouting?
If the towel dries out, re-dampen it — beans usually recover. Grey fuzzy mold means the towels were too wet: start fresh and wring harder. Fresher beans sprout most reliably.
