


Alphabet Recognition Activities for Preschool: 10 No-Worksheet Games for Ages 3–4
Ten no-worksheet alphabet recognition activities for preschool: one continuous movement-and-sensory game session — letter hunts, stomping, sensory bins, chalk play and a calm-down finish — for 3–4-year-olds. One continuous 10-game session that teaches letter recognition through movement and touch — no worksheets, no flashcards, no sitting still.
These alphabet recognition activities for preschool turn letter learning into a 10-game movement session for ages 3–4 — letter hunts, stomping, sensory-bin digs, sidewalk chalk, tossing games and a calm-down match, all with zero worksheets. Start with the letters of your child's name, keep sessions to 20–45 minutes, and let them lead.

The short version
- One continuous 10-step session: warm-up, hunt, move, sensory play, calm-down — no worksheets anywhere.
- Pure recognition focus: seeing a letter and knowing which one it is (letter sounds are a separate skill).
- Start with 3–6 familiar letters (the child's name letters); add lowercase for older 4s.
- Every step teaches through body movement or touch — stomping, digging, tracing, smashing.
- 15-minute version: run steps 1–4 only.
- Age
- Ages 3–4
- Prep
- 10 min
- Mess
- Low
- Difficulty
- Easy
- Where
- Indoor
Why kids love this
Three- and four-year-olds learn letters fastest when their whole body is involved. This session treats alphabet recognition like a game of tag with letters: children hunt them, stomp them, dig them out of rice, and smash them flat in playdough. There is no right answer to get wrong — just letters hiding in every corner of a really fun afternoon.
What you'll need
- Large foam or cardboard letter cards (uppercase, A–Z — shop-bought or homemade from cardboard boxes)
- masking or painter's tape
- a laundry basket
- a shallow bin or tray
- dry rice or lentils (2–3 cups)
- playdough (one ball per 2–3 letters)
- shaving cream or foaming hand soap
- sidewalk chalk
- soft beanbags or scrunched sock balls
- a bedsheet
- a favorite picture book
- an old towel or wipeable mat
Before you start
Scatter the prep in one 10-minute burst before you start. Tape five or six big letter cards around the living room at child height for the hunts (step 2) — start with the letters of your child's name plus A, B, C. Tape another five to the floor in a loose circle for stomping (step 3). Fill the sensory bin with rice and bury five letters in it (step 4), and hide five more around the room where you'll "find" them later (step 6). Set the playdough, shaving-cream tray, beanbags and bedsheet in one corner so each step's materials are waiting — continuity is what makes this feel like one game, not ten chores.
How to do it
-
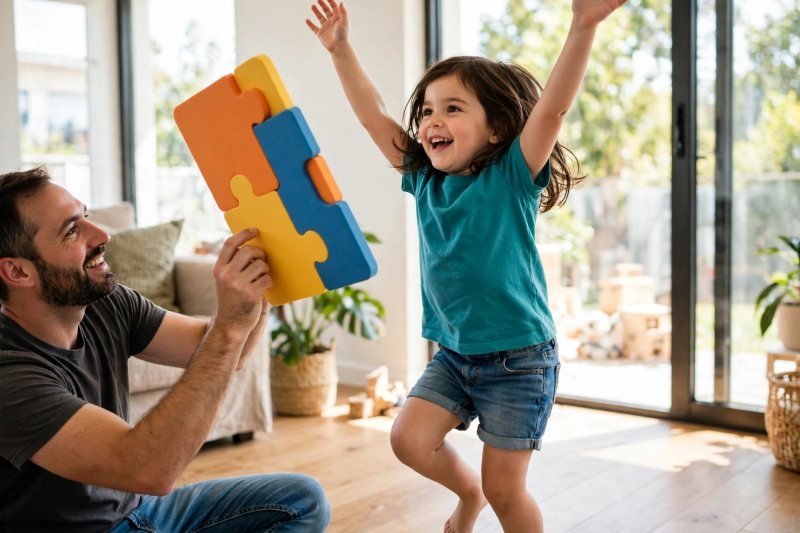
Run the steps in order — they follow one session arc: warm-up, hunt, move, sensory, calm-down, the same rhythm a great preschool circle time uses. Every step tells you what to set up, exactly what to say, what your child does, and how it flows into the next game. The teaching focus is pure recognition — seeing a letter and knowing which one it is. (Naming the sounds those letters make is a separate skill for another day; here, shape comes first.) 1. Alphabet freeze dance (warm-up). Clear a patch of floor and put on any upbeat music. Before you press play, hold up three big letter cards — the first three letters of your child's name work beautifully — and let them look at each shape for a few seconds. Then say: "When the music plays, we dance! When it stops, FREEZE — and I'll hold up a letter. Point to the one that matches!" Your child dances wildly, then freezes and points. Start with just two letters to choose between so early wins come fast, then rotate a new letter in every round. The teaching move: before each freeze, hold the target letter up for a slow three-count — "Look at it… look at the shape… ready?" — so their eyes scan for the match instead of guessing. After five or six rounds, bridge straight into the hunt: "Those letters were so sneaky they escaped while we were dancing! Let's go find where they hid."
-
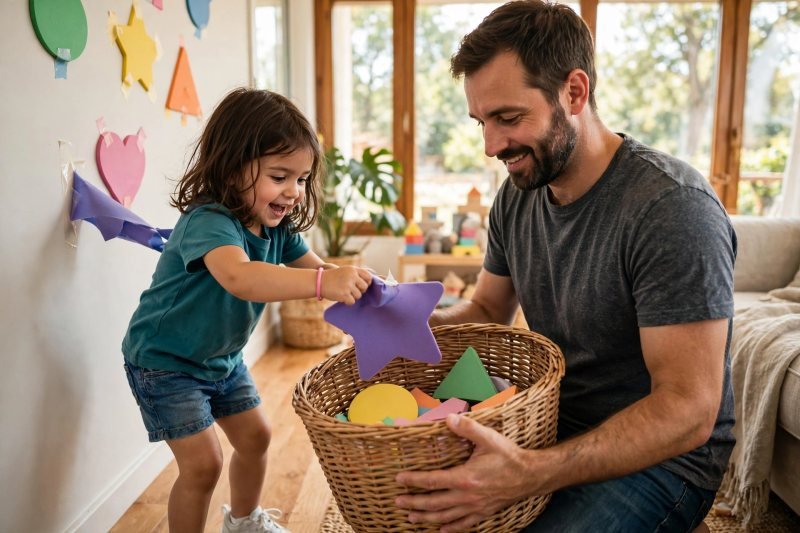
2. Letter hunt around the room. Your pre-taped letters are already waiting. Hand your child the laundry basket and say: "Your mission: find the letter your name starts with! When you find one, shout its name, rip it off the wall, and drop it in the basket." They race around, spot a letter, and name it. If they hesitate, don't correct — ask: "Does it look like the one on your name card?" (prop their name card on the sofa as a reference). Celebrate every find: "That's M! Just like Mia!" The recognition work here is shape-matching against a known letter — the most motivating kind, because it's their letter. When the basket is full, bridge into movement: "We found so many letters! Now let's stomp them into the floor."
-
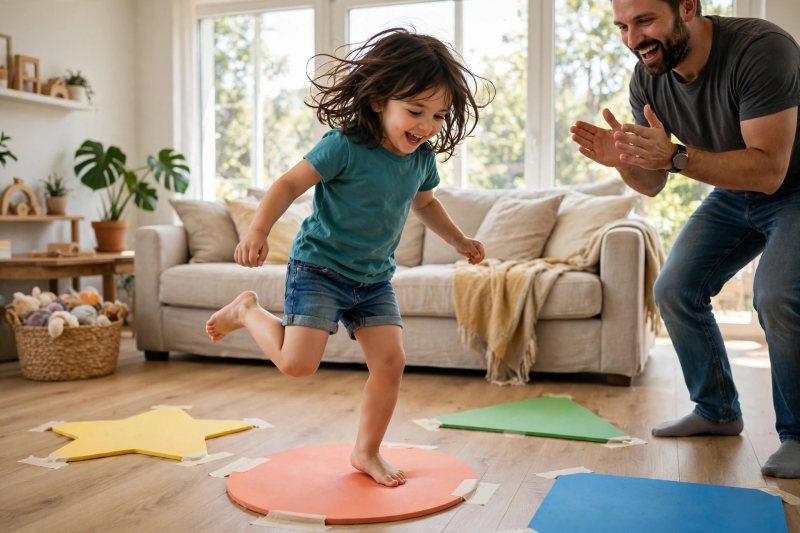
3. Stomp the letter. Walk your child to the floor circle of taped letters. Say: "Stand in the middle. When I call a letter, STOMP on it as hard as you can! Ready… B!" They jump, look, find B, and stomp it. The gross-motor jolt is the memory glue — children remember what their feet did. Start with letters they know, then sneak in one new letter and give an extra-long look at it first: "This one's new — look at the round tummy on it. That's D. Now stomp D!" Play six or seven rounds, letting them call a letter for YOU to stomp too — teaching is the deepest learning. Bridge into the quieter step: "Whew! Let's cool our feet down and use our hands instead. Something's buried in the rice…"
-
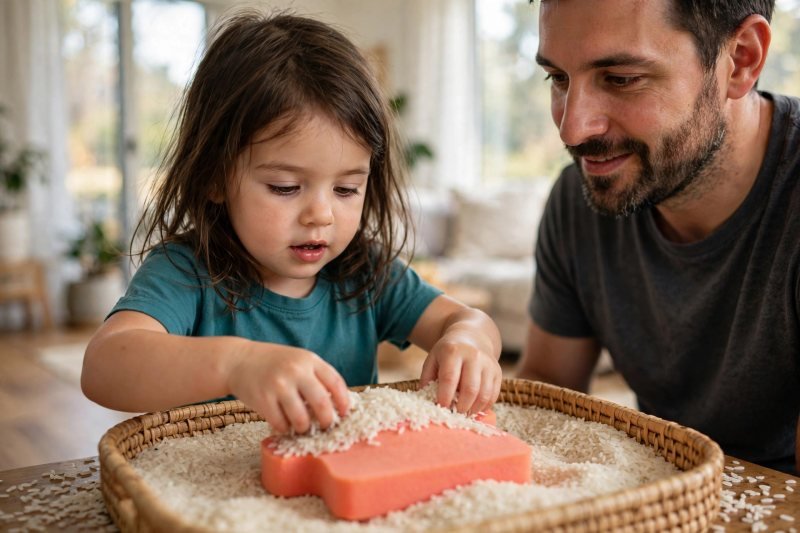
4. Sensory bin dig. Sit together at the rice bin on the wipeable mat. Push your own hand through the rice slowly and say: "Feel how it slides? There are letters hiding in here. Dig one out, wipe the rice off, and tell me its name." Your child plunges their hands in, finds a letter, brushes it clean, and names it. The tactile route matters: tracing the shape with a fingertip while saying the name wires shape + name together through touch. If they draw a blank, cover half the letter with rice and ask "what's peeking out?" — partial clues teach them to read the whole shape from a part. Drop found letters in the basket and keep digging until all five are out. Bridge: "These letters are dusty from the rice. Let's take them outside and draw them BIG."
-
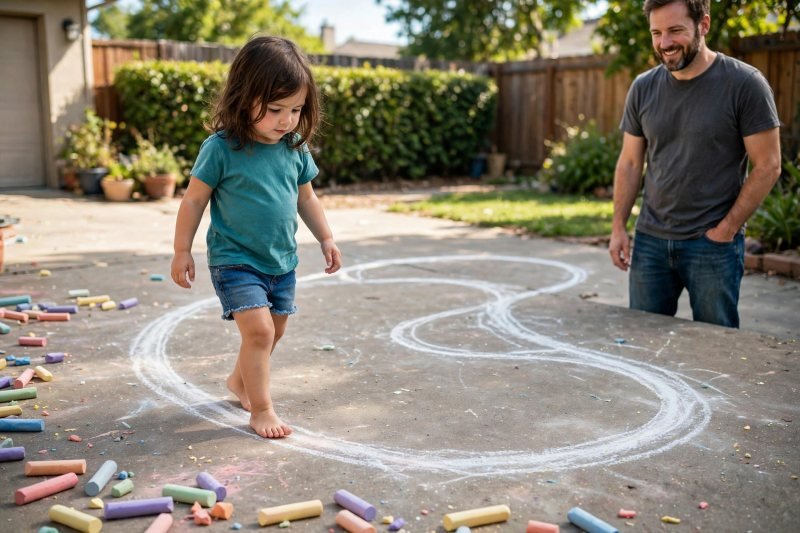
5. Sidewalk chalk giant letters. Take the basket letters and chalk outside (rainy day: tape the letters to a window or sliding door instead and trace them with a finger). Draw one letter HUGE on the pavement — two feet tall — and say: "This is G. Walk all the way around it — follow the shape with your feet!" They walk the outline, then "drive" a toy car along it, then hop from one end to the other. Big-body tracing teaches the letter's shape kinesthetically: curves feel different underfoot than straight lines, and that difference is what makes G not-C. Do three or four letters, then let them pick one and chalk it themselves — wobbly is fine, naming it is the point. Bridge back inside: "The chalk letters have to stay outside. But guess what — five more letters hid inside while we were gone."
-
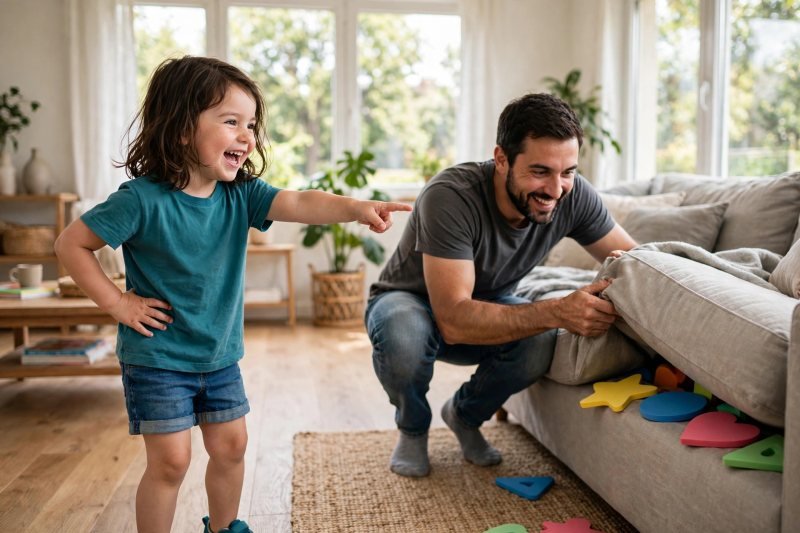
6. Hide-and-seek letters. This time your child does the hiding. Give them five letters and say: "Hide these anywhere in this room. Then I'll close my eyes, count to ten, and YOU give me clues — but the clue has to be the letter's NAME. Like 'look behind the… E!'" They hide, you search, and they must produce the letter's name to direct you. Role reversal is powerful: being the clue-giver forces them to retrieve the name from memory rather than just point at a match. Ham it up — look in the wrong places, get "stuck," let them rescue you with louder clues. When all five are found, gather everything into the basket and bridge: "These letters are getting tired of hiding. Let's toss them into their beds."
-
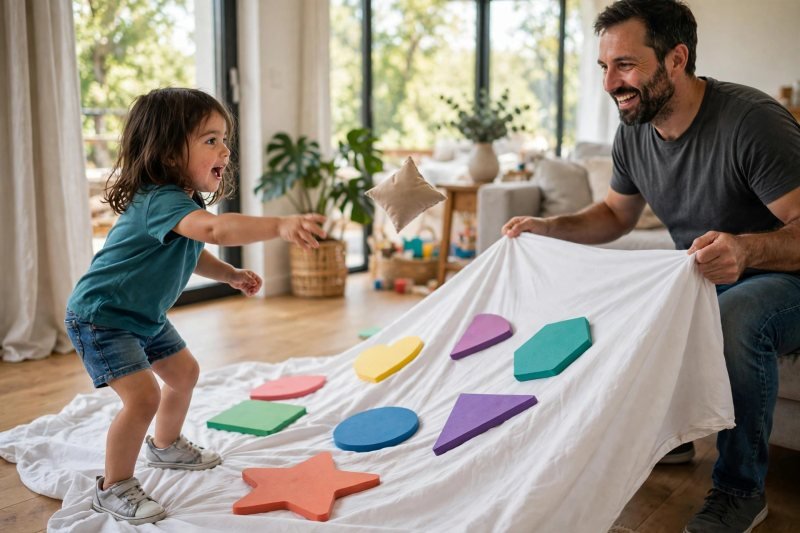
7. Letter toss (parachute-style). Spread the bedsheet on the floor with five letter cards scattered on it. Hand your child a beanbag and say: "I'm going to call a letter. Throw the beanbag and try to land it ON that letter — then shout its name!" They aim, throw, and name. Missing is part of the game — every throw still ends with them saying the letter's name, which is the actual teaching. For the parachute moment, you and your child each grab two corners of the sheet and bounce the beanbags on it together, then on your count — "One, two, three, POP!" — flip the sheet to launch them, and race to grab a beanbag and name the letter nearest where it landed. Two rounds of that and bridge to the calm stretch: "Time to let our arms rest. Let's squash some letters instead."
-
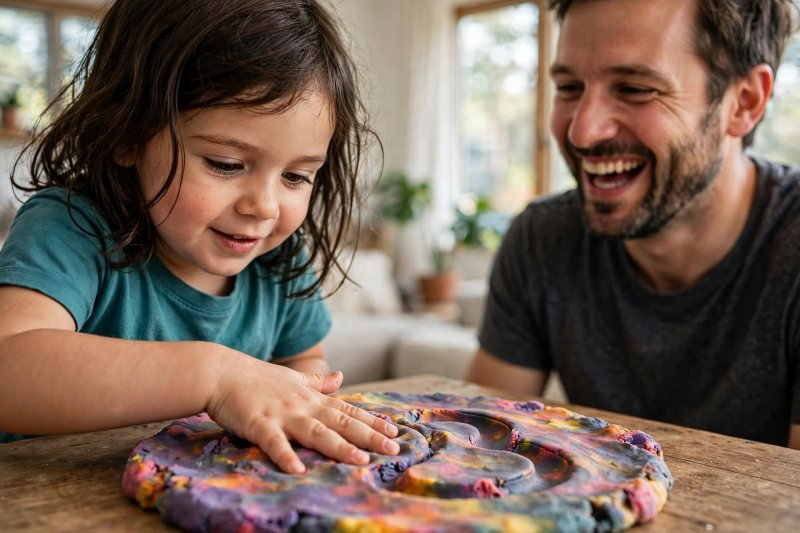
8. Playdough letter smash. Sit at the table with playdough. Roll a ball, flatten it into a pancake, press a letter card on top to leave its shape, then hand it over and say: "This pancake has a secret letter pressed into it. Name the letter… then SMASH it!" They name it and gleefully flatten it. The press-then-smash cycle is irresistible, and each round is one more recognition rep disguised as destruction. For a new letter, press it first and explore the imprint with their fingertip together — "feel the straight line down, then the bump" — before they name it. Work through five or six letters, then bridge: "One more game with squishy stuff, then we're nearly done."
-
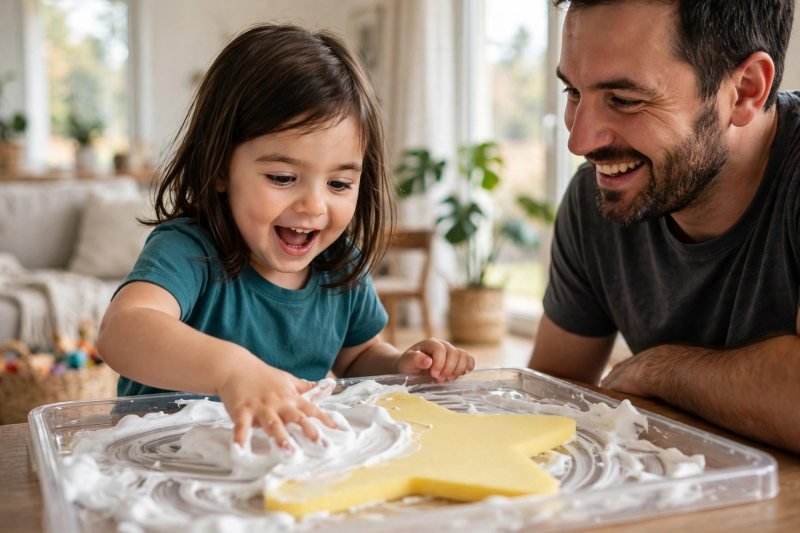
9. Shaving-cream reveal. Spread shaving cream across the tray, then secretly press five letters face-down into it (the flat backs leave no imprint — this is a wipe-to-reveal game). Say: "Letters are hiding under the cream. Wipe it away with your whole hand… what's there?" They sweep the cream aside and a letter appears — name it before wiping the next patch. The reveal moment creates a little gasp of surprise every time, and surprise is sticky for memory. Let them re-cover a letter and reveal it again for you: "Now hide one from ME." When the tray is a foamy mess and all five are named, it's time to wind down: "Hands in the towel, letters in the basket. One last quiet game."
-
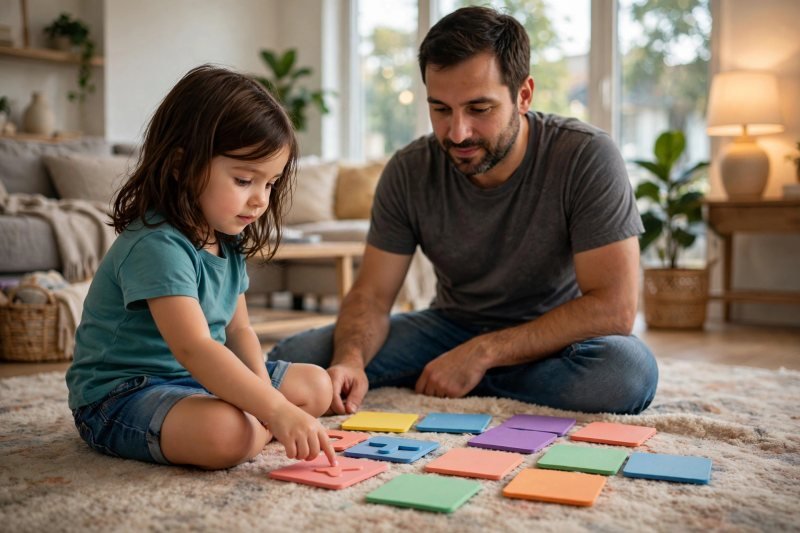
10. Letter pairs cool-down. Lay out four pairs of letters face-up on the rug — eight cards, well spaced. Sit together and say softly: "Let's find the twins. Touch one letter, name it… now find its twin." You take turns, slow and quiet, naming each letter as you touch it. This is matching, not testing — if they pick a wrong "twin," just say "let's check — are the shapes the same?" and let their eyes do the work. After the pairs are found, open the picture book together and hunt for any of today's letters on the pages: "Can you find a B hiding in this story?" Ending with letters living inside a book sends the day's message home: letters are everywhere, and now you know them. Tidy up by racing the letters back into the basket.


Make it easier
Play with only the letters of your child's name (3–6 letters) instead of the full set. Stay beside them for every step the first time, and let any step run long if they're loving it — three joyful games beat ten rushed ones. Shorten the session to steps 1–4 only for a 15-minute version.
Make it harder
Add lowercase letters into the hunts and tosses alongside the uppercase ones. Ask "what's different?" between two similar letters (E/F, M/W, P/B). Let your child call the letters for you in steps 3 and 7, and have them hide twice as many letters in step 6.
Other ways to play it
- Rainy-day version: run every step indoors — window tracing replaces the chalk, and the parachute toss becomes a hallway game.
- Park edition: take the letter cards to the playground; tape them to slide rails and benches for an outdoor hunt.
- Sibling mode: older 4s hide letters and give the clues; younger 3s do the finding, stomping and smashing.
- Bathtub finale: foam letters on wet bathroom tiles for a post-session cool-down the next day.
How it changes by age
- Younger 3s: stick to steps 1–4 and 8–10, use only 3–5 familiar letters (their name letters first), and keep the whole session to about 20 minutes.
- Older 4s: run all ten steps, add lowercase letters, and let them lead the clue-giving in step 6 and the letter-calling in steps 3 and 7.
What they're learning
Alphabet recognition — identifying uppercase letters by shape and naming them (steps 1–10); shape discrimination between similar letters (steps 3, 5, 10); tactile letter knowledge through touch (steps 4, 8, 9); gross-motor control and aiming (steps 1, 3, 5, 7); memory retrieval and verbal clues (steps 6, 10) — plus turn-taking and joyful persistence.
Clearing up
Shake the bedsheet outside and funnel spilled rice back into the bin with the wipeable mat — five minutes total. Wipe the shaving-cream tray with the old towel, then rinse. Toss the letter cards back in the basket; they'll keep for the next session. Make tidy-up a final game: "how fast can the letters jump home?"
Questions parents ask
What are the best alphabet recognition activities for preschool without worksheets?
How do I teach my 3-year-old to recognize letters?
What's the difference between letter recognition and letter sounds?
How many letters should a 4-year-old recognize?
How long should alphabet games last for preschoolers?
You don't need all ten steps every time — pick the four or five your child asks for again and rotate the rest. If a step flops, shelve it and retry in a month; letter recognition grows in bursts, not straight lines. Pair this session with these alphabet activities (link to https://brightplaydays.com/activities/alphabet-activities-for-toddlers/) when you want even more letter-play variety.
Keep reading: - Alphabet activities for toddlers (link to https://brightplaydays.com/activities/alphabet-activities-for-toddlers/) — more simple letter play when you want extra variety - Phonics activities for preschoolers (link to https://brightplaydays.com/activities/phonics-activities-for-preschoolers/) — playful ways to add letter sounds to the recognition you're building - Letter tracing worksheets for pre-K (link to https://brightplaydays.com/activities/letter-tracing-worksheets-prek/) — the natural next step once recognition feels solid


